A Muralist’s Guide to Image Transfer
As mural artists, not only do we have to come up with a design, but we also have to figure out how to transfer that image onto a wall or sometimes a non-flat surface, like a utility box or guitar. There are many ways to do this, and there is no right or wrong answer.
What you do will depend on several factors that this blog will cover. I've used most of these transfer techniques in my career, and I would have to say that my favorite way to transfer a large image (only when using a projector is unavailable) is through the doodle method! If you just went “the what?” don't worry - I’ll walk you through the whole process. Here are nine different ways to get your design onto a wall, in no particular order of preference.
1. Classic Square Grid
I think this is the method people think of first. I also think it’s the most tedious. This is when you take your design and you draw a perfect grid over it. Then you draw that same grid over your surface. It’s similar to those crafts we would do as kids, where you fill it in square by square. I think if you have a very structured design, this could work for you, but for more organic designs, this is gonna be a tedious and time-consuming process. Most of that time is spent getting the grid exactly onto the wall, precisely. Some people love this method, some people hate it. It's not my favorite.

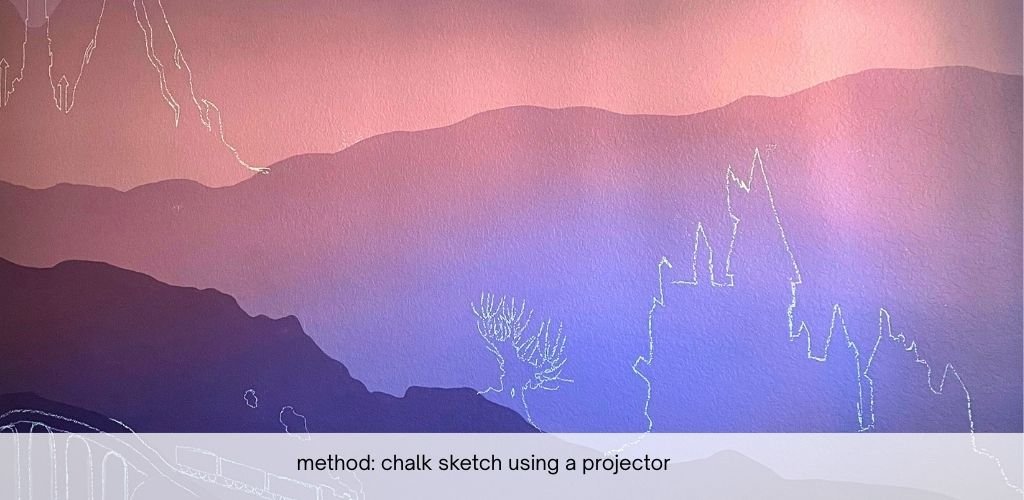
2. Using a Projector
I know a lot of artists who use projection (including myself) to get a design onto a large surface. It's funny because people who aren't artists kind of see this as “cheating,” but really it's just working smarter and not harder. If and whenever possible, I always choose projection because you can get the design right where you want it to be and just trace what you've already worked so hard to complete. A side note here is that when clients hire muralists, they typically have a lot of say in what the final design is. By the time you’re ready to paint, you may have tweaked the design to such a specific place that you’ll need a projector to get the design on the wall exactly as is.
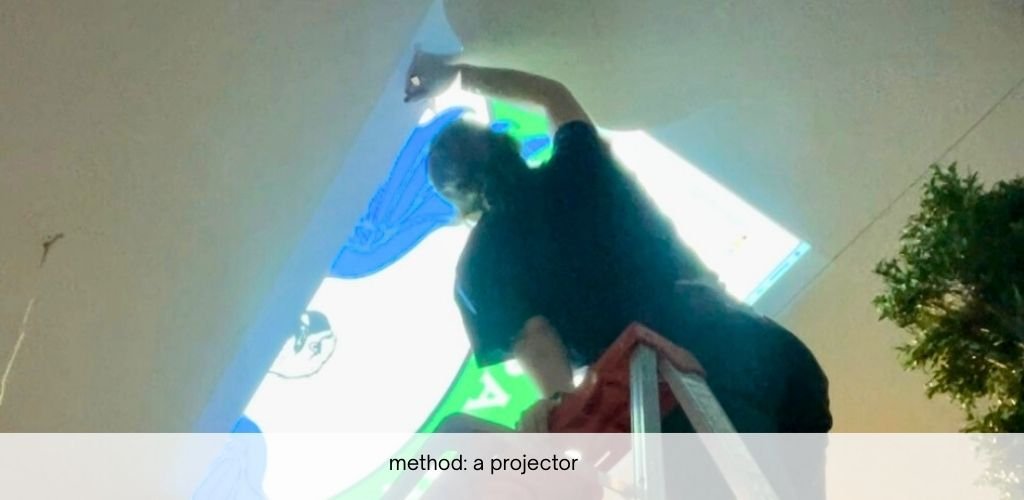
If you're going to project, I would plan on doing it at night unless you're doing it inside a room where you can turn the lights off. I recommend doing it the night before so that when you show up on your first full day of painting, everything is already outlined and ready for you. This method does require a power source, which is a downside. If you don’t have access to an electrical outlet, I recommend purchasing a portable battery (non-spon)! It lasts a long time, and it can be used to plug in your projector, phone, portable speaker, and more.
3. Using an Oculus Headset
This is one of the newest techniques I’ve seen, and what I believe to be the coolest! I’ve not tried this before, but my friend and fellow mural artist, Katy Yeaw, recently used the Oculus to transfer a large mural design onto the walls of a school. The Meta Quest 3, in conjunction with the app Contour, is what allowed her to project onto the wall. She posted a video of this process on Instagram, and it received millions of views within a week. Every comment I saw from a fellow artist couldn’t stop talking about how this is such a game-changer. Unfortunately, I think her video reached the bad side of Facebook, and a ton of people who are not artists and don’t post themselves on the internet left the most mean, rude, and incorrect comments I’ve ever seen. Something along the lines of, “art is dead”, and other dramatic, empty words.
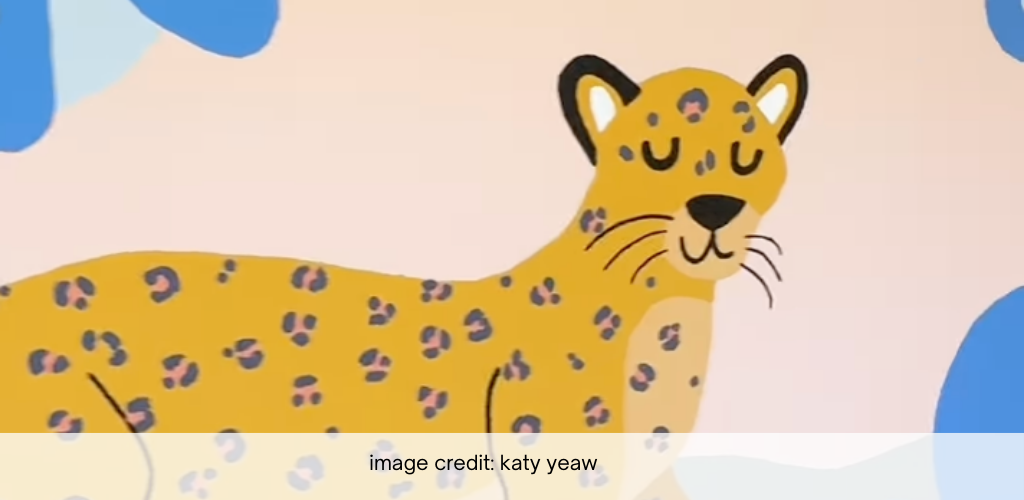
It was shocking to read, but then I had to remind myself that none of these people are working artists, and embracing new technology is OK. Anyways, I talked to Katy about her experience using the Oculus, and she said that after she adjusted to the slight disorientation of wearing the headset, it allowed her to project her design during the day and cut down on her time drastically. She offered to let me borrow it sometime, and I’m seriously considering it!
4. Pouncing
I didn’t learn about this method until recently, and tried for the first time last year. Except I didn't quite do the pouncing method exactly as described. What you're supposed to do is have your design printed out and poke small holes along the outlines. Then you place this paper directly on your wall. You’ll need chalk, which you’ve ground up into a fine powder, and a towel or something else to dab or “pounce” the chalk dust through the holes. This just means lightly tapping the chalk through the holes. When you lift the paper, the holes have now created a tracing line for you to follow. Similar to how halloween pumpkin stencils teach you to poke dots and connect them after.
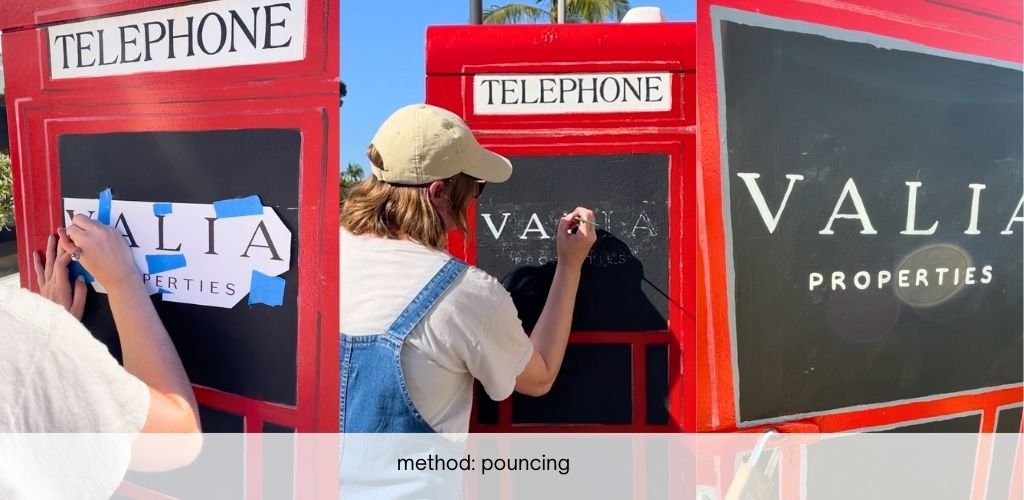
When I did this method for a utility box, I didn't bother taking the time to poke holes through my paper. I simply rubbed chalk onto the entire backside of my image, taped the chalk-side onto the box, and then outlined my design heavily with a pen. It worked really well! This method is pretty traditional and reliable because you're tracing the exact image that you need. It's good for really detailed designs, but it can be time-consuming to poke the little holes and put it through, so a shortcut could be what I did instead.
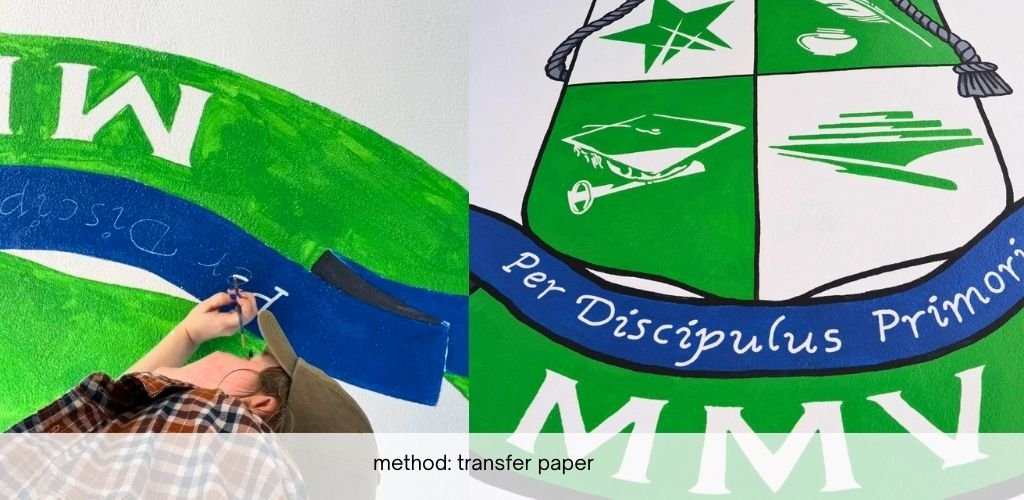
5. Transfer Paper
I would recommend this for smaller, detailed designs. You’ll most likely use this method if you need to recreate a design where you’re projector can’t reach and you have little margin for error. This isn’t recommended for larger designs because it can be time-consuming to sketch that all out and then retrace it onto the wall. It would also be a waste of paper.
This method is when you use special carbon or chalk paper, and then when you trace it, it leaves a copy on the wall similar to how a check leaves writing underneath that second sheet. This is like the official version of the DIY method I did with the chalk in step 4. I recently used transfer paper when I painted a mural on a ceiling and needed to replicate a specific, tiny font. It would have made on sense to cut around the letter with blue, so I used transfer paper on top and then painted in the letters.
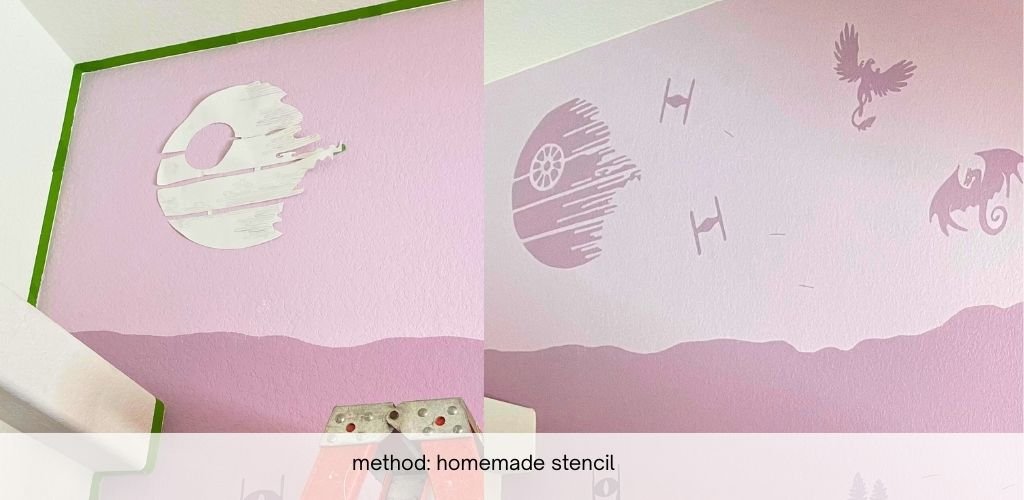
6. Stencils
If you need to paint a specific design like a logo, you can order large stencils online, or you can make them yourself. This is when you draw the design on paper and then cut it out. Then you place or tape this on your wall and sketch around the shape. Once you take of the stencil, you can paint within those lines! I've used this for my first mural (Star Wars/Harry Potter/Lord of the Rings mash-up), where there was a section at the top that my projector wouldn't reach. Because it was a small room with high walls, and I wanted to make sure I got the Death Star and the dragons as accurate as possible. I drew them out, cut each one out, taped them, and traced them. All of that was pretty time-consuming, so I wouldn't do this unless it’s necessary.
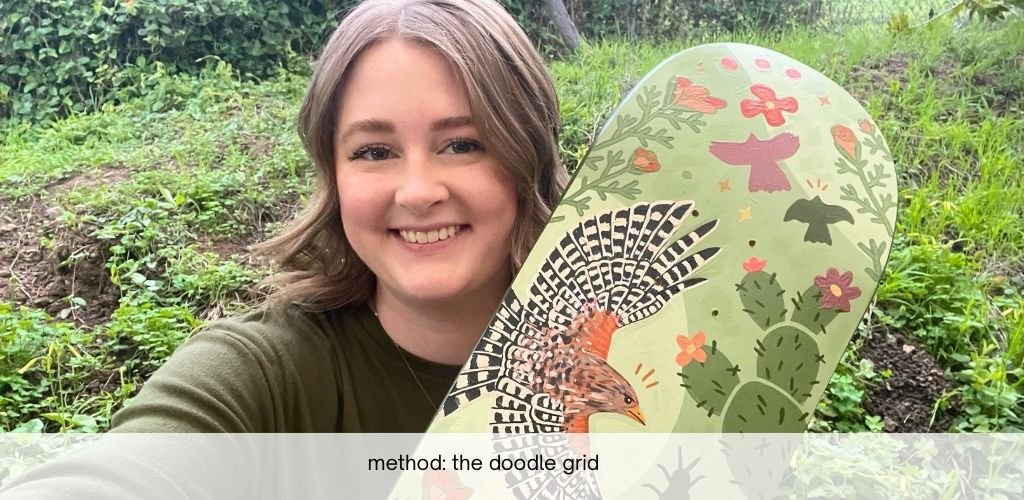
7. The Doodle grid Method
Now we've arrived at my favorite method ever! This process looks like chaos until you understand what's happening. In this process, you first need to have your design drawn digitally on an iPad (I use Procreate). Then, you're going to go to your wall or surface, and draw doodles all over it.
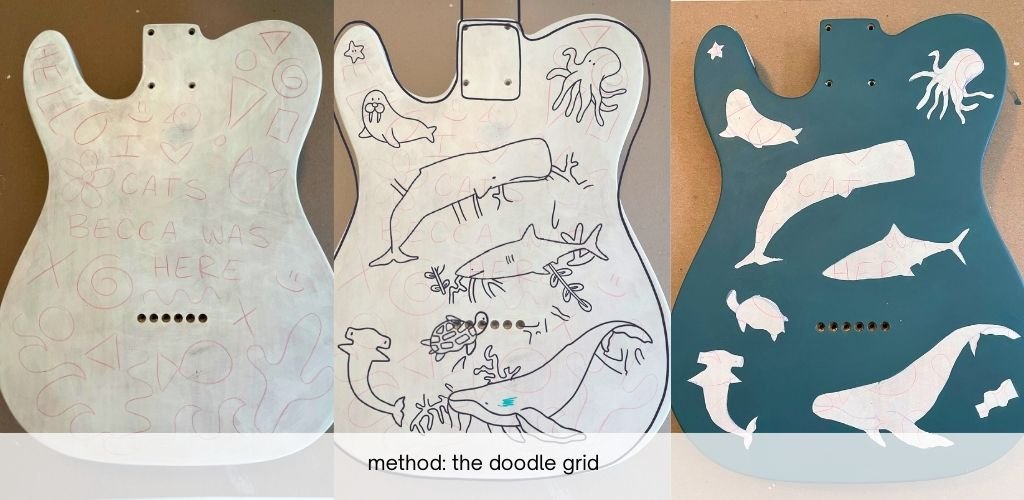
That can look like X’s and O’s or hearts, faces, stars, whatever imagery comes to mind. You can also write messages! Once you fill up your entire wall, it's just gonna look like a mess. Then, you take a picture of that and add that image to your Procreate workspace with your design. Lower the transparency of your design layer so that you can see the doodles underneath. Then you go to the wall and start at the intersections of where all these places meet and place dashes. I start by slowly connecting the dashes until the shape forms. It can seem technical and complicated, but it is way easier than the square grid method, and I've used this several times in my practice.

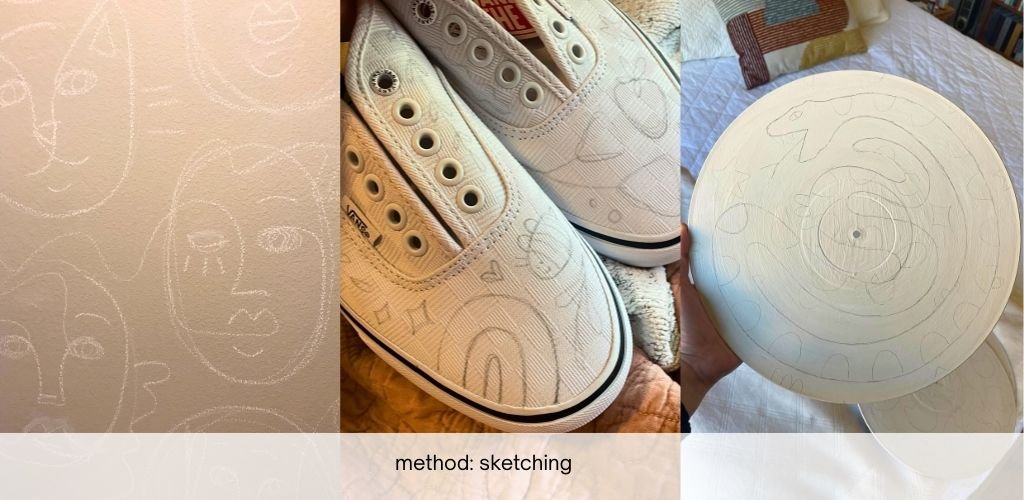
8. Sketch it Out
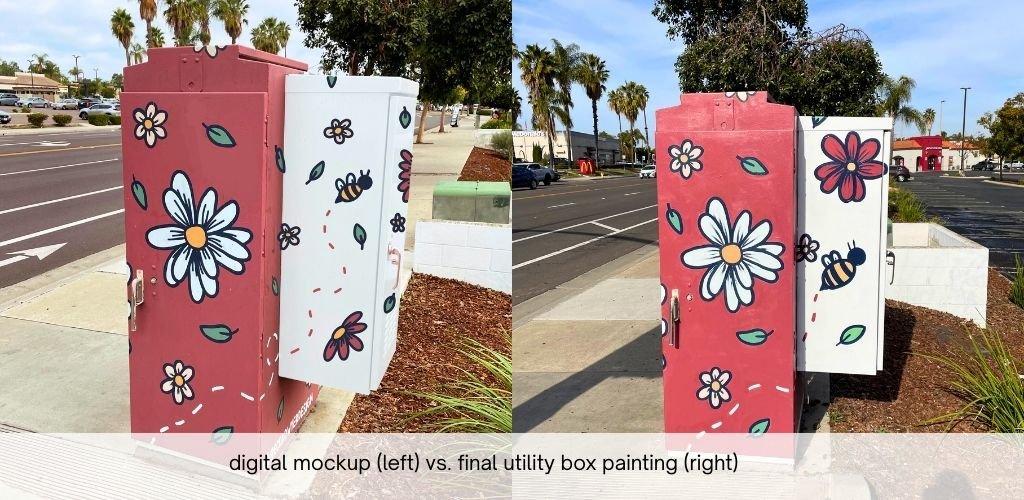
If you need a little direction, but can be flexible on the design, using a pencil or chalk to sketch your design can be useful. I recently did this for a utility box where I wanted to map out where the larger flowers went but didn’t need to transfer a technical design. When I was near the end of the process I also used chalk and a ruler to help sketch out the words I wanted to paint. If you are painting a large mural, you can also take paint and a large brush to sketch directly onto the wall! You’re probably going to paint over everything anyways, so don’t be afraid to get in there and get messy early on.
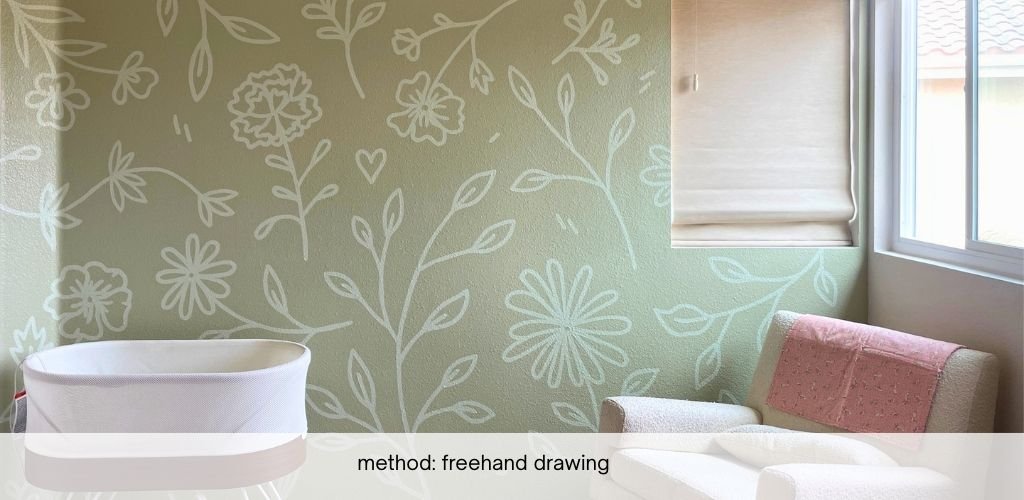
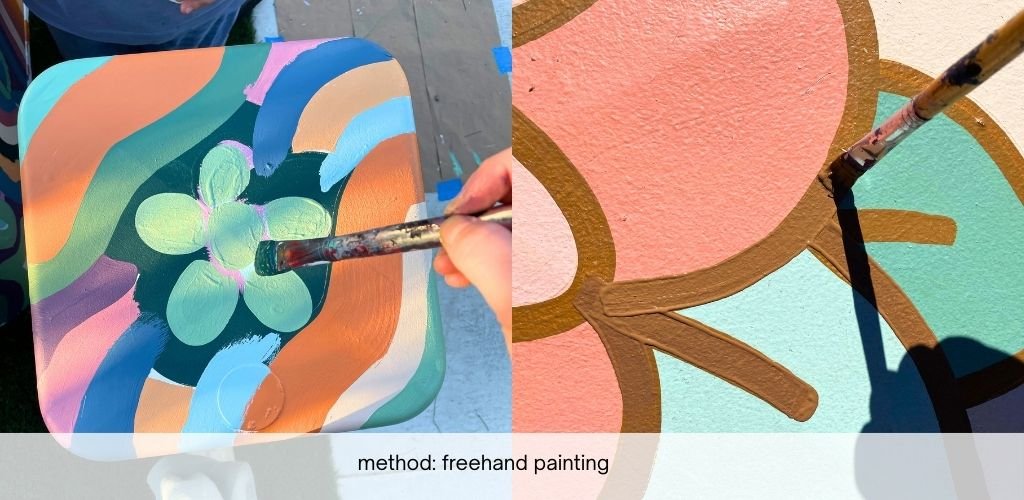
9. Free-Hand
If none of those methods work for you and you're thinking, there must be another way. You could always “wing it” if you feel confident in your design. If you’re idea is more organic, expressive, and you're in the moment, it's totally valid to just figure it out as you go. That’s what I did for a utility box design and more recently a nursery mural for my sister.
For both of those projects, I had a printed mock-up of my design that I could reference while painting. If you’re using this method, you should be flexible in what the final design is. Some drawings may end up slightly to the left, or you may decide that certain colors should be somewhere else. If you’re using this method, you should write into your contract that the final mural may vary between 10-15%.
Ands that’s it! Those are my top suggestions and ways you can transfer your design onto a wall. If you are a working artist, you’re probably going to use some, or even a combination of these methods, at various points throughout your career. You might find your least favorite method and stay away from it forever (I’m looking at you, square grid), but when you’re looking for which method is best for you, here are the four things to consider.
First is the size and complexity of your wall. Next is the surface, your available resources or equipment, and finally, your personal skill level and confidence. Considering all of this is going to help you decide what's best for you.
Happy Painting!