
How to Paint a Utility Box in 10 Easy Steps
Hey! So you’re here because you want to know how to paint a utility box. Back in 2020, I was in your shoes and when I went to Google, I could hardly find any information. As I’m writing this in 2022, I’ve now painted two boxes and can share with you a shortlist of things you need to do in order to paint one. It’s important to note that you can’t just go up to any utility box and paint it. If your city has a program, you’ll be able to find the application online. The good news is anyone can apply! So if you want to paint a utility box, here are 10 steps that will get you from clueless to complete utility box painting!

For this blog, I’ll be using the city of Vista’s utility box program as my example and reference. Each program may be slightly different in its process and what they offer.
How to Paint a Utility Box in 10 Easy Steps
Find a Program Near You
Utility boxes are either owned by the city or utility company. If you’ve noticed painted boxes in your area, chances are your city has a utility box program. To find out, Google your city name + utility box program. Here is an example of Vista’s application. If you’re having trouble finding a program, expand your search area. On the application, you should see an information sheet, an outlined box for you to draw an example of your idea, and an email address for you to submit your completed application.
2. Sketch Your Design
My city’s program was called Vista in Bloom, so I was immediately inspired to create a floral design. If your program has a theme, you’ll want to incorporate that into your design. If you don’t have an idea, try driving around your area and take note of what other artists have done, which ones you like most, and see what inspires you! Sometimes visiting the physical location of your utility box also helps brings ideas forth. I used my iPad to sketch out a design on top of the layout of the application, but you are more than welcome to print out the page and draw your design in pencil. Make sure you consider the shape of your box. I like to have my designs flow around corners and along edges.

3. Submit Your Application
On the application, there should be an email provided for who to send your completed form to. When you send your email, be sure to introduce yourself and explain the type of art you like to do. You could include reasons why you want to paint a utility box and take the time to explain your mockup. Brag about yourself and tell them why your art would improve the city! I also included links to my website and social handles so they could see other examples of my work. This isn’t necessary and you can definitely just send the application by itself.
4. Wait for a Response
This is the hardest part! Just keep in mind that it may take a couple of weeks for a response. This is mostly because your design needs to be approved by multiple people and also because city workers are busy people!
5. Yay! You’ve Been Approved!
I’m going to assume your design will be approved since I’m not sure why it wouldn’t be. If it’s not, you will probably get feedback on how to edit your design and thus get it approved. In the email congratulating you, you will most likely be assigned a location that needs painting. If you have your eye on a certain location, I’m sure you could ask. However, most programs will have a list of boxes that need to be done and you’ll get the next one available. At this time you’ll also want to tell them when you’re going to paint. Sometimes there is a time limit for how long you have to complete your painting after your design is approved.

Photo attached to my email indicating which box to paint.
6. Gather Supplies
Some programs will give you a small stipend for supplies (I’m talking $100), some will donate supplies to you, and others will buy some supplies for you in person. The thing to know about this type of project is you’re not going to make money. Whatever you end up getting from them, you’ll most likely have to buy more supplies on your own. Click here to download a free supply list, and know that I encourage everyone to use any materials they already own.

7. Organize and Prepare
I recommend packing up your supplies the night before. Also, I always recommend putting your paint into a tub before placing it into your car! Having paint spill in your car is no joke, so always err on the side of caution. Packing up also includes snacks. Unless you know that food will be near, I recommend packing a small cooler with sandwiches and smaller foods. Painting is manual labor, so you will get hungry!
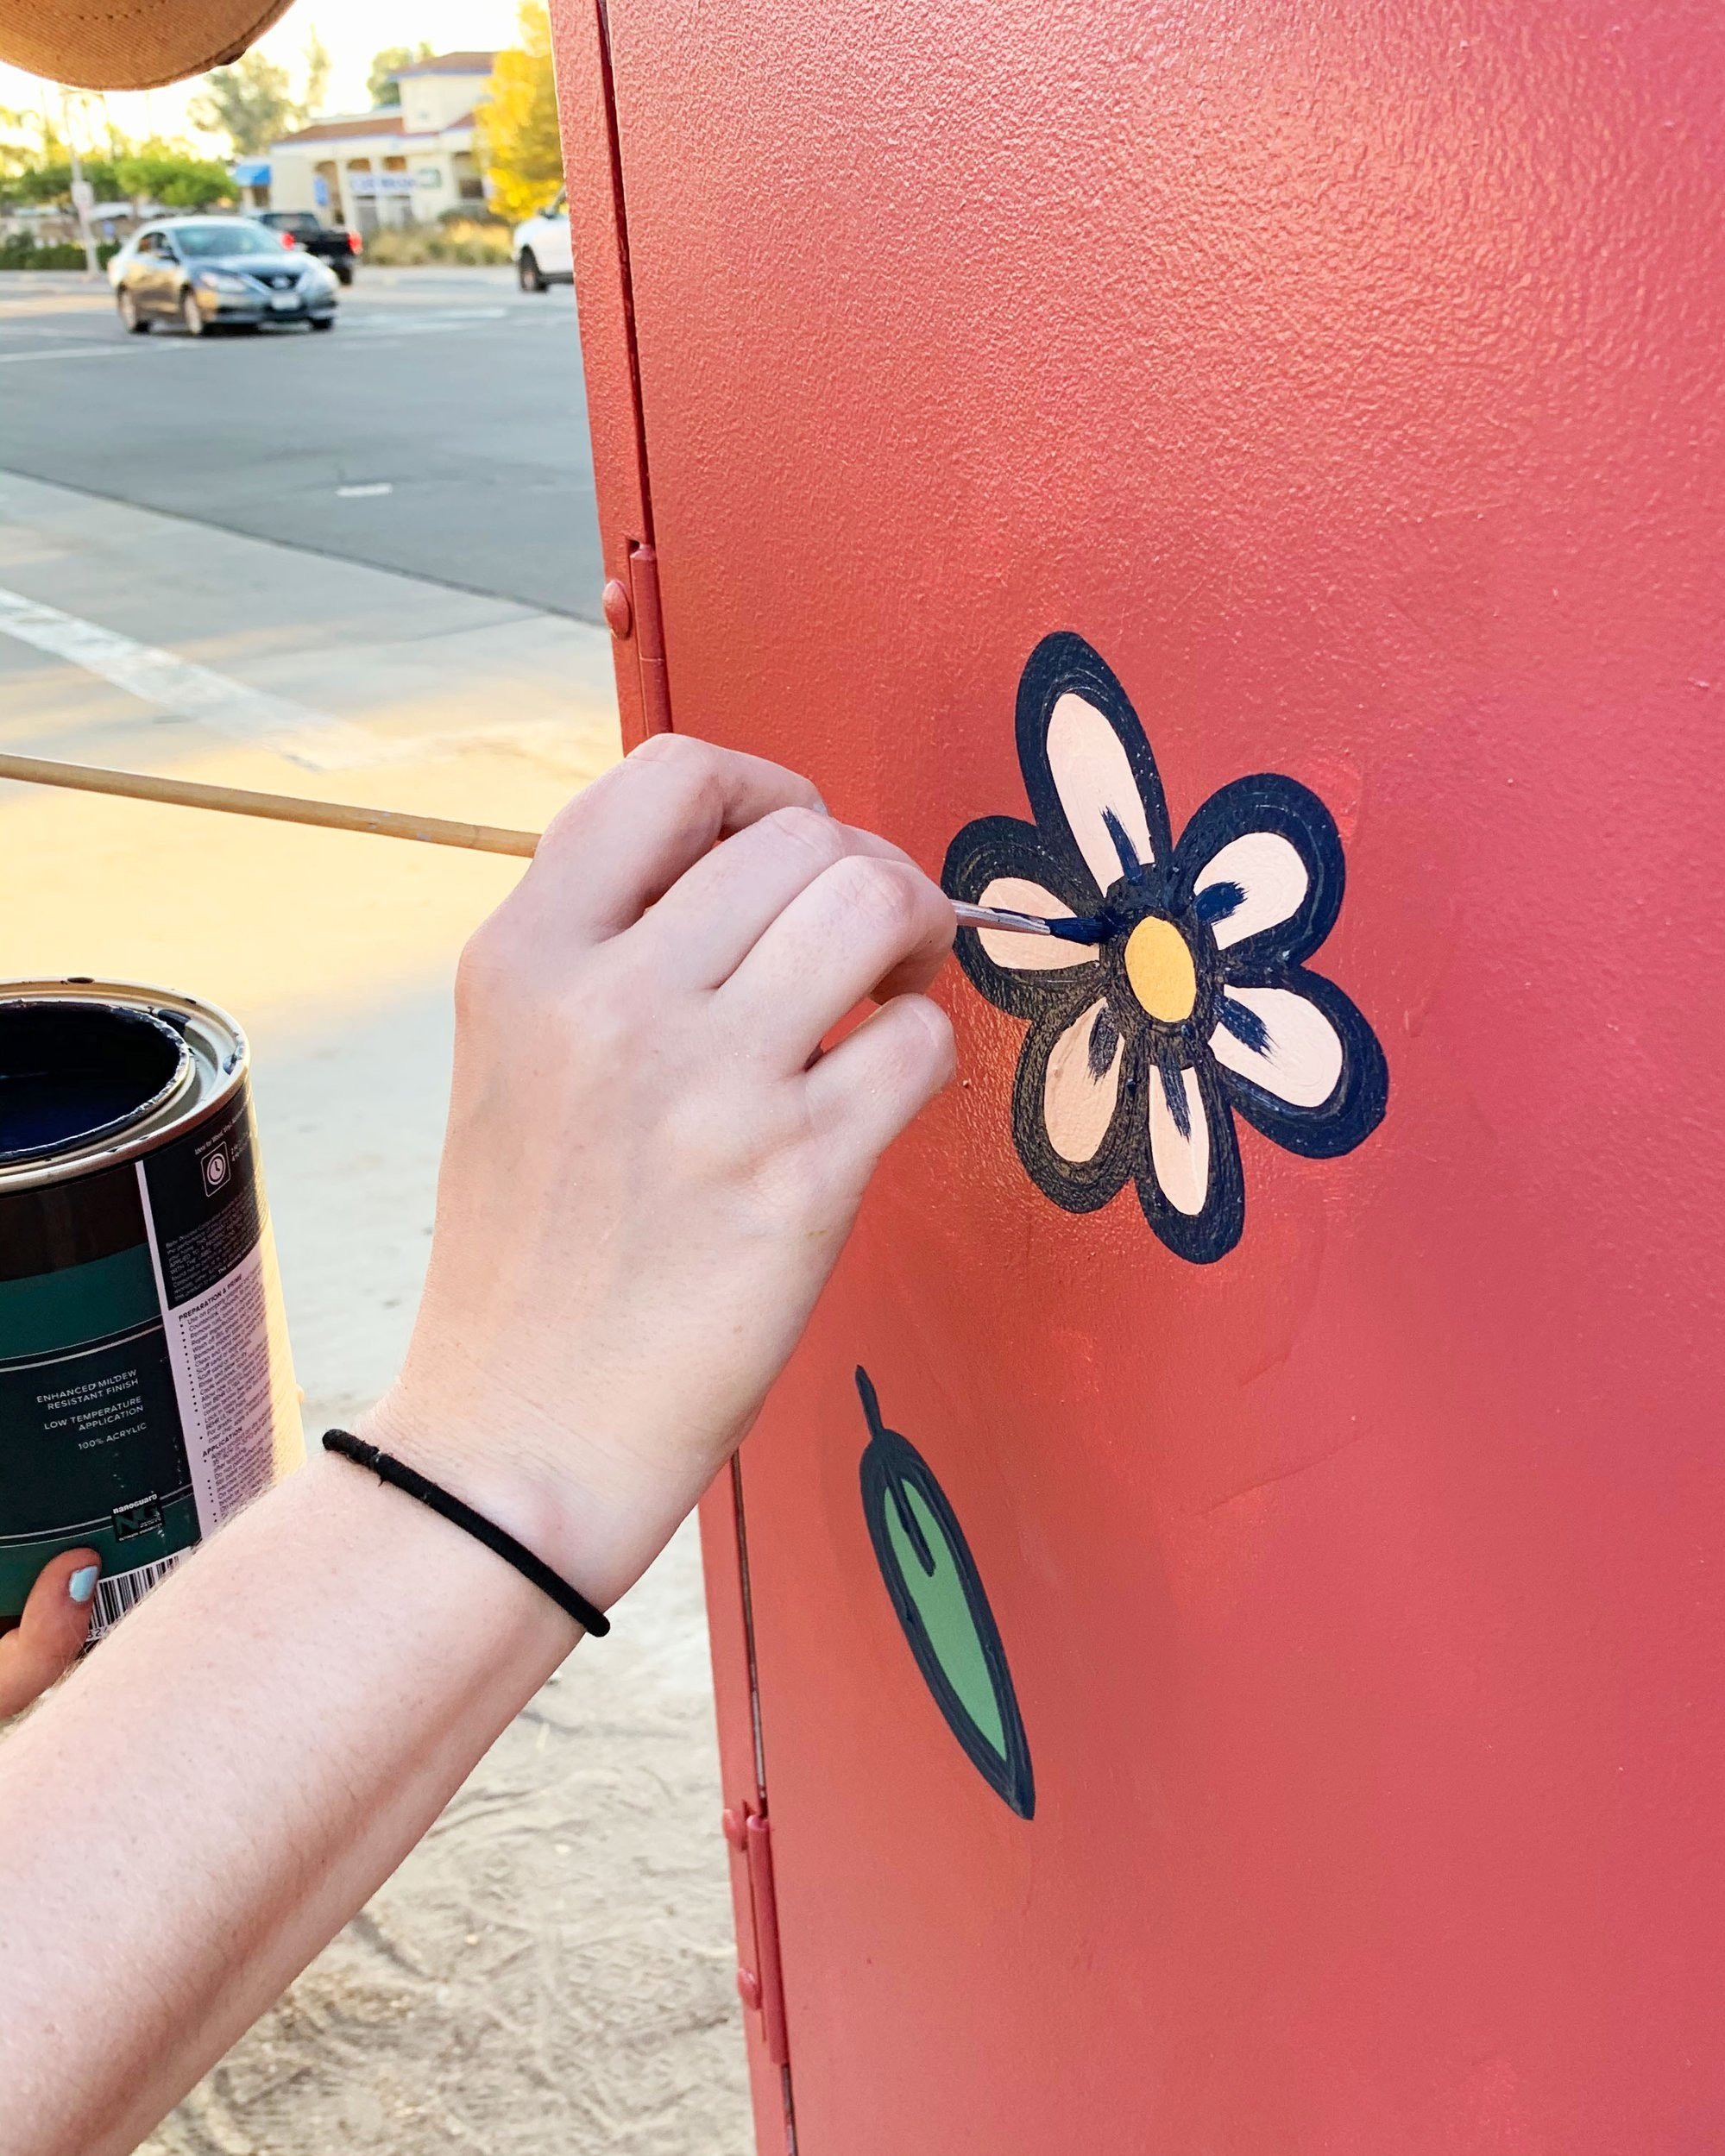
8. Paint!
Try to take full advantage of your day. The first time I painted a utility box, I was there from 8 - 4. Having at least one person help you, primarily with the cleaning and priming stages, will also speed up the process. Before you prime, you’ll want to clean your box with mineral spirits and a rag.
I like to have a paper copy of my digital mockup to reference the day of. Before painting, make sure you also tape up any labels or numbers, you do not want to paint over these. After priming and painting your box, you can sketch out your design with chalk. This makes it easy to adapt your mockup onto the 3D object and quickly erase it if you want to move things around.
I also recommend bringing a gallon plastic bag for used paintbrushes. Pack at least one brush per paint color and after you are done with each, place them in the plastic bag to keep them from drying out until you can rinse them out later at home.

9. Take Pictures
After you’ve placed your signature, take all the pictures you can! Make sure to include all sides and take a few from far back, so you can see it in its element.
10. Share the Results!
It’s always nice to email your contact at the city and show them the final result of your painting. They love to see it and look forward to sharing your photos with people in their office.


Additional Notes
As I mentioned at the start, utility boxes are either owned by the city or utility companies. After you paint one, it’s considered a donation. You will no longer own that piece of art and the city is free to cover it up or alter it at any point in time without notifying you. This is why I say take all the pictures at the end!! This is the best your mural will look and you have to be okay knowing that it won’t last forever. I usually take a few minutes, in the end, to soak it all in!
Considering the low and sometimes non-existent budget cities have for arts programs like these, be prepared to not make any money. In fact, I can guarantee you that when you factor in your time, you will lose money on this project. That’s why it’s important to think about a utility box as a donation and a way to add to your city. You also can add photos of your finished piece to your portfolio to help you land other gigs. I think painting utility boxes are a great way to begin painting on a larger scale and a perfect place to start when you’re looking for a mural experience.

Resources
If you want to read in-depth blog posts about my first utility box experience, please click here. You can also click here to read the post I wrote about my second utility box in La Mesa. In both of those, I go into more detail about my supplies and painting process.
You’ll notice in the list of supplies, I don’t include brand names. I mostly use Behr paint but for utility boxes, any exterior paint will do. I would recommend using an oil/latex-based primer and know that that will take a few hours to dry. Applying an anti-graffiti coat at the end is optional, but may help your mural last longer.
