
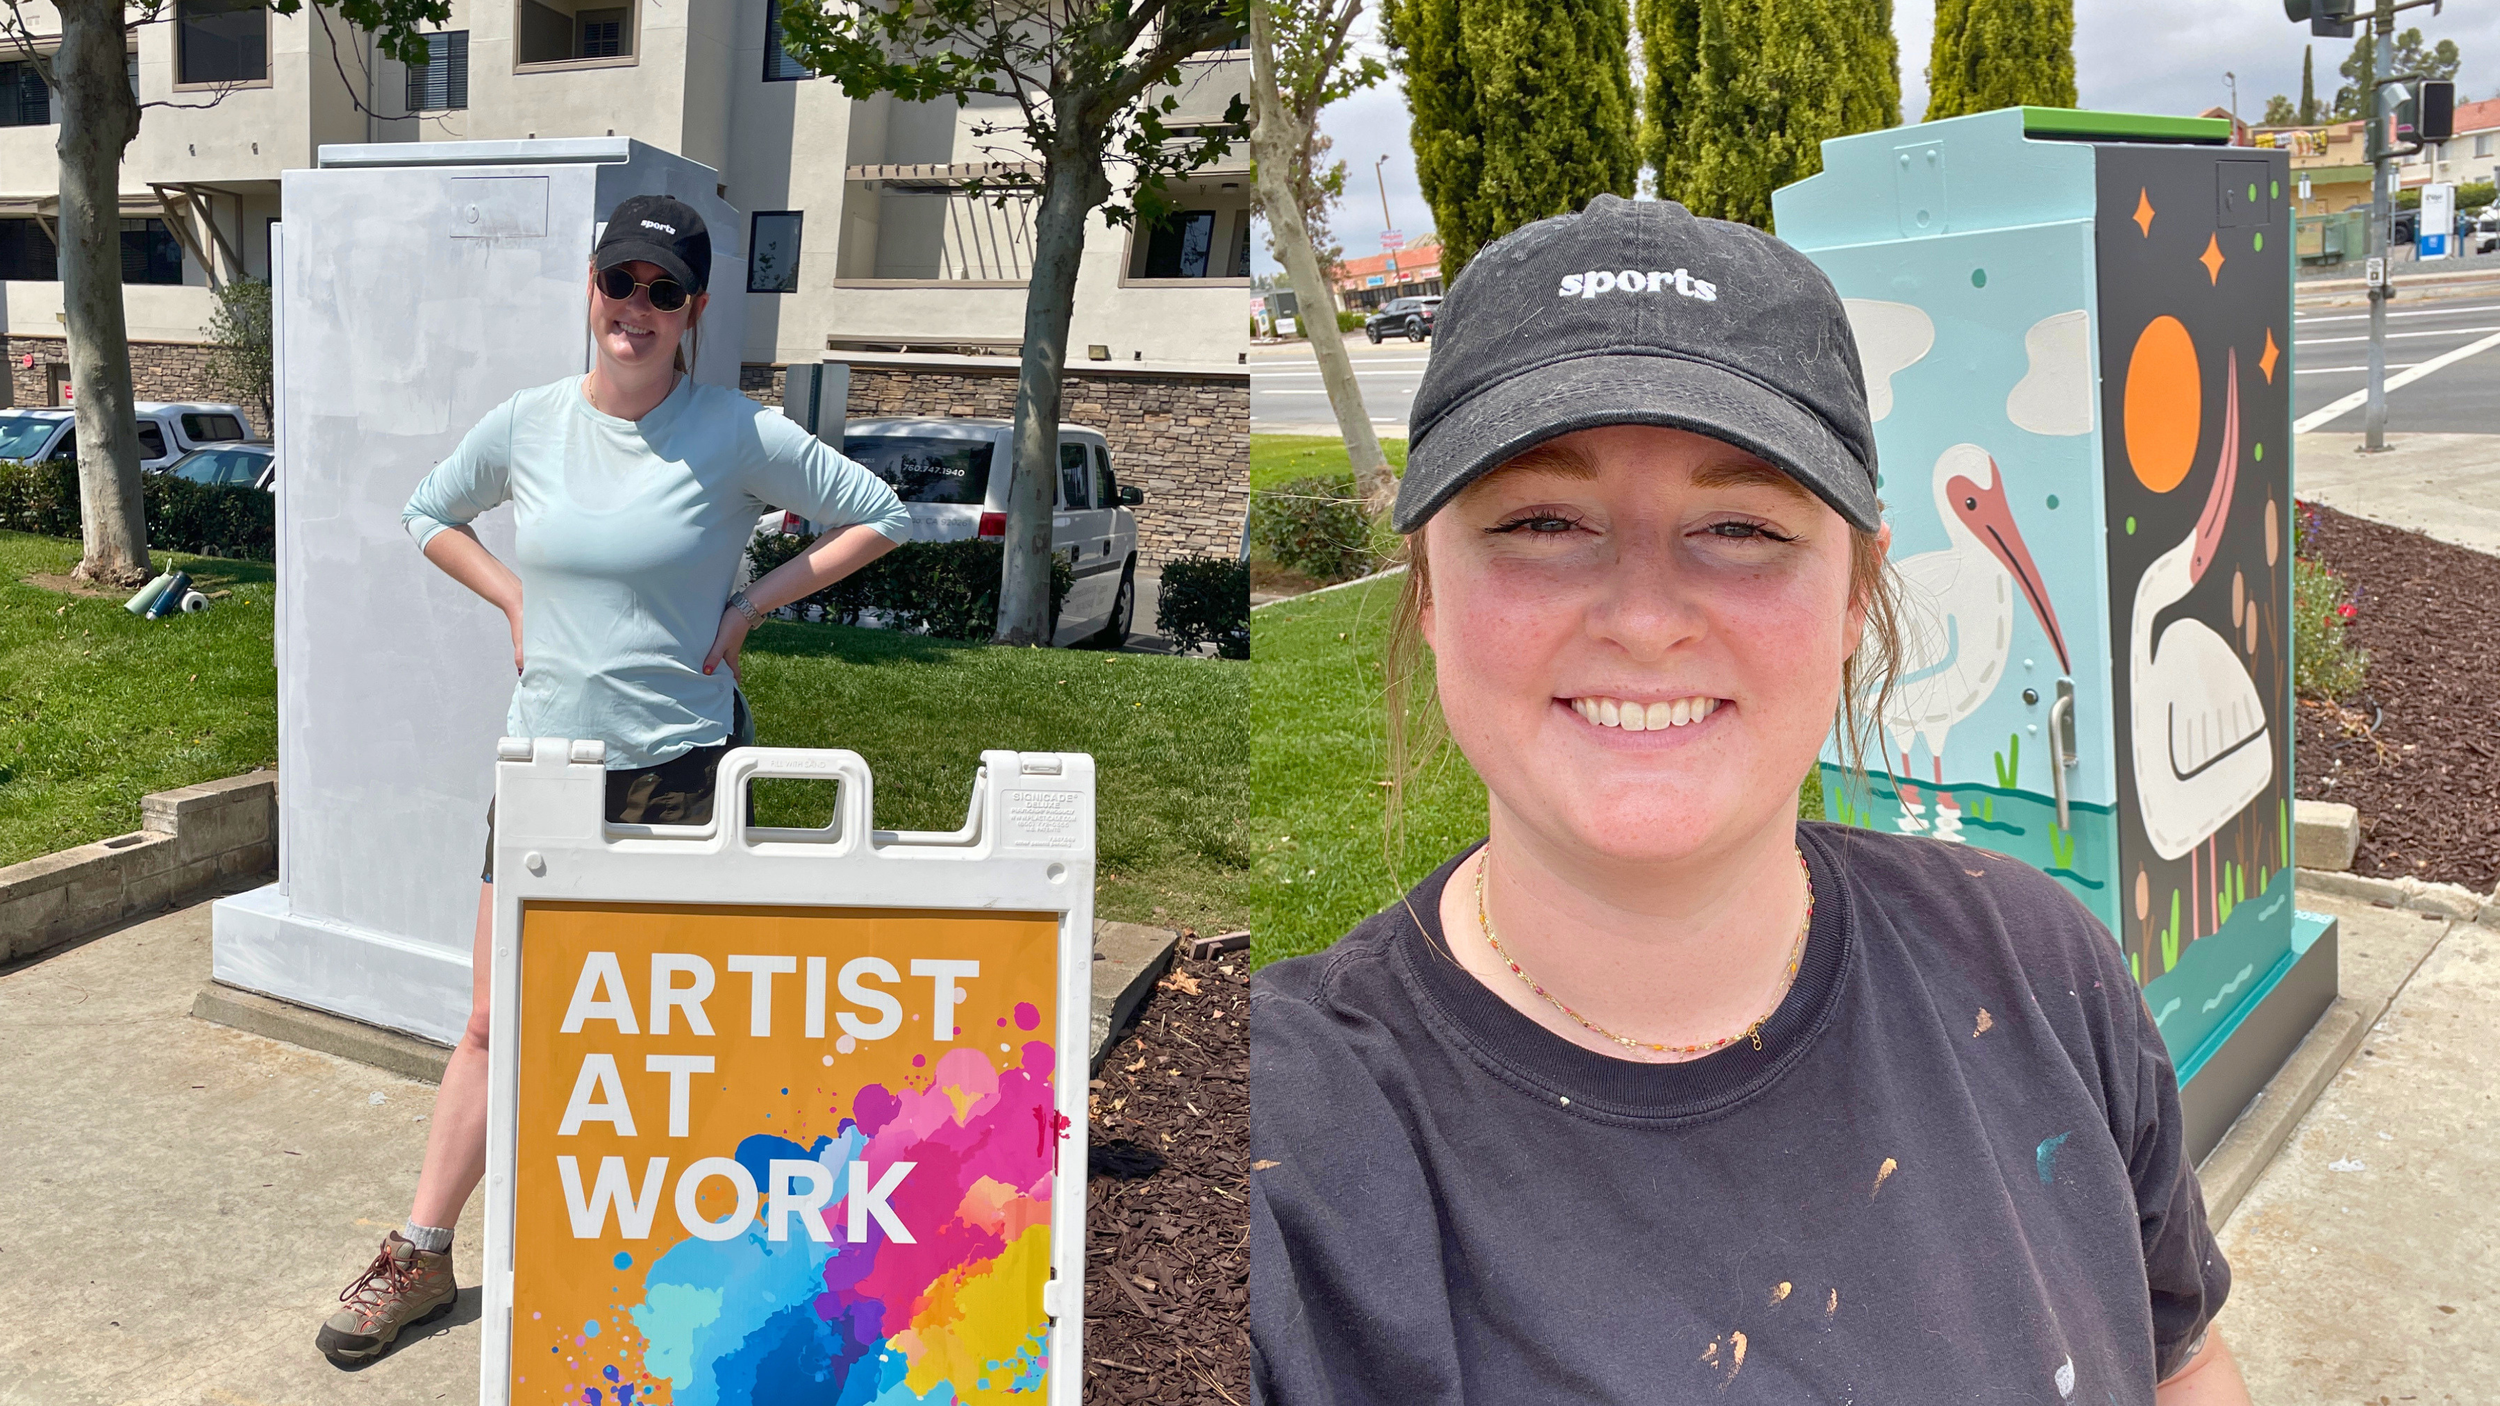
Painting Utility Boxes in Escondido
In February 2026, I submitted an application to paint two utility boxes as part of Escondido Expressions. This is a program “designed to enhance and bring art to Escondido’s neighborhoods and commercial areas by transforming traffic signal boxes into works of art.” I saw an open call for art on the city’s website and selected the themes “Artist’s Choice” and “Bees and Groves” for my submissions. There were about four other themes to choose from, helping highlight the local economy and businesses. You can check their website for future calls for art, plus a map of all the painted boxes. Their goal is to have 39 painted by the end of June 2026!
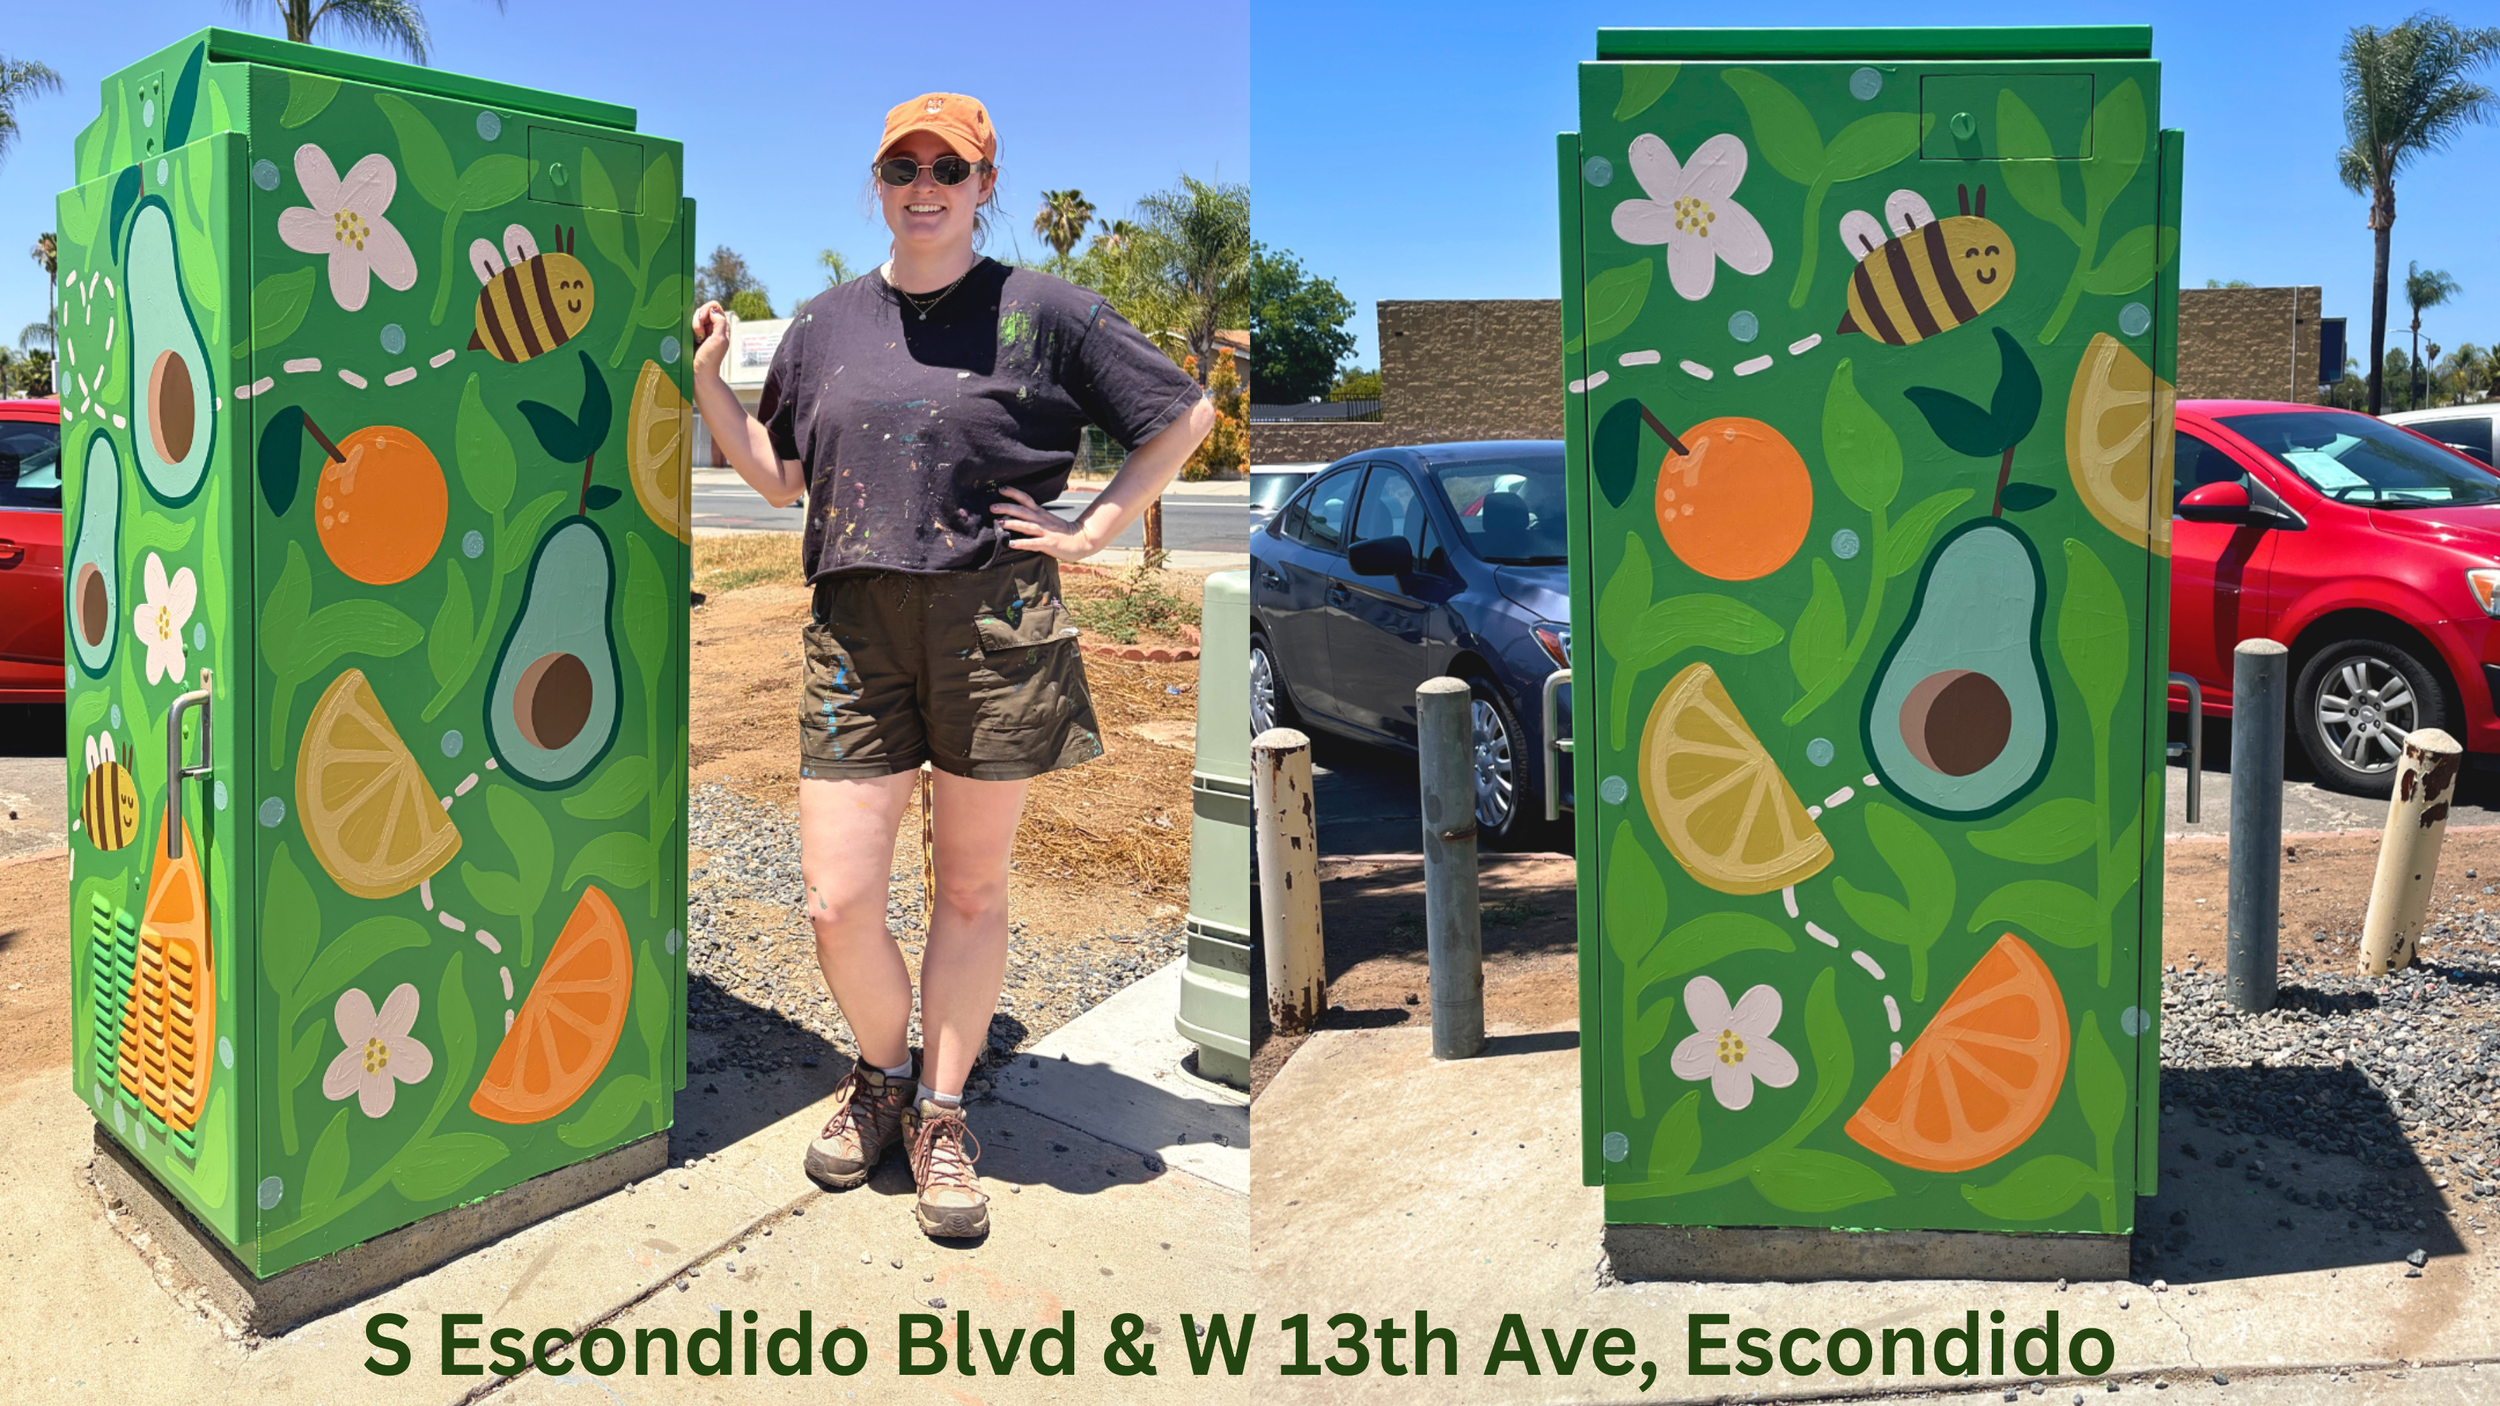
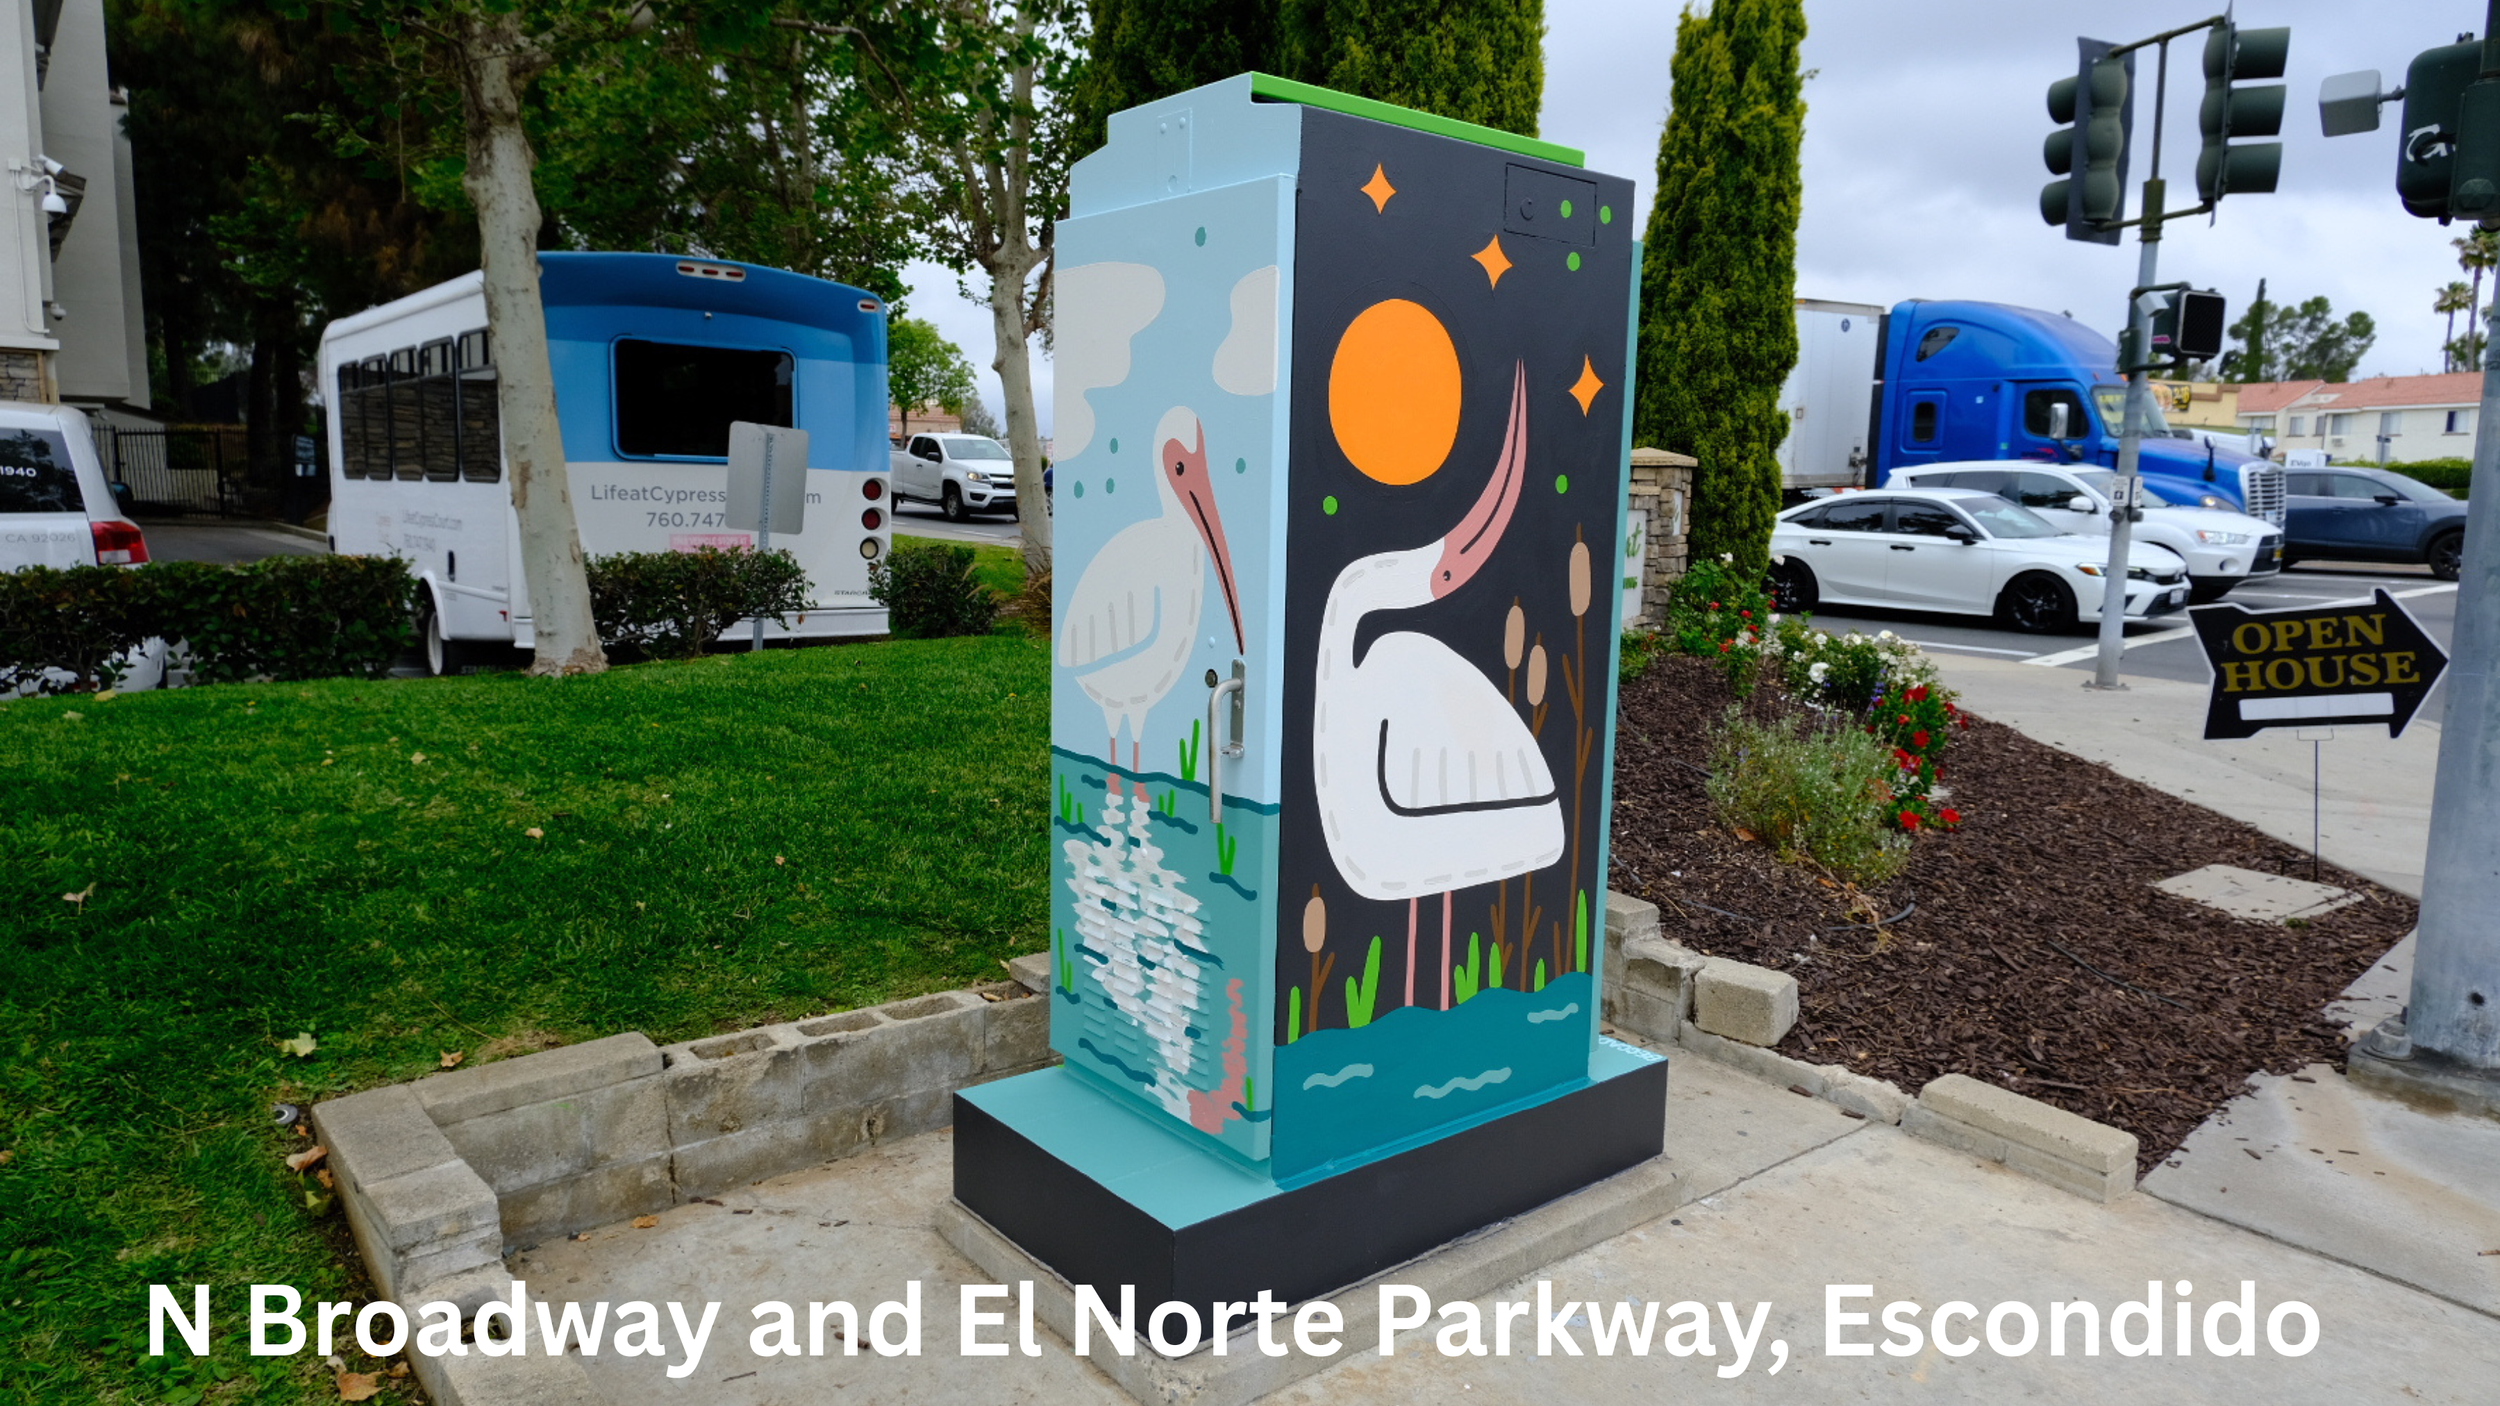
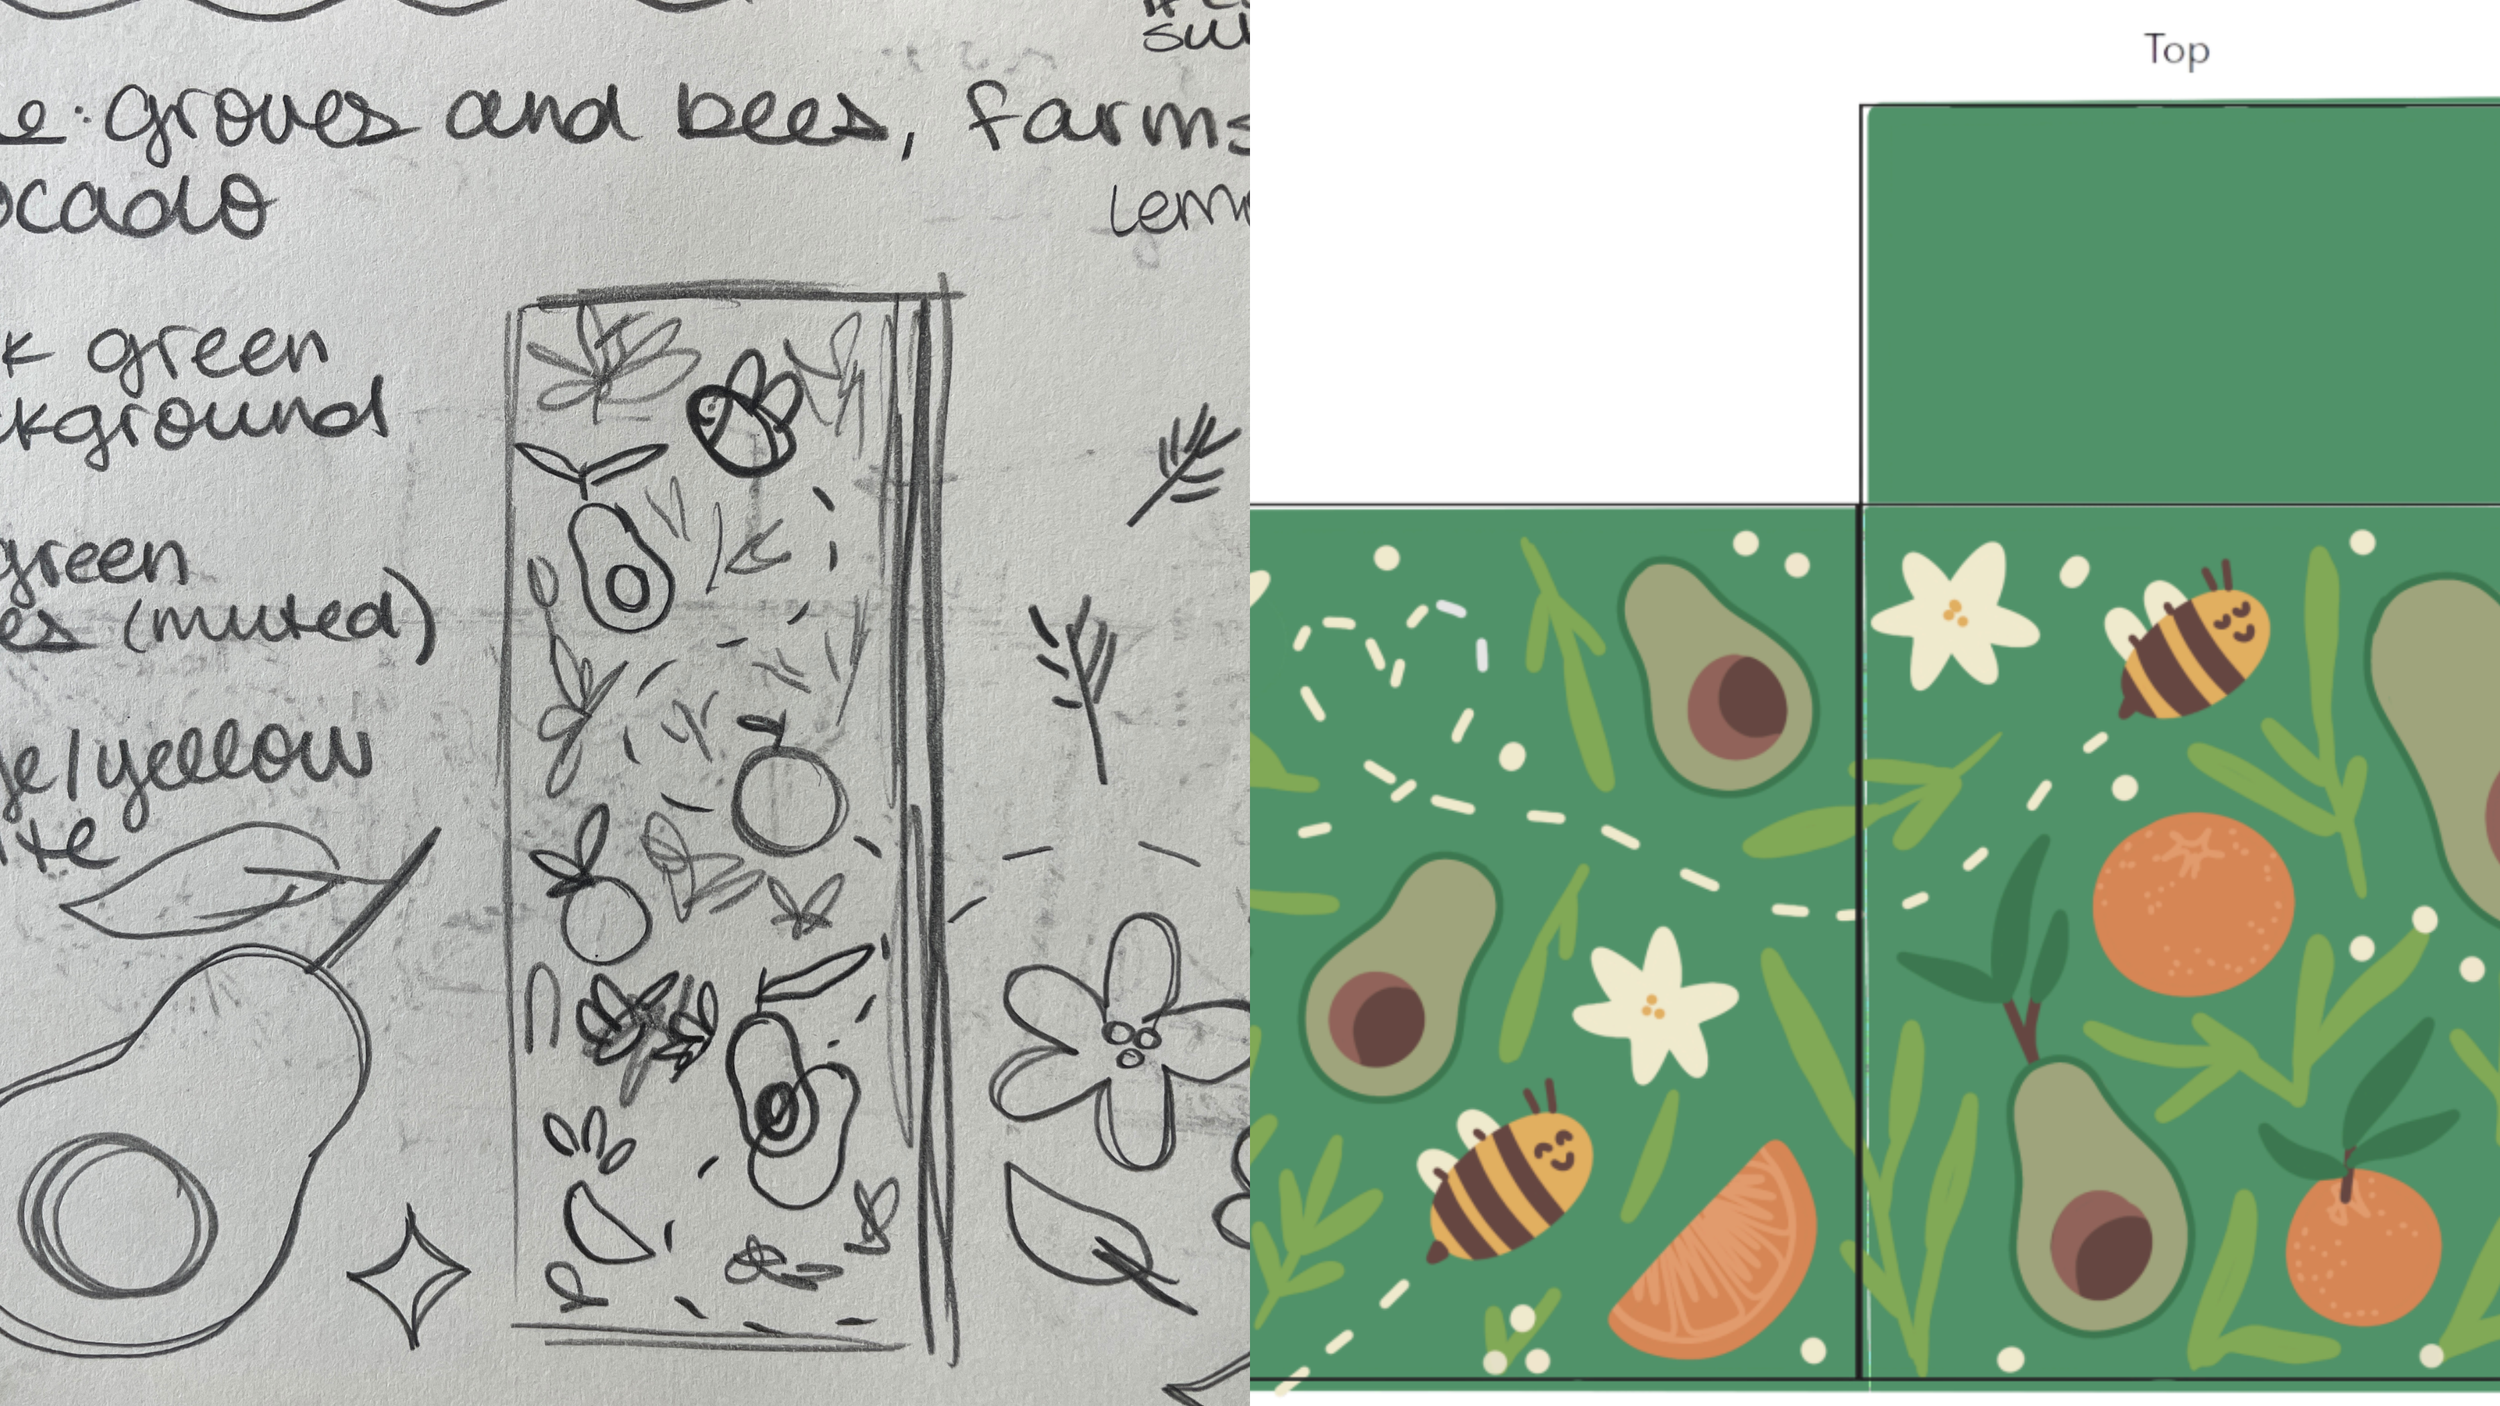
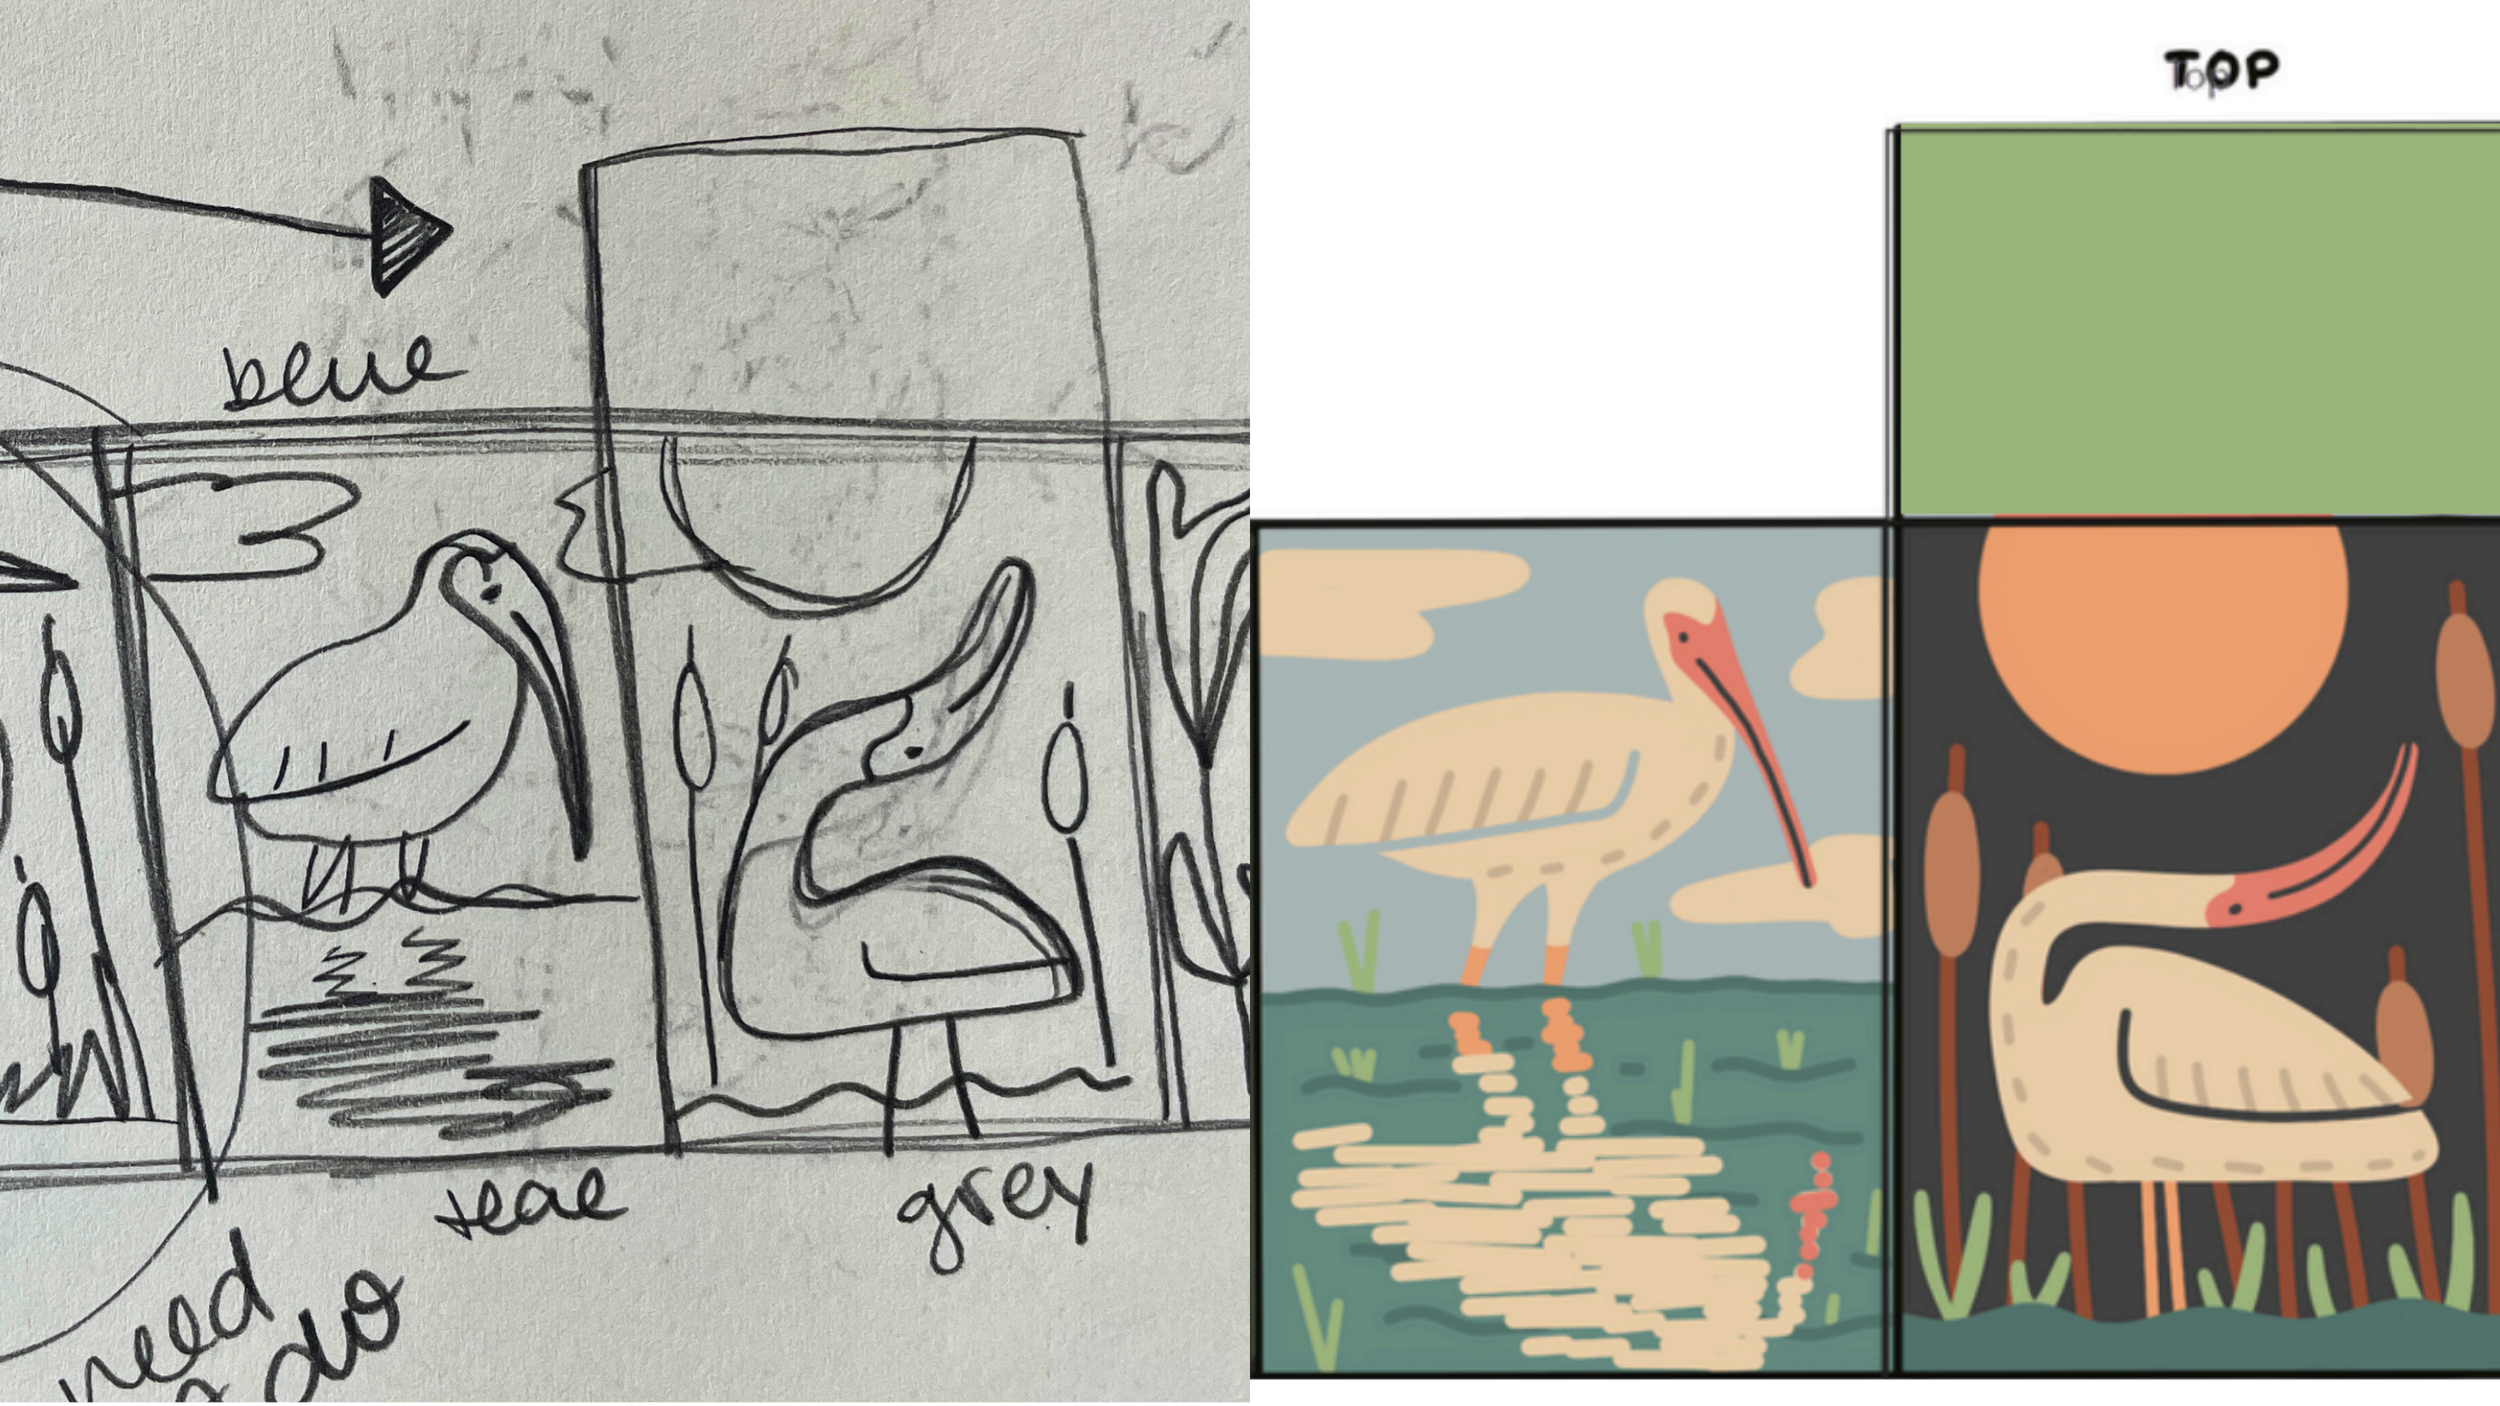
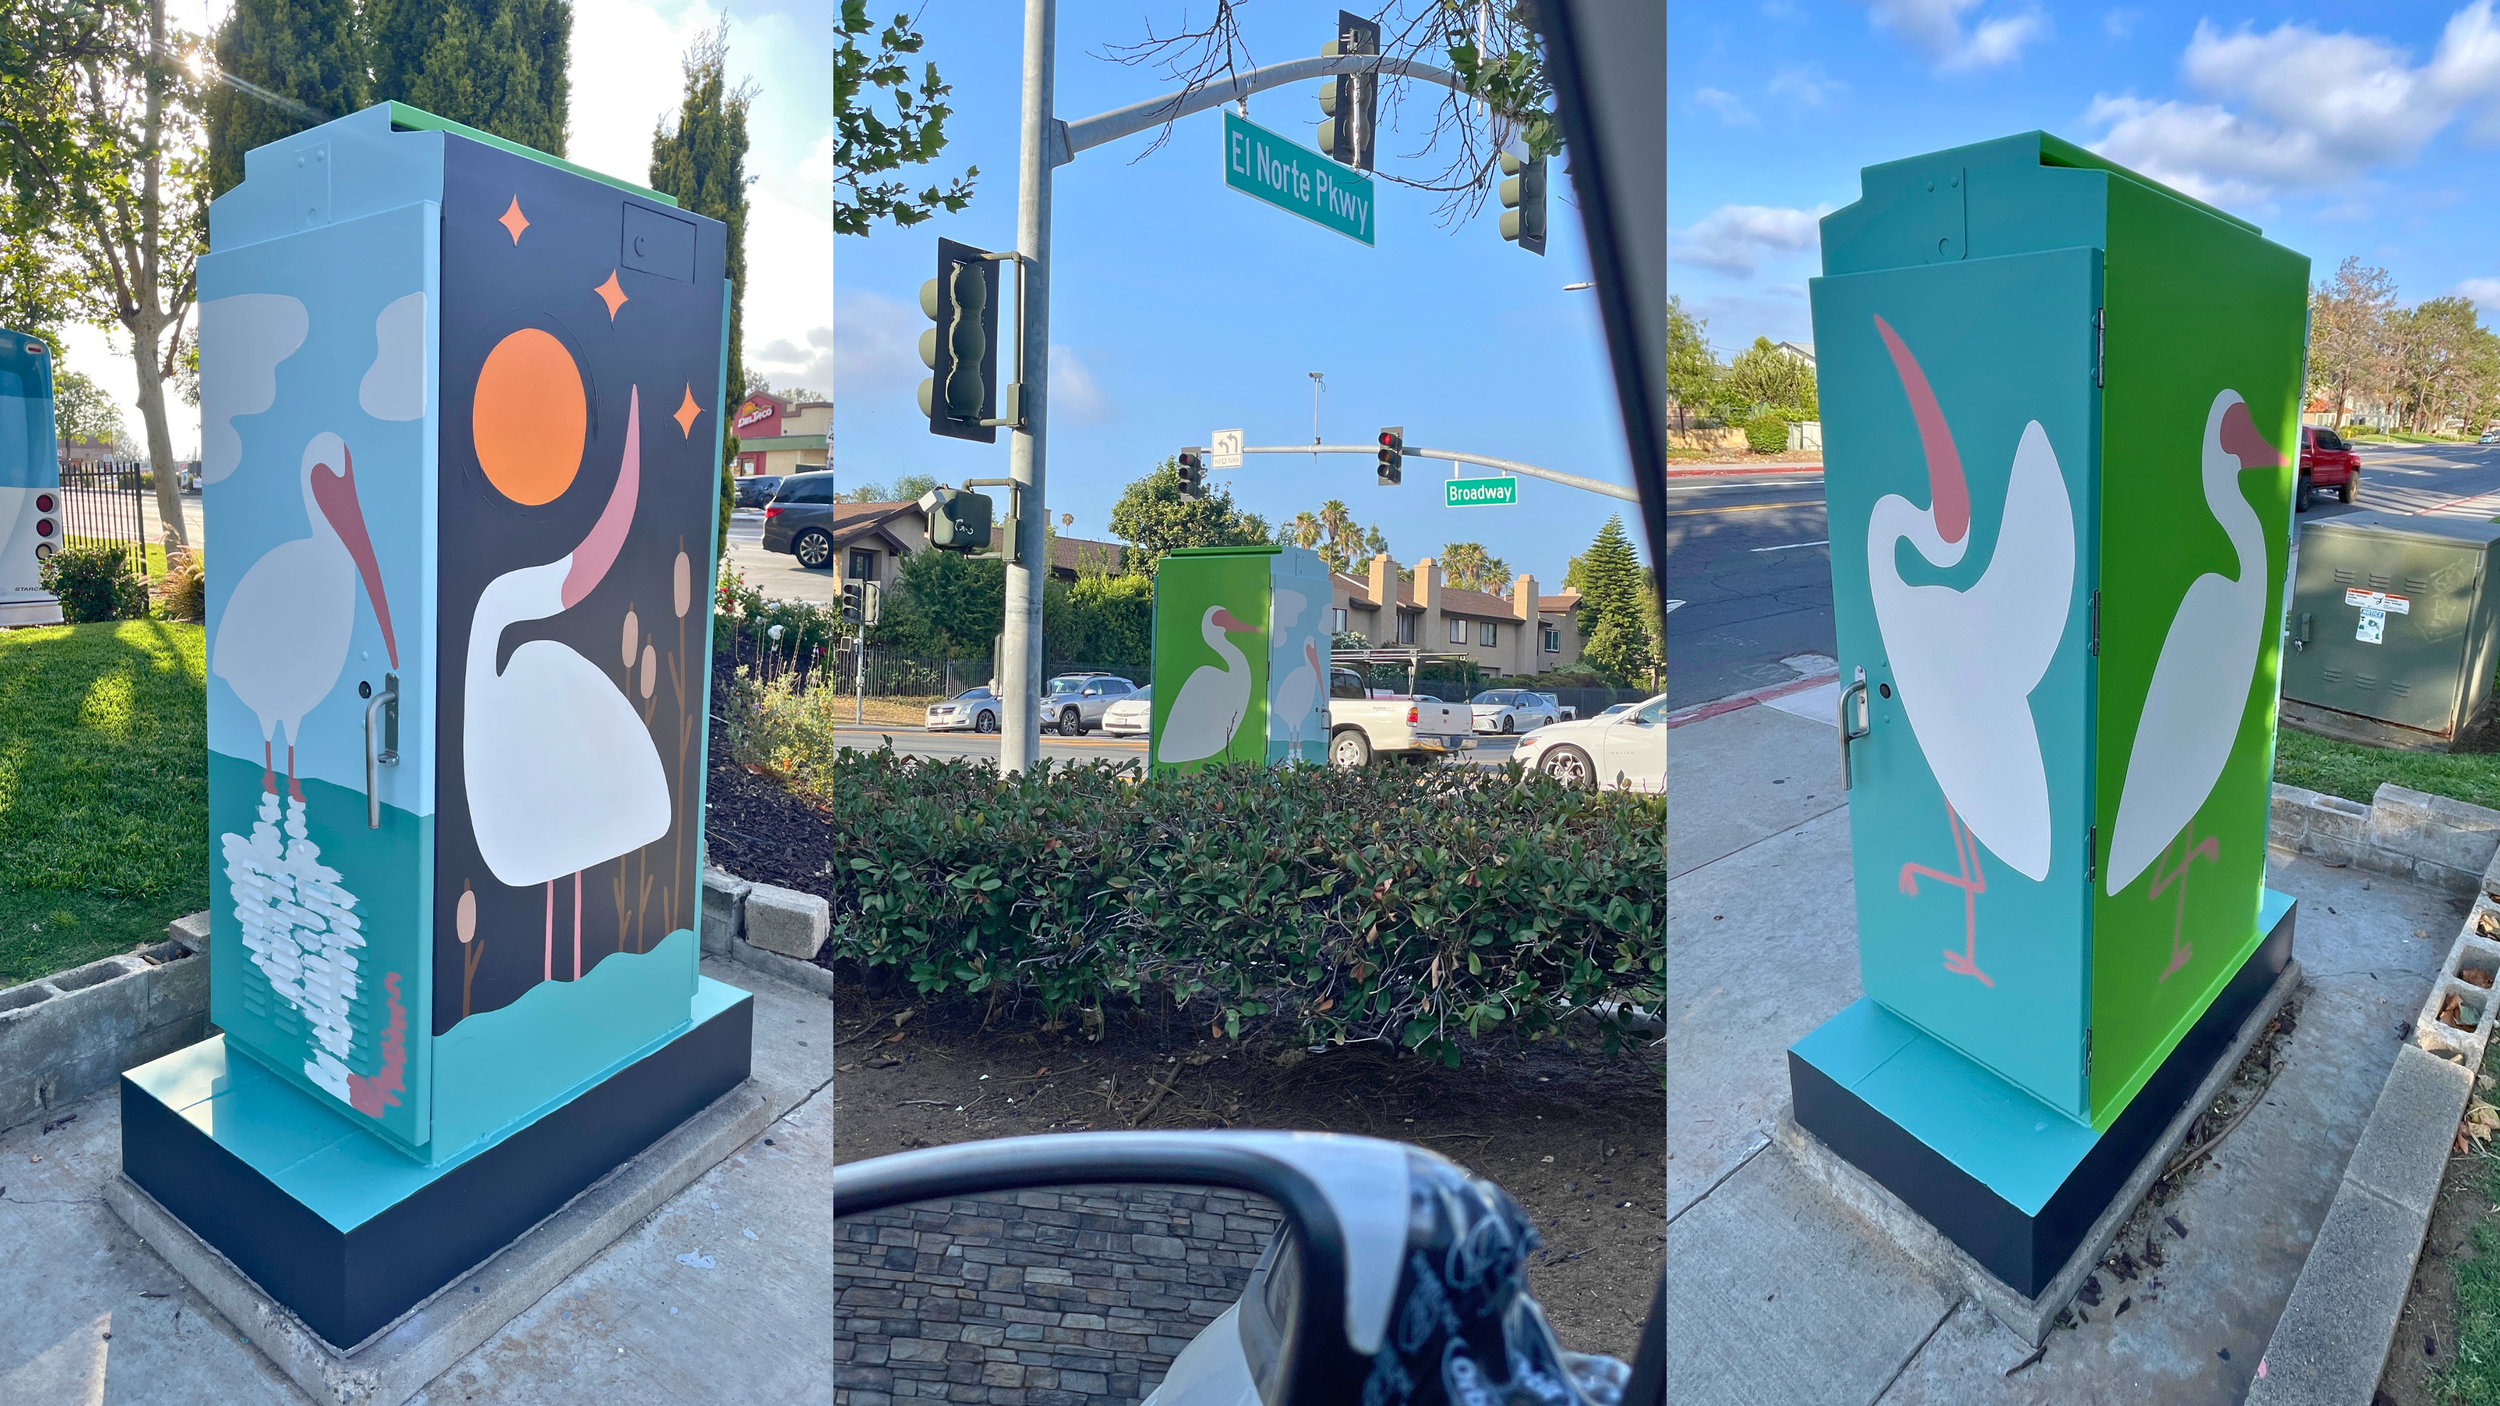
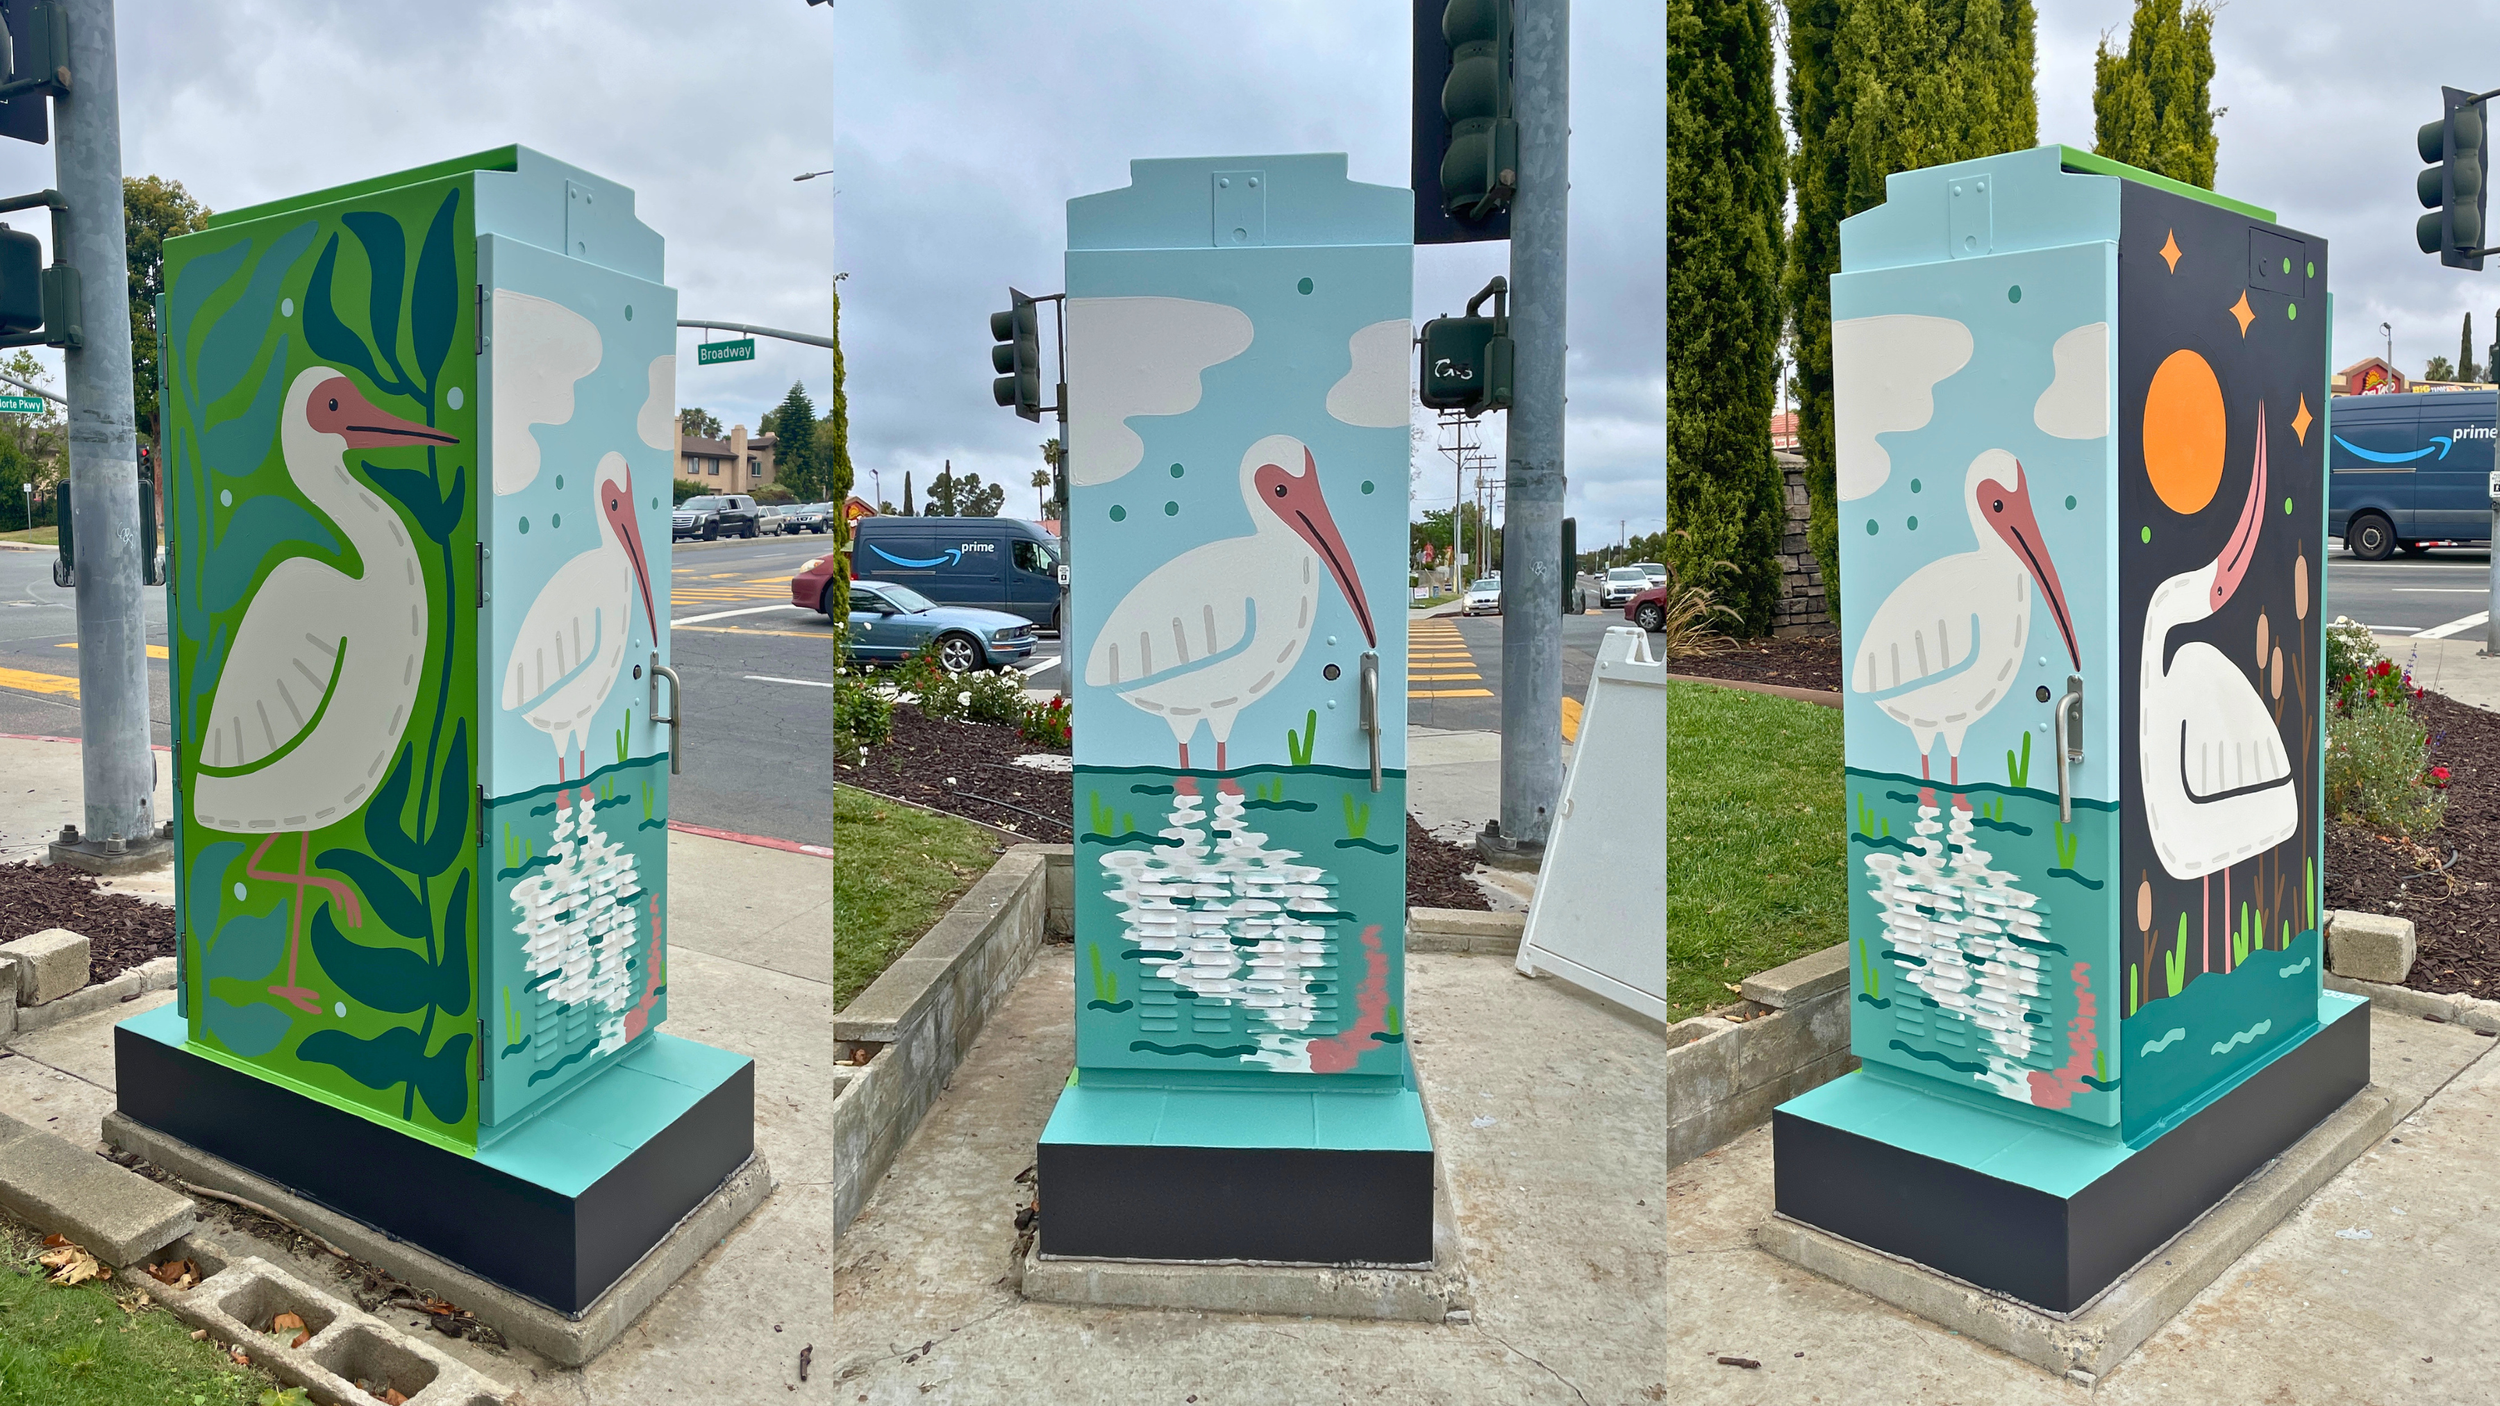
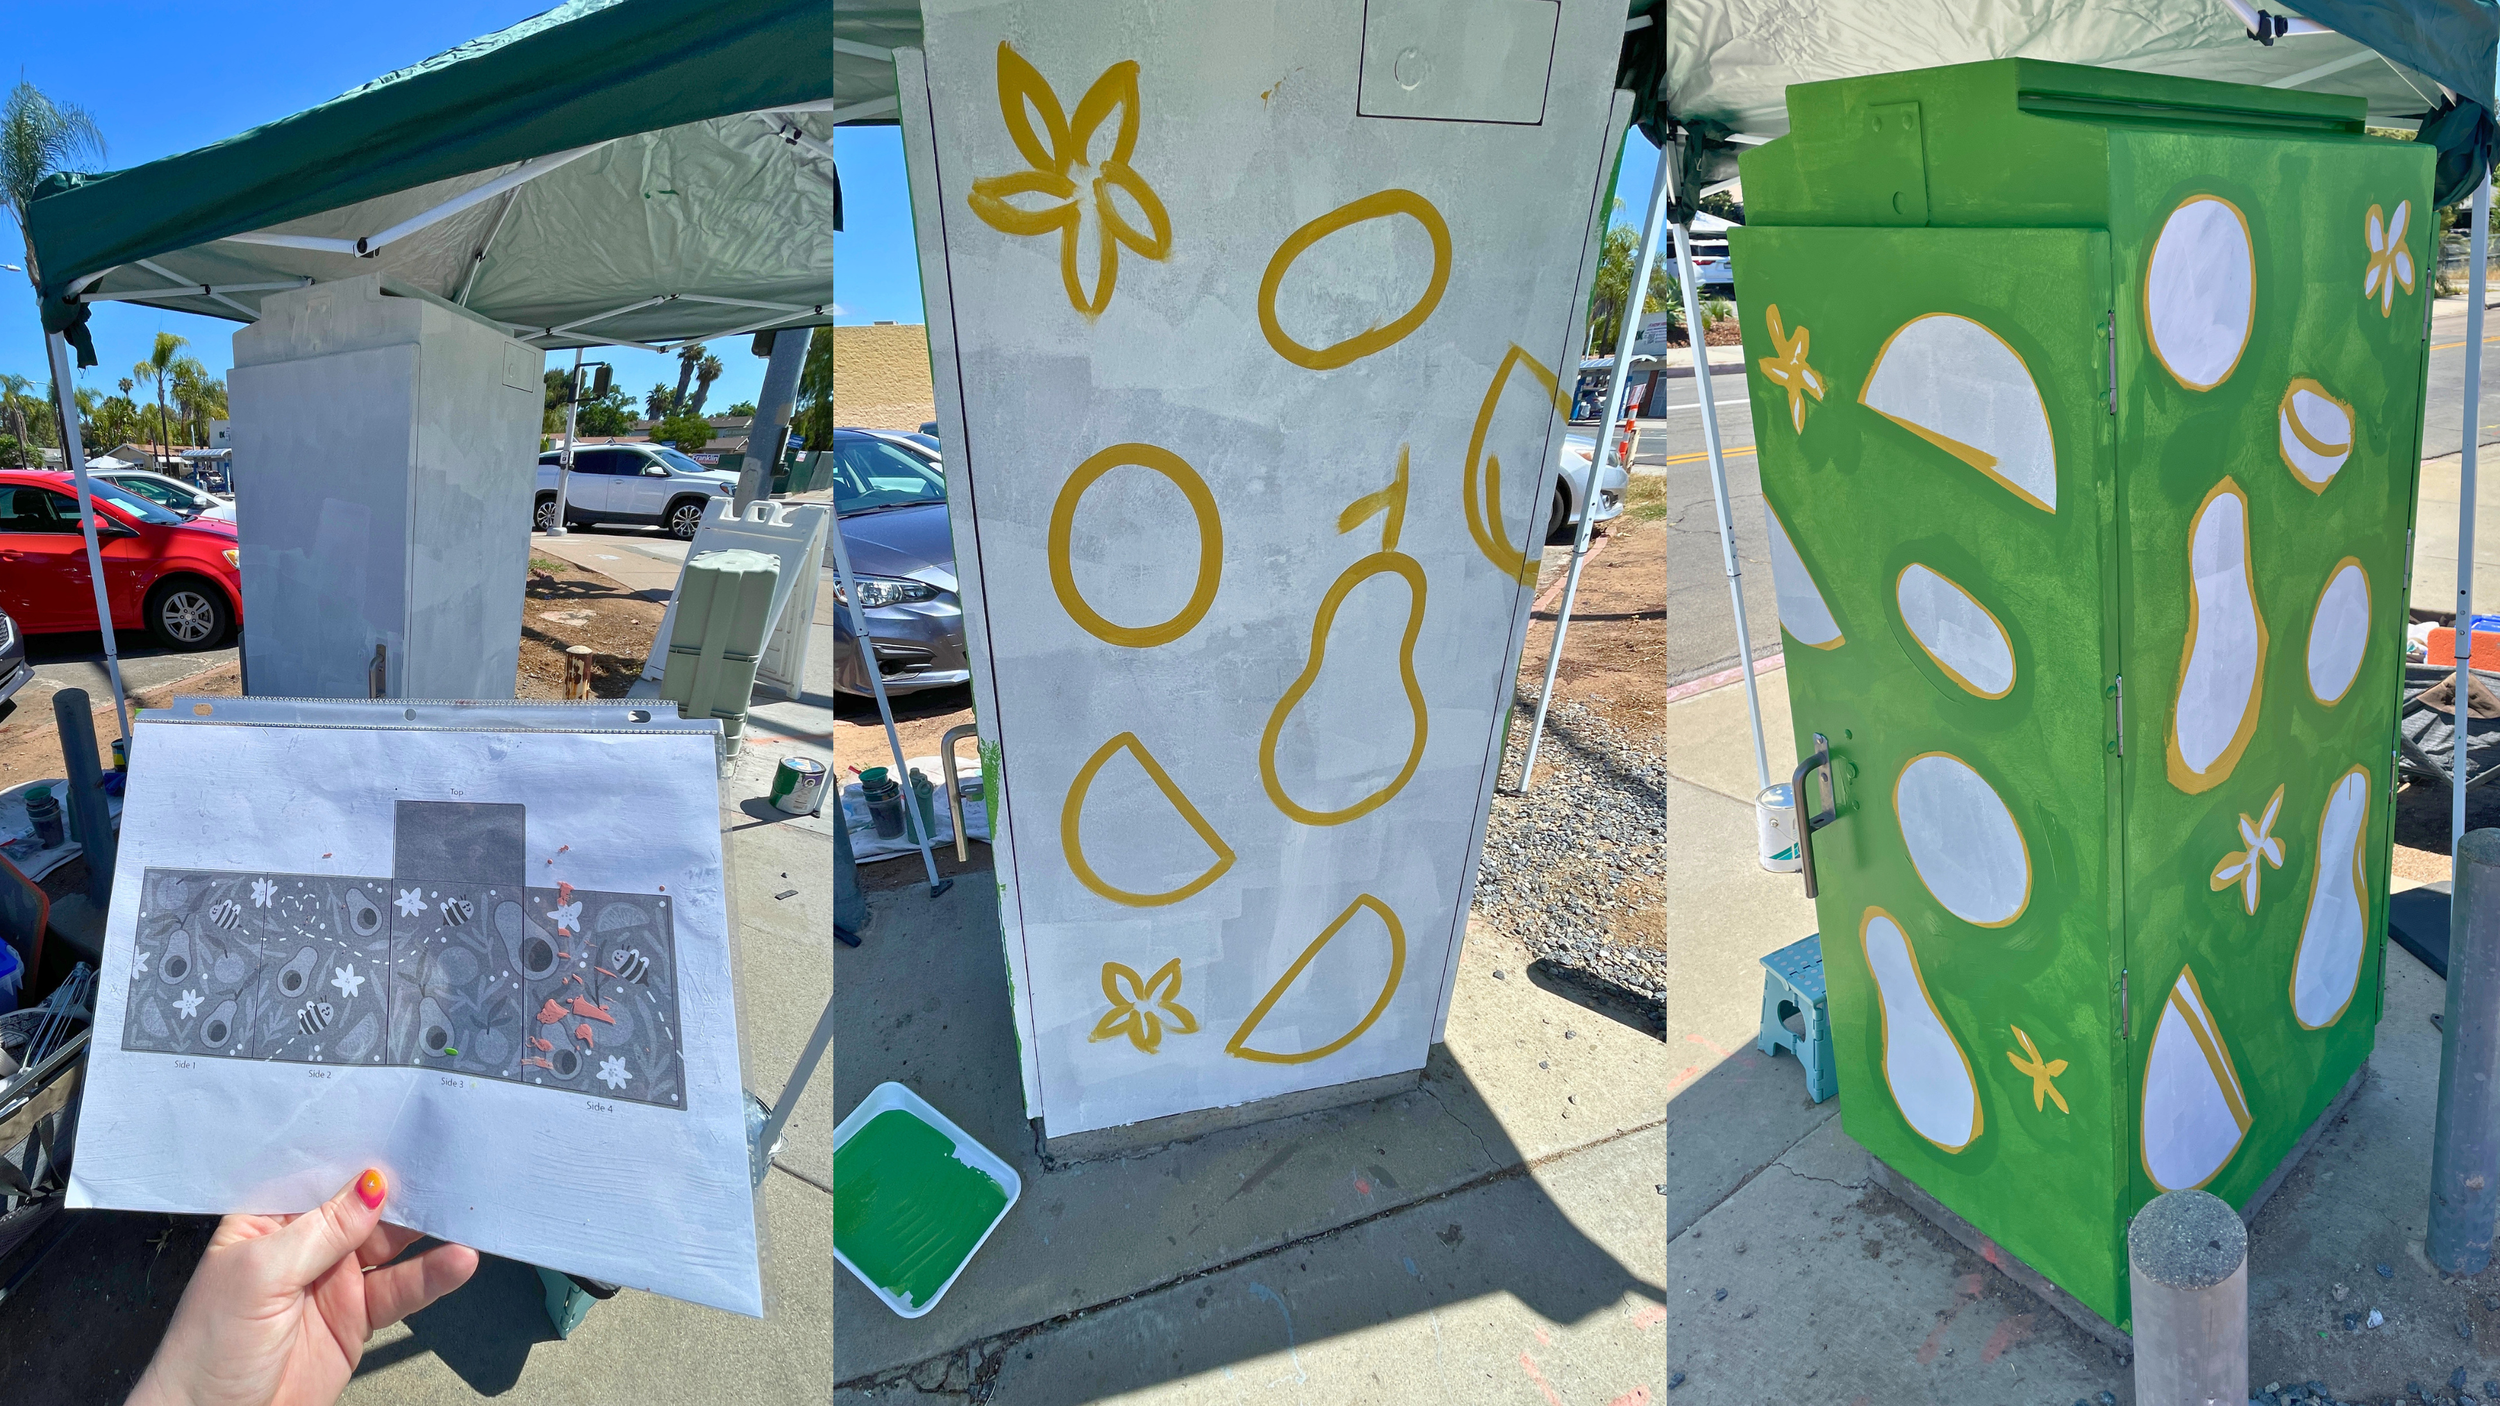
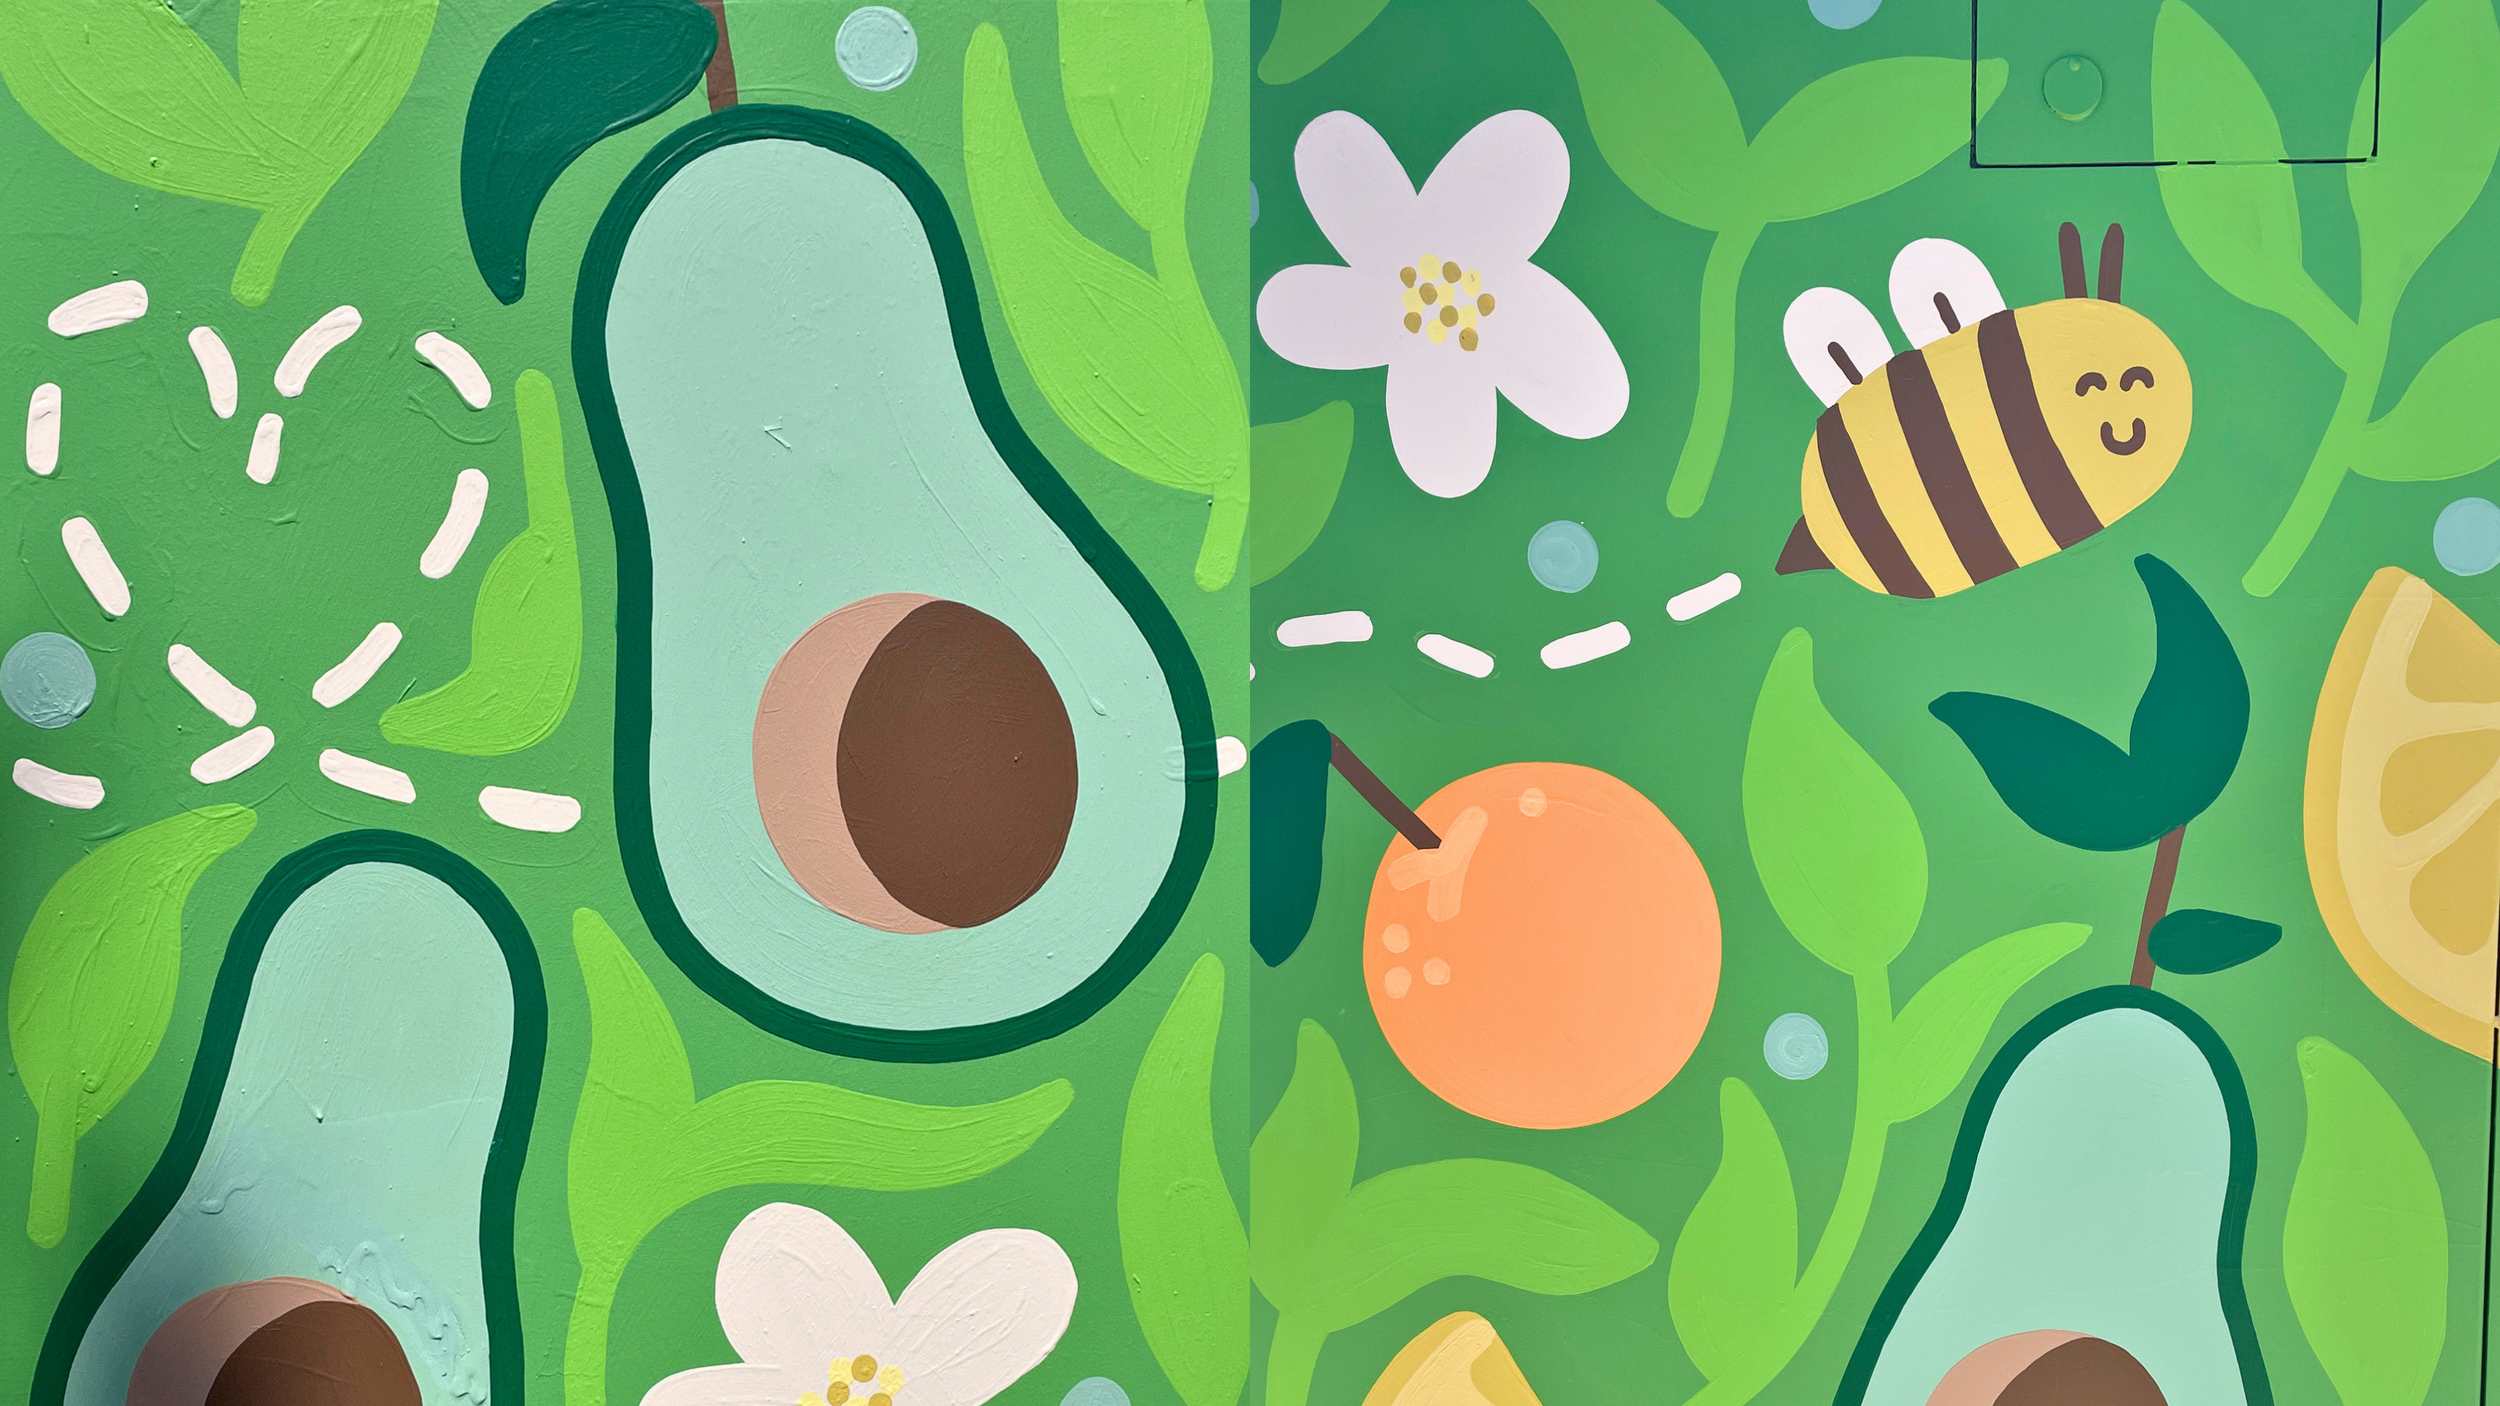
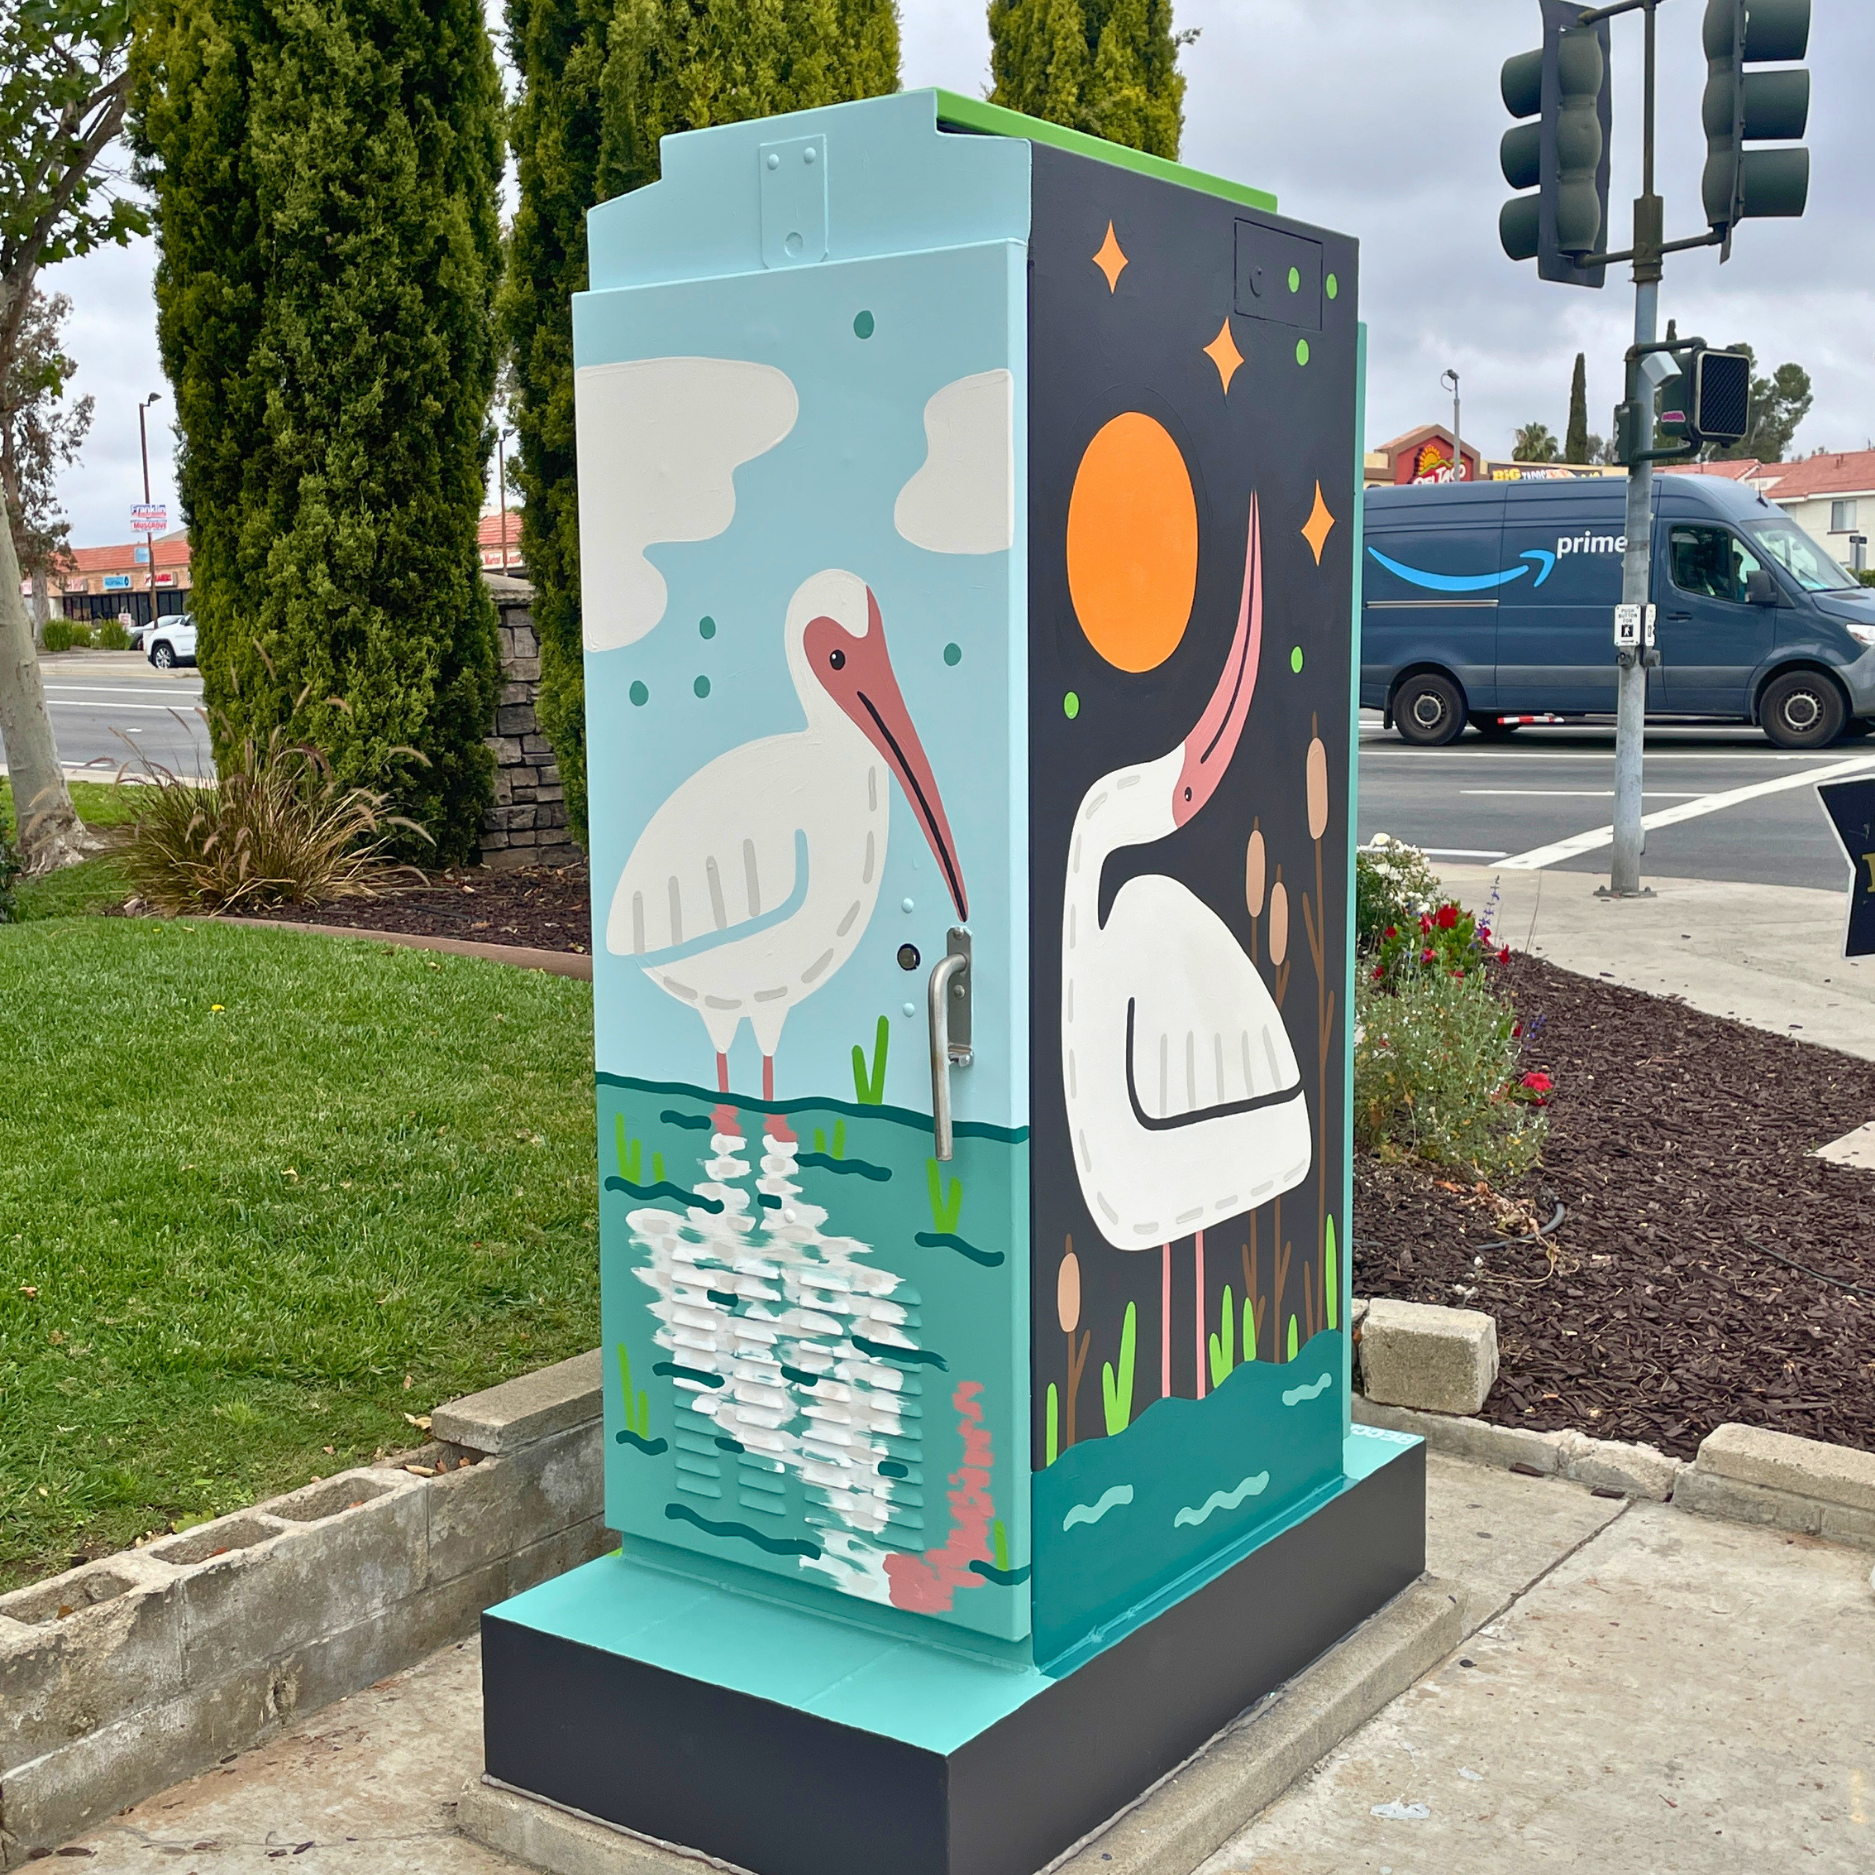
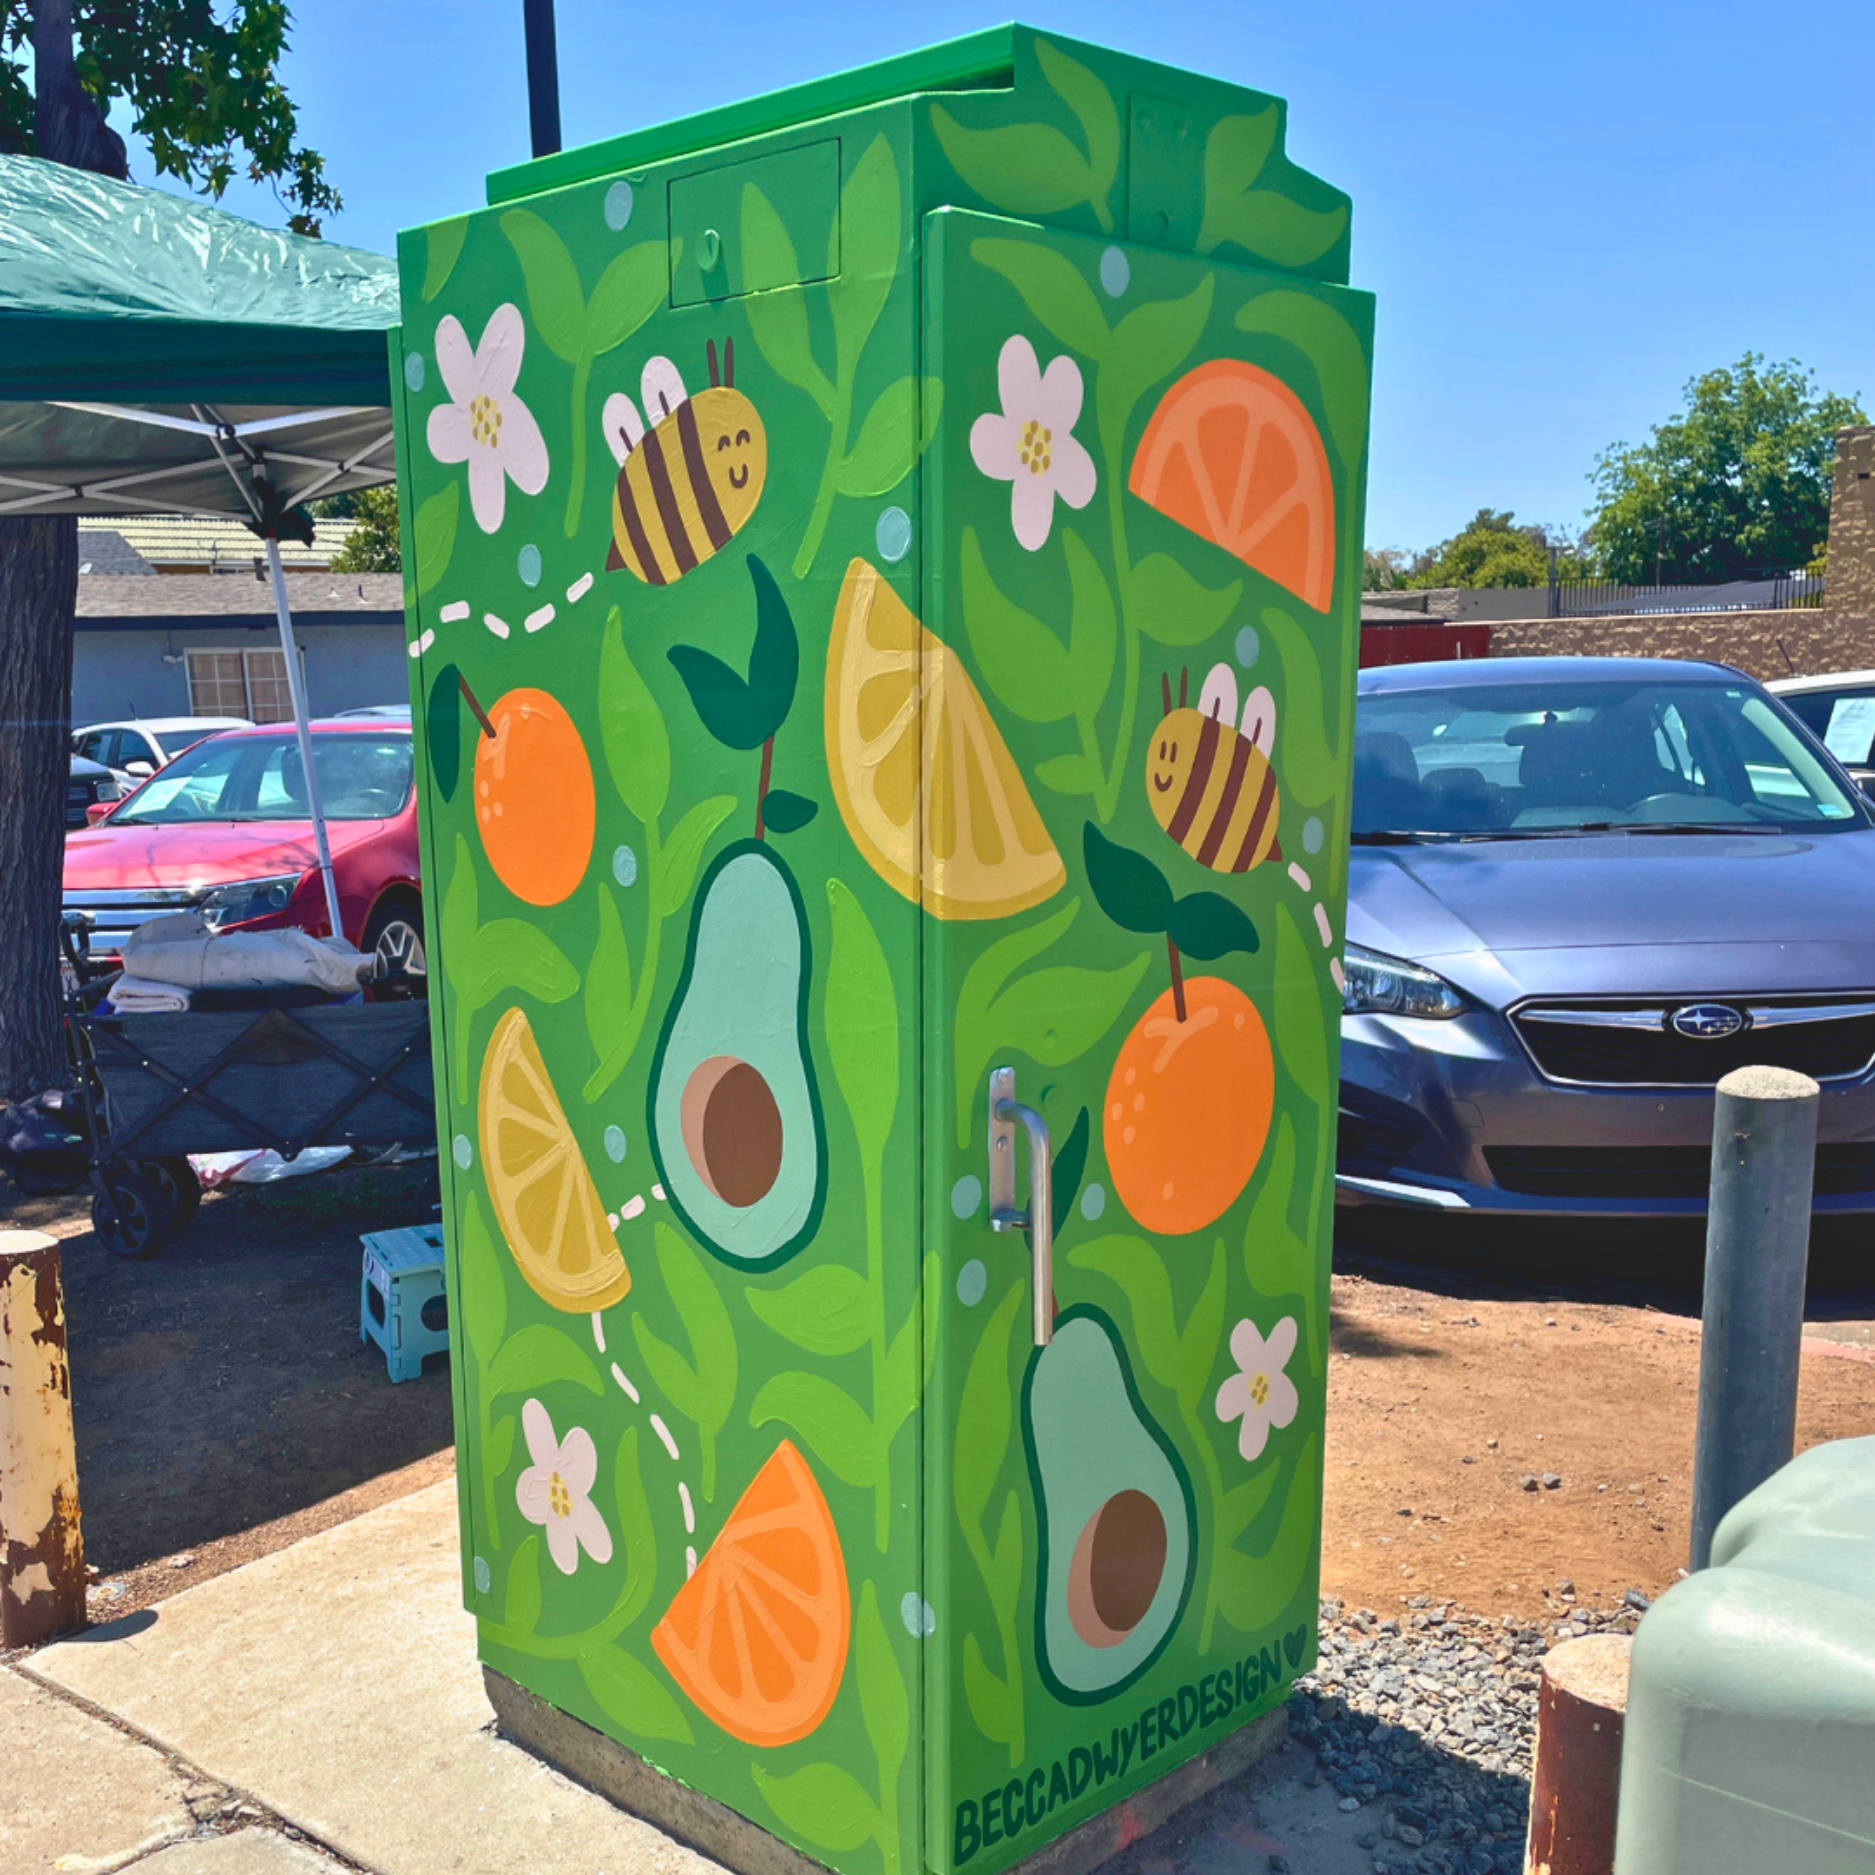
Anyways, after being evaluated by a subcommittee and shared for public input, both of my designs were approved, and two locations were assigned to me. The next steps were to sign forms and schedule a time to pick up primer, a high-vis vest, and a sign to display while I painted the boxes. But let’s get back to the designs! As always, I sketched out my ideas quickly before digitizing them in Procreate on my iPad. For “groves and bees,” I wanted to highlight how bees help the local farmers and economy by pollinating citrus and avocado groves. I started off with a green background, sketched in some fruit, added my bees with their dashed flight trails, and finally filled in the rest of the negative space with leaves. Since I had freedom with the second design, I decided to use an ibis bird idea I had submitted to another project that had fallen through. It’s inspired by one of Mike Wilcox’s art deco prints, and I’m so happy I was able to bring the design back to North County!
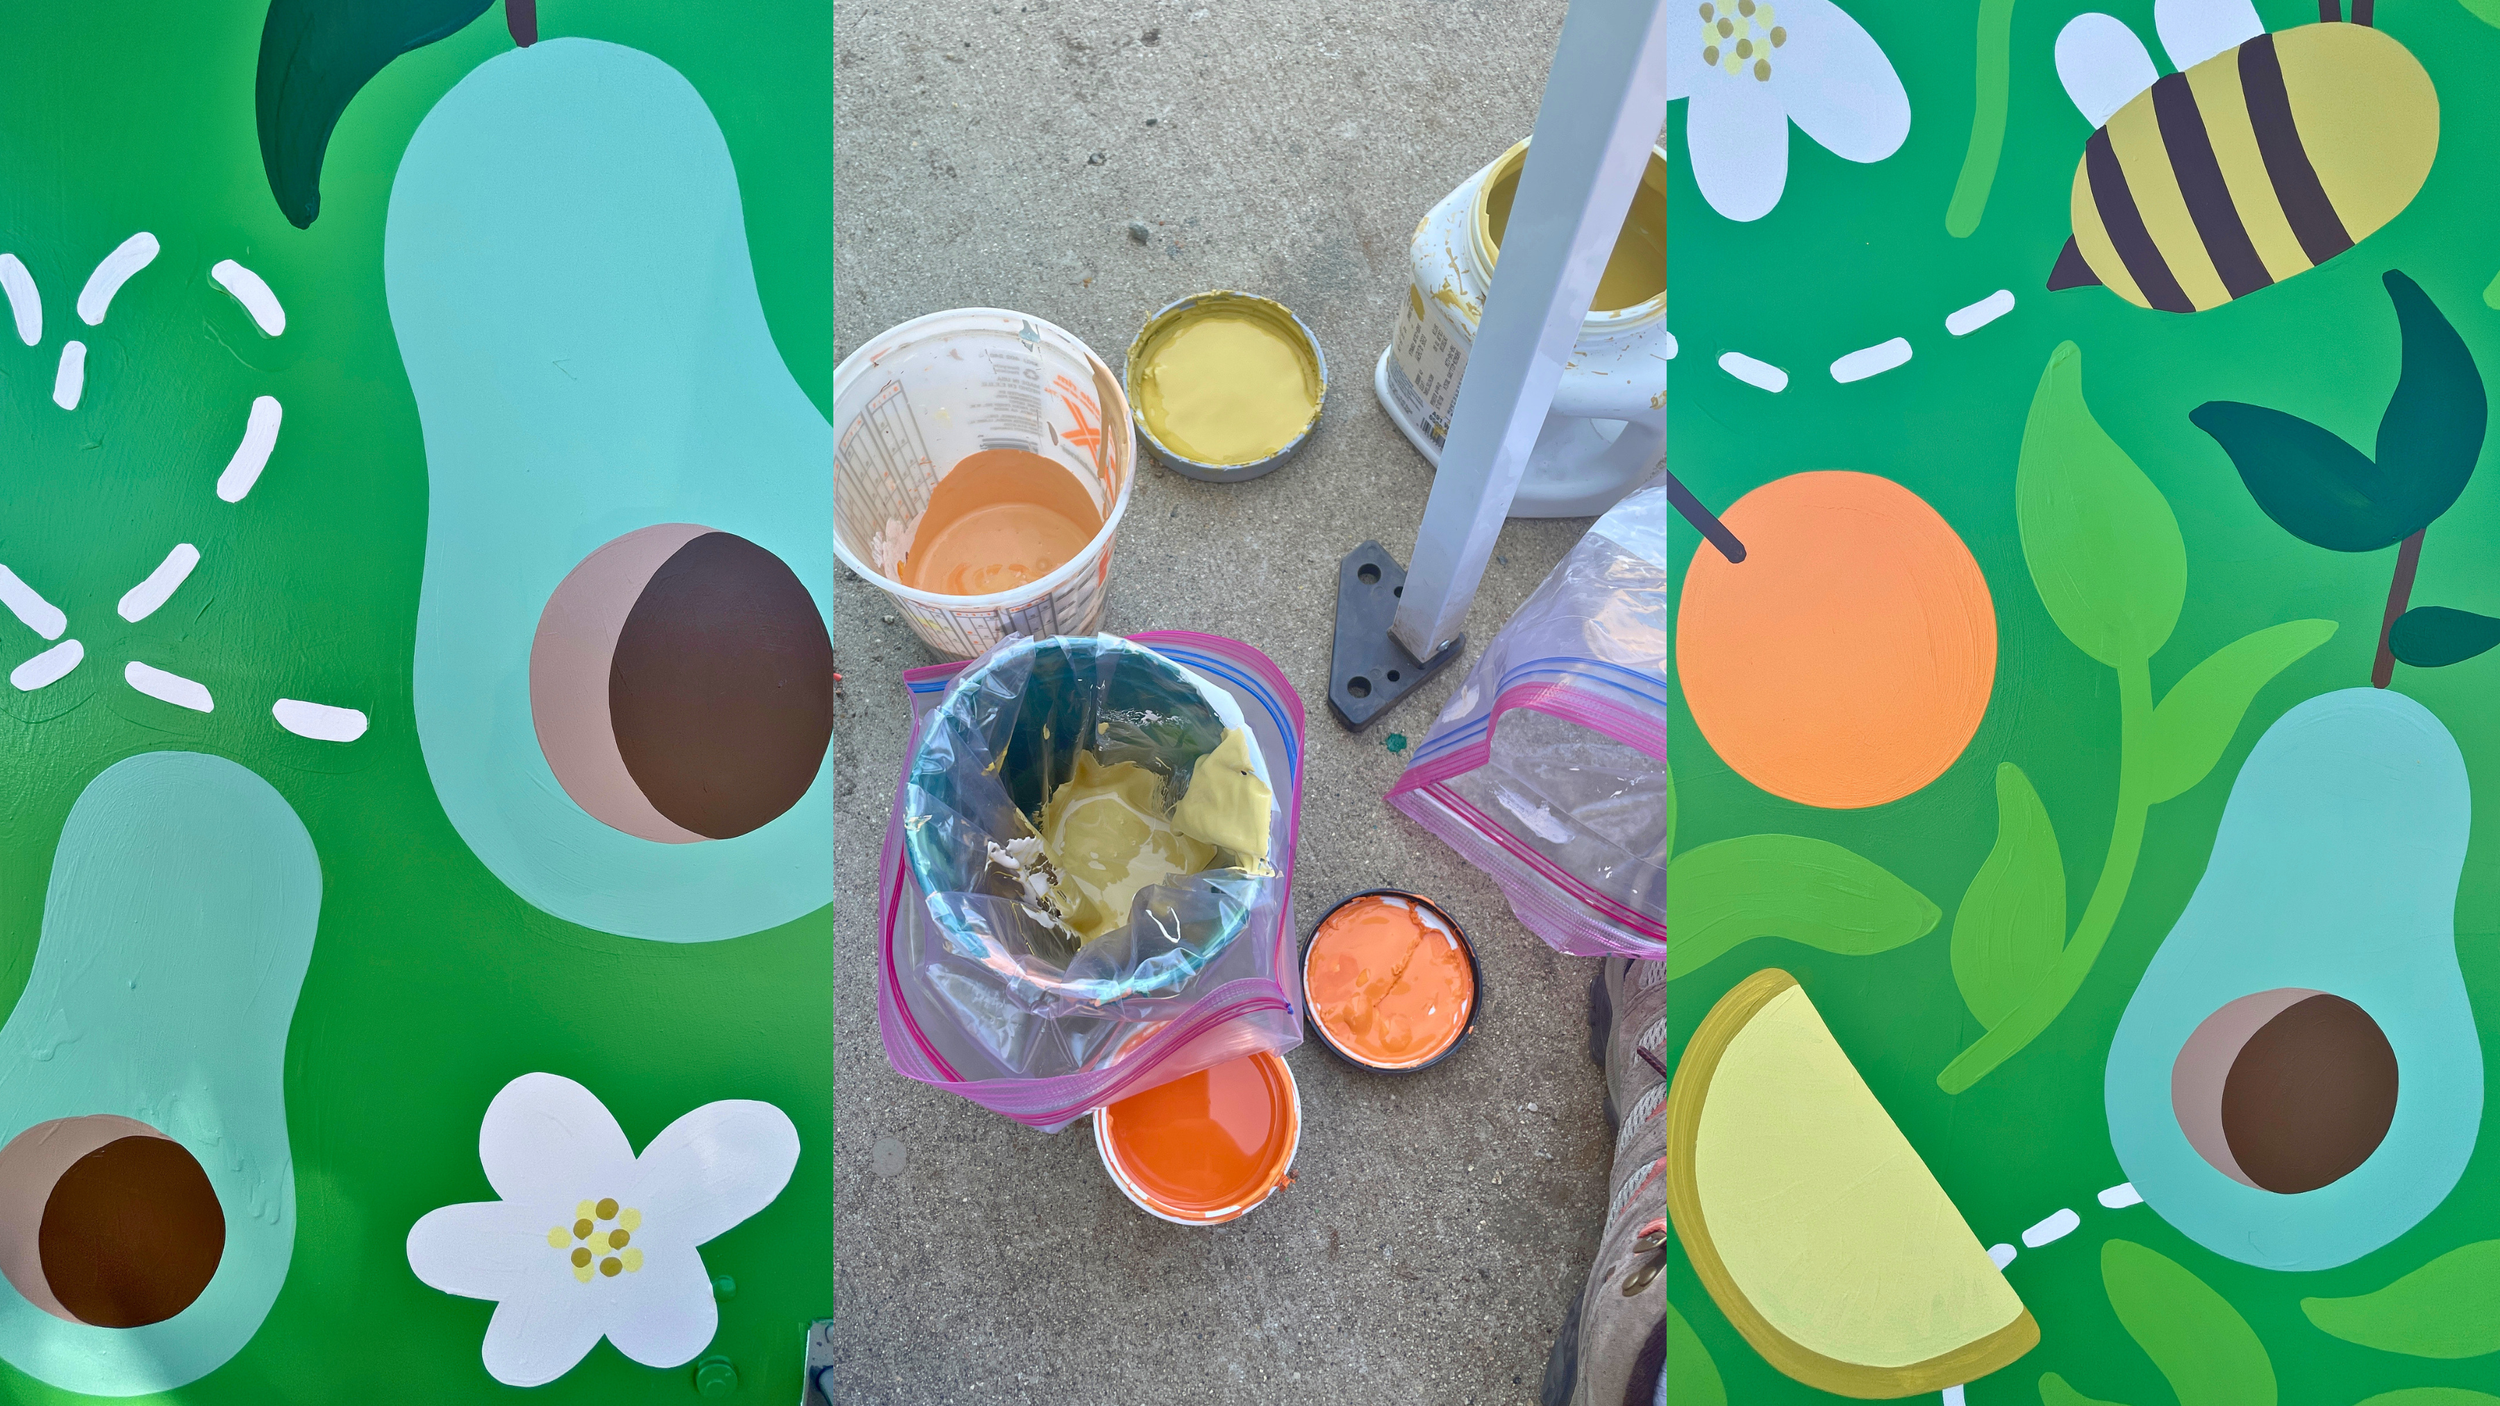
After picking up my supplies from the city hall, I decided to look at all the paint in my garage and see what I could use for this project. Thankfully, I only needed to order a few samples and one quart of paint - everything else was reused from previous projects or mixed! I packed everything into two small tubs before my dad and I set out that evening to clean and prime both boxes.
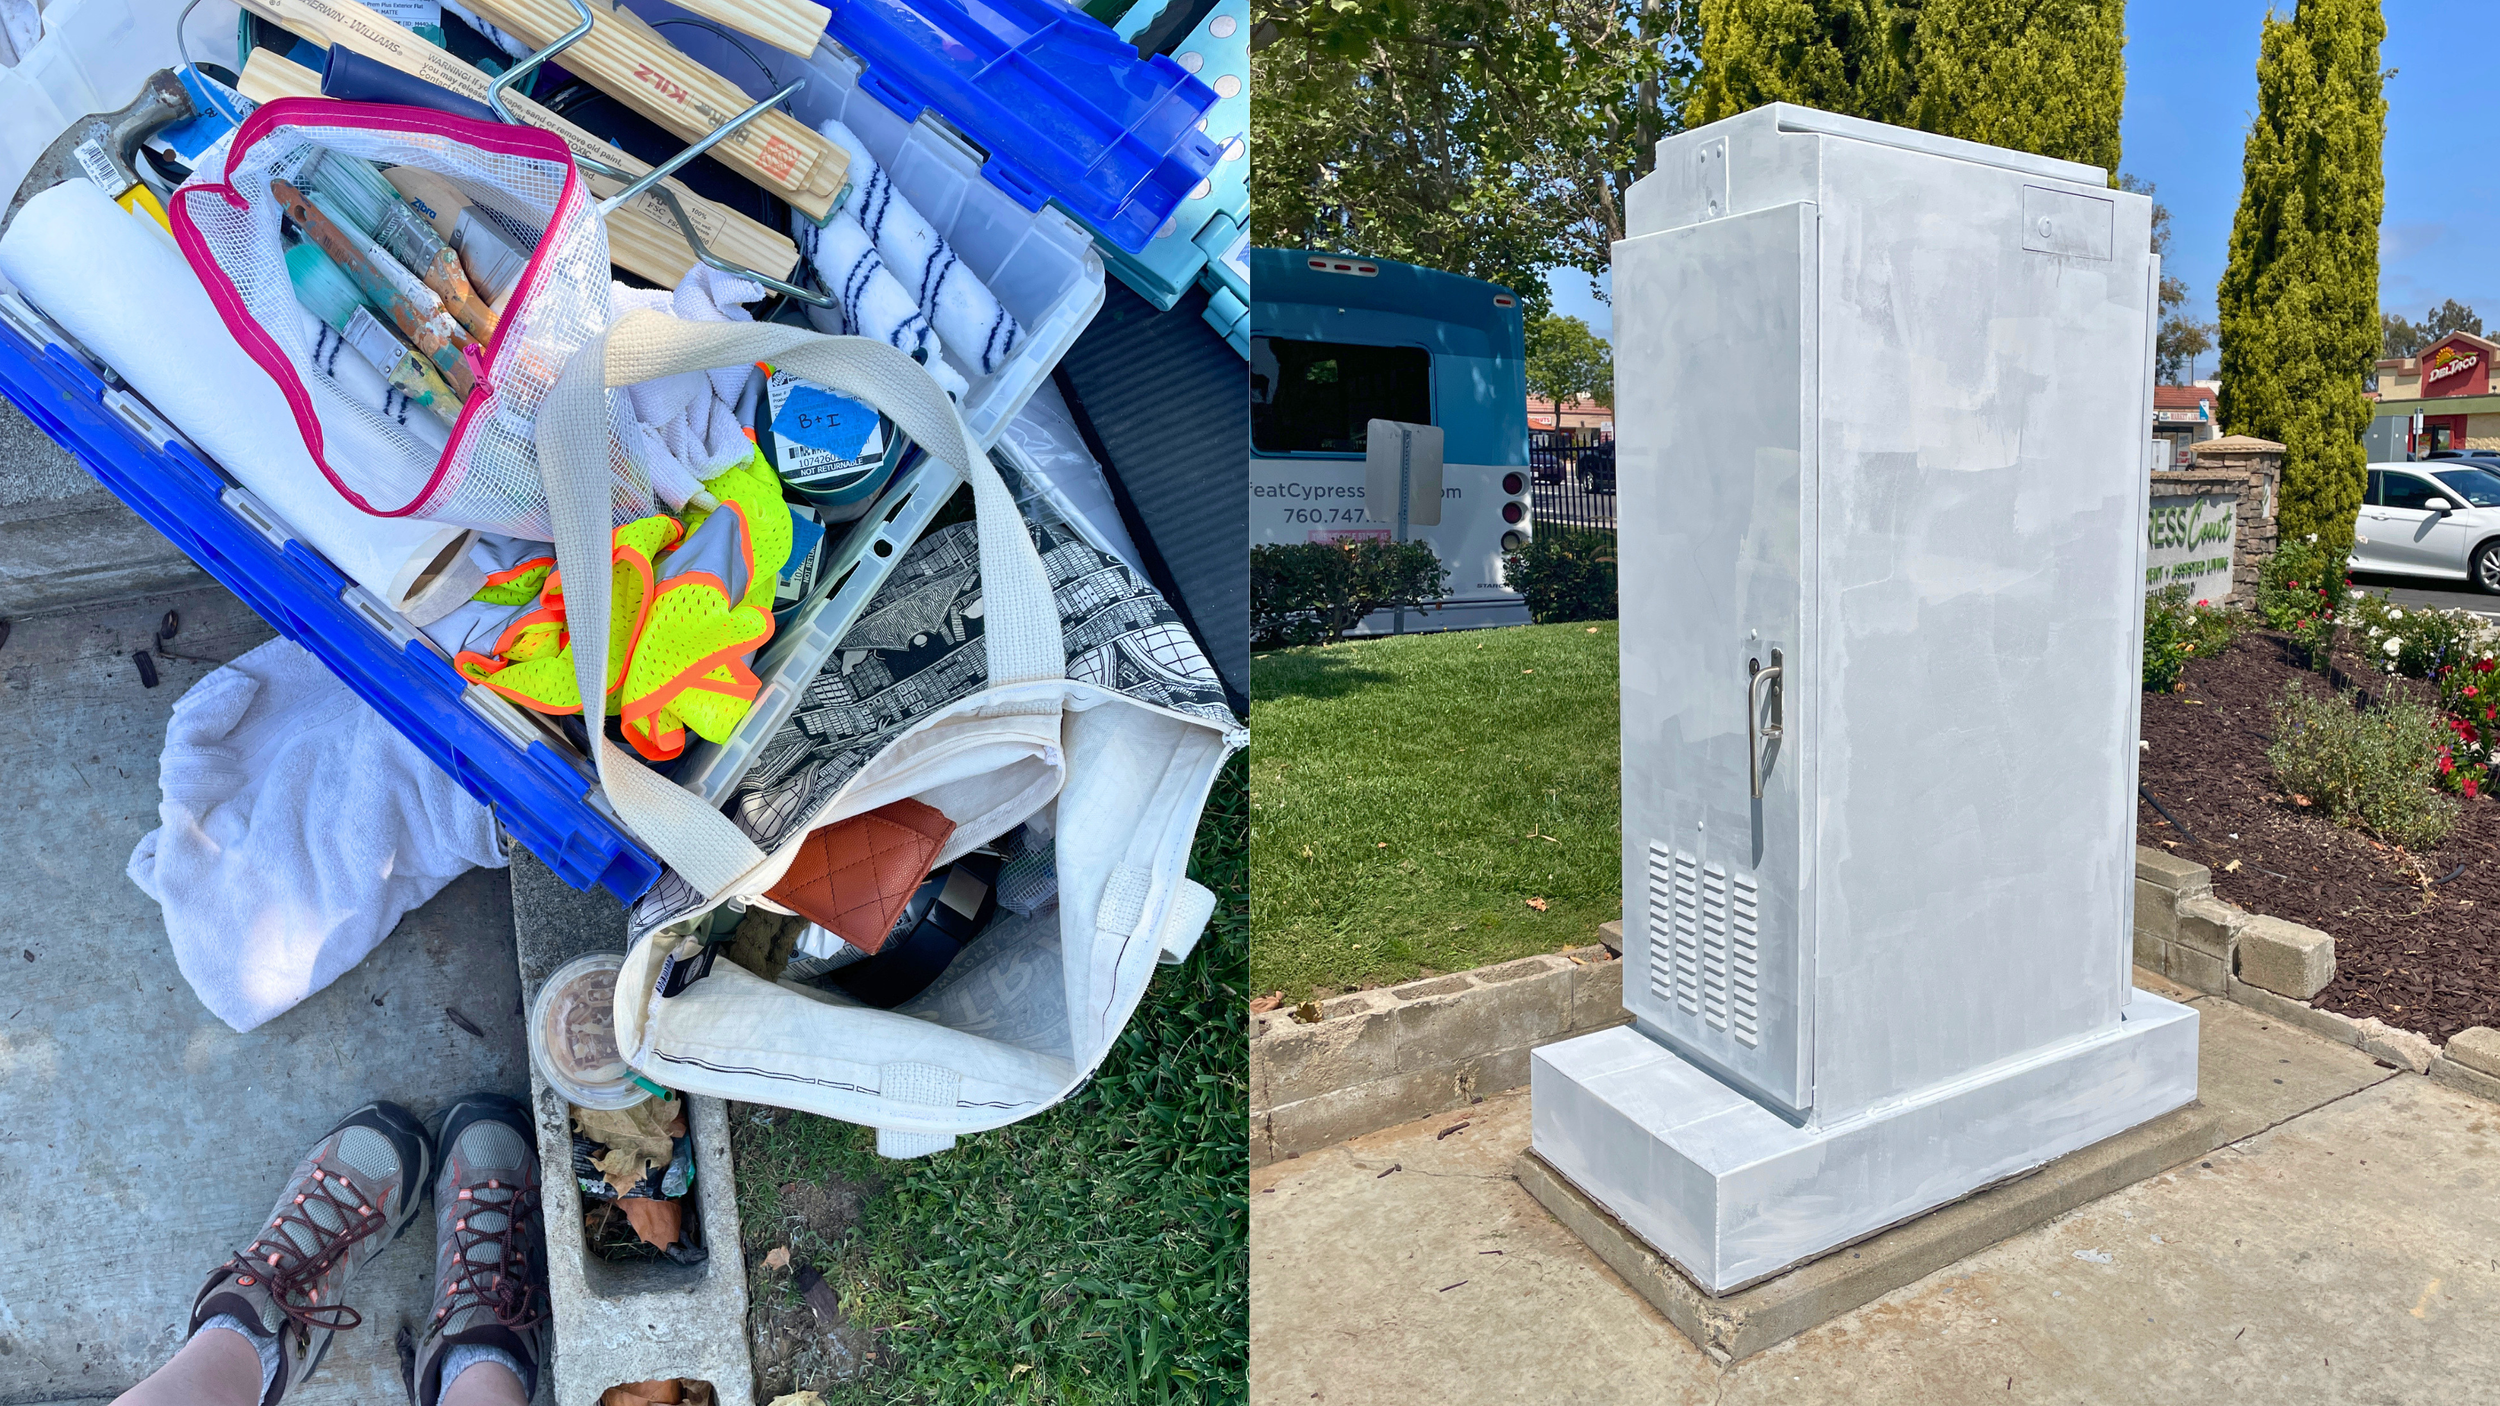
Utility boxes are notoriously dirty (think pee, both dog and human), plus so much dirt and pollution. That said, these were the cleanest boxes I’ve seen! It took us just under an hour to prep and prime each box. The first step was to wash it down with water and rags, then wait for that to dry before using a brush and small roller to apply the primer. Escondido provided the primer, and it was a very thin, water-based paint. I don’t remember the brand, but it did the job well! The only issue we ran into was with the second box. There were layers of thick paper stuck to the front that we had to scrape off before using an electric sander to smooth everything down.
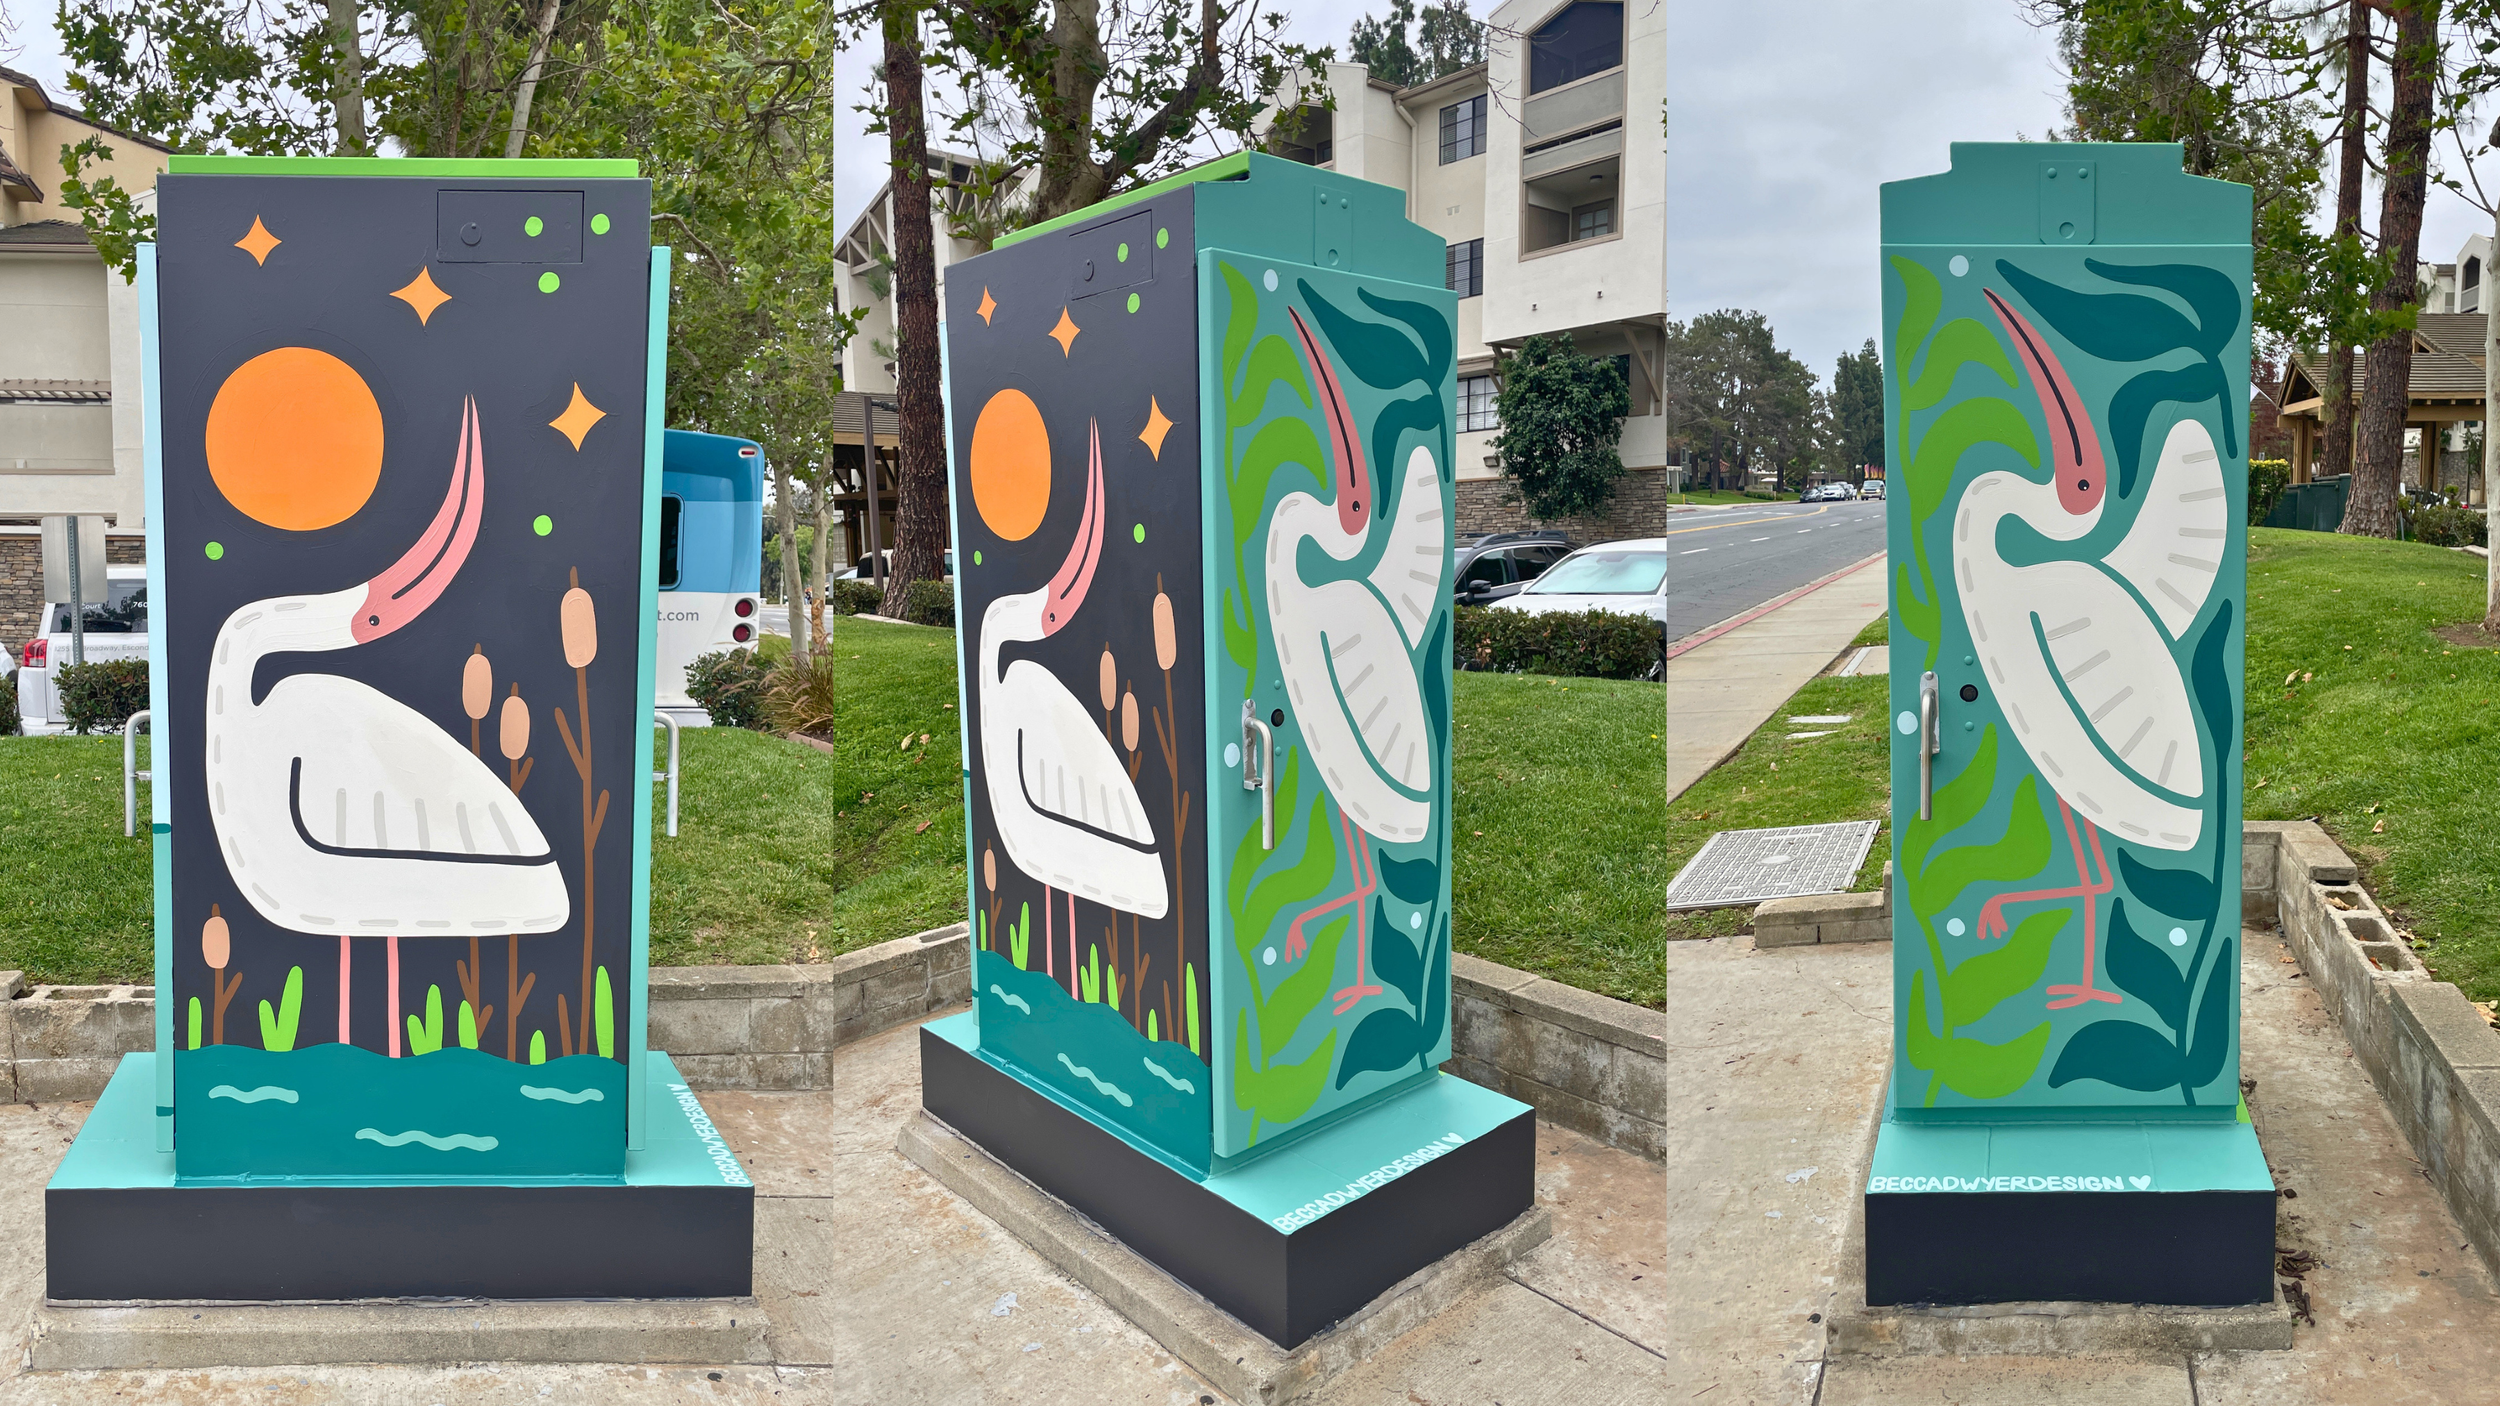
The next day, I went over for a few hours in the morning and evening to paint the ibis box, going home to stay cool during the hottest part of the day. To start, I used a red/pink color to roughly outline the shape of the birds and the general layout. I was nervous to paint on the street with people watching, so I started with the back panel and easily fell into a routine. Once I was happy with it, I started to block in the main colors with small rollers. Then I used brushes to block in the birds, including their body, beaks, and legs. When I left at the end of the day, everything was blocked in and ready for details!
When I woke up the next morning, I was SO sore, and took the day off to rest. It was a 3-day weekend, so I knew I had Monday free to finish the artwork. When Monday came, I got myself an iced coffee and put in my headphones so that I could finish my audiobook while I completed the mural. I started by painting in wavy leaves on two of the sides, and I wanted the leaves to move around the shape of the birds. Then I had to fix the teal color on one panel, because I was using a black and white mockup and messed up! Then I added details to the birds’ eyes, a mouth, and feather lines before doing small touch-ups and adding my artist handle before letting everything dry.
Now it’s time for one of the most important things, varnish. I’ve been using Overcoat by Mural Colors, and I take a brush and roller to apply 1-2 coats over the entire thing. This provides UV protection and also a barrier between the paint and the elements. If someone writes on it, this can easily be cleaned up with soapy water without damaging the artwork. Once this step was done, I cleaned up my supplies and packed everything into my car. Before I left, I made sure to take a bunch of photos and video clips so that I could share the results with my contacts at the city!
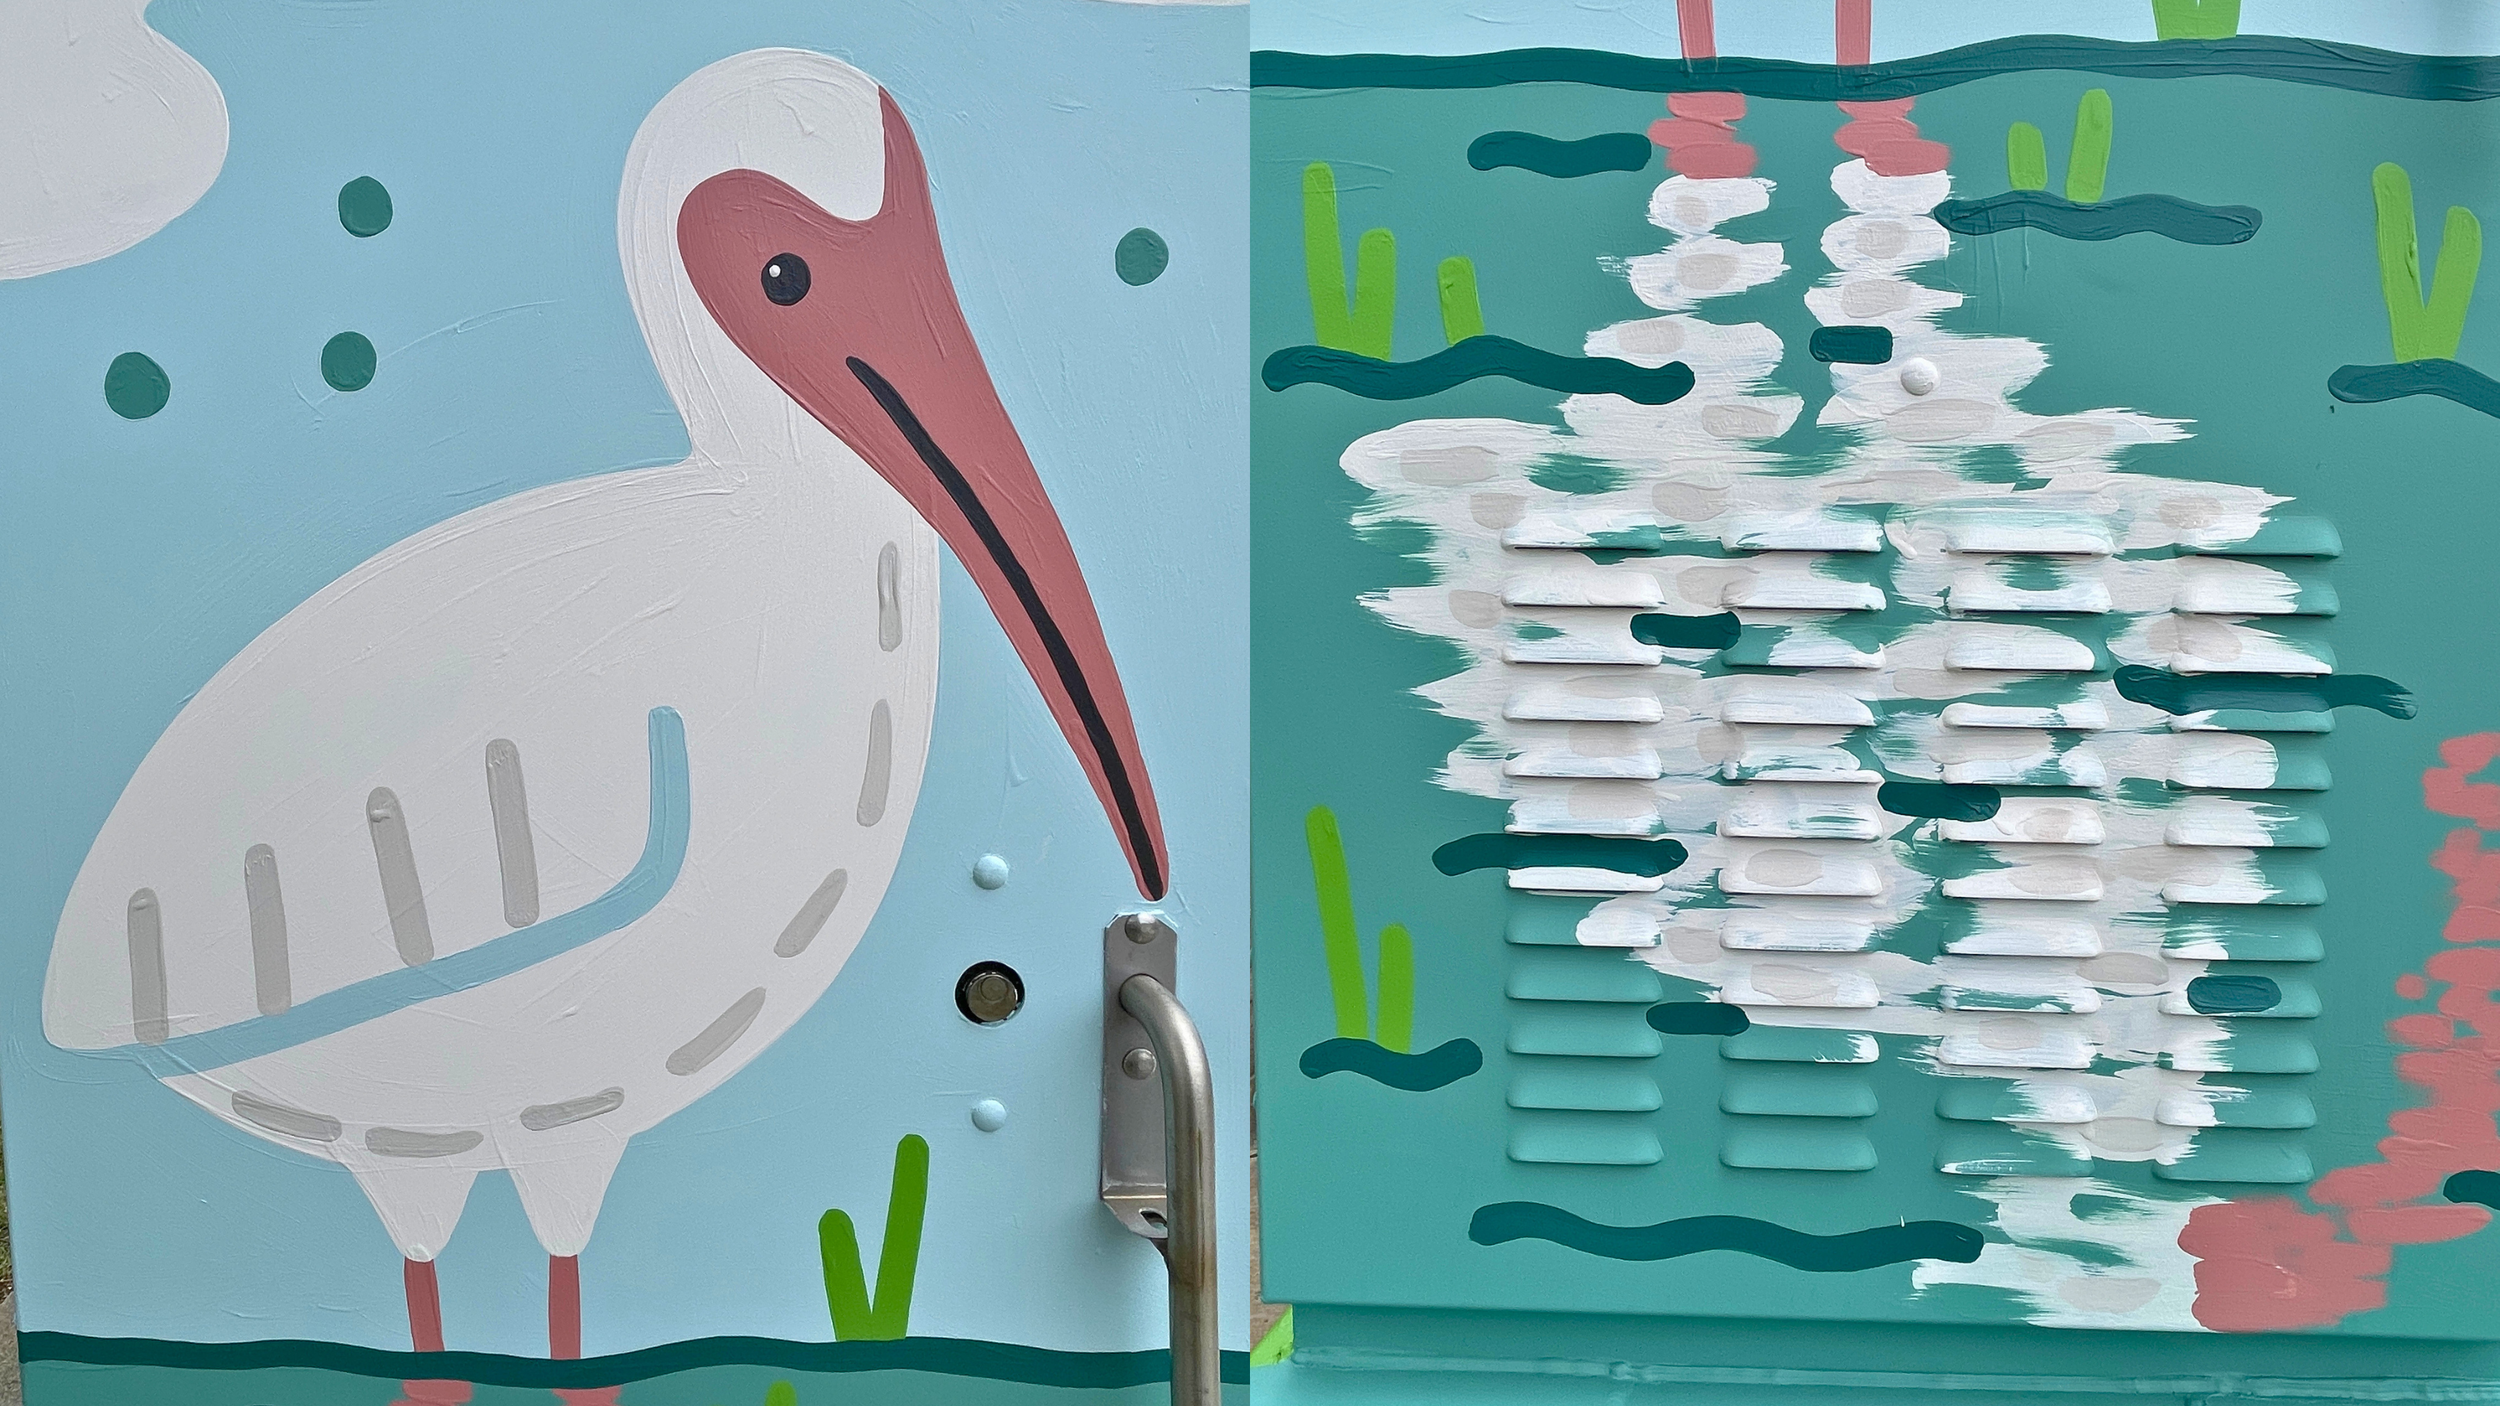
Like with all my public art projects, I filmed, edited, and shared process photos and videos of this utility box transformation. If you’d like to watch that video, here it is! I was happy to see such a positive reaction to the artwork and the idea of painting utility boxes in general. I will say, something that surprised me was the number of compliments I received for painting the reflection on the vent. And while I agree, it looks amazing… that was a total happy accident! I drew that bird on the left side before ever seeing the box, and I didn’t even think of how cool the effect really was until I saw the influx of comments!!
Another interesting comment I received was about brush strokes and whether or not anyone had commented negatively about being able to see them on my paintings. Without hesitation, my answer was no! And personally, when I’m in a museum, I love getting super close to paintings to see each brushstroke. They tell another story of how the art was created and are a reminder that the artwork was hand-painted! In a world obsessed with AI, that’s part of the reason why I film and share myself actually painting; it’s supposed to look human-made because it is.

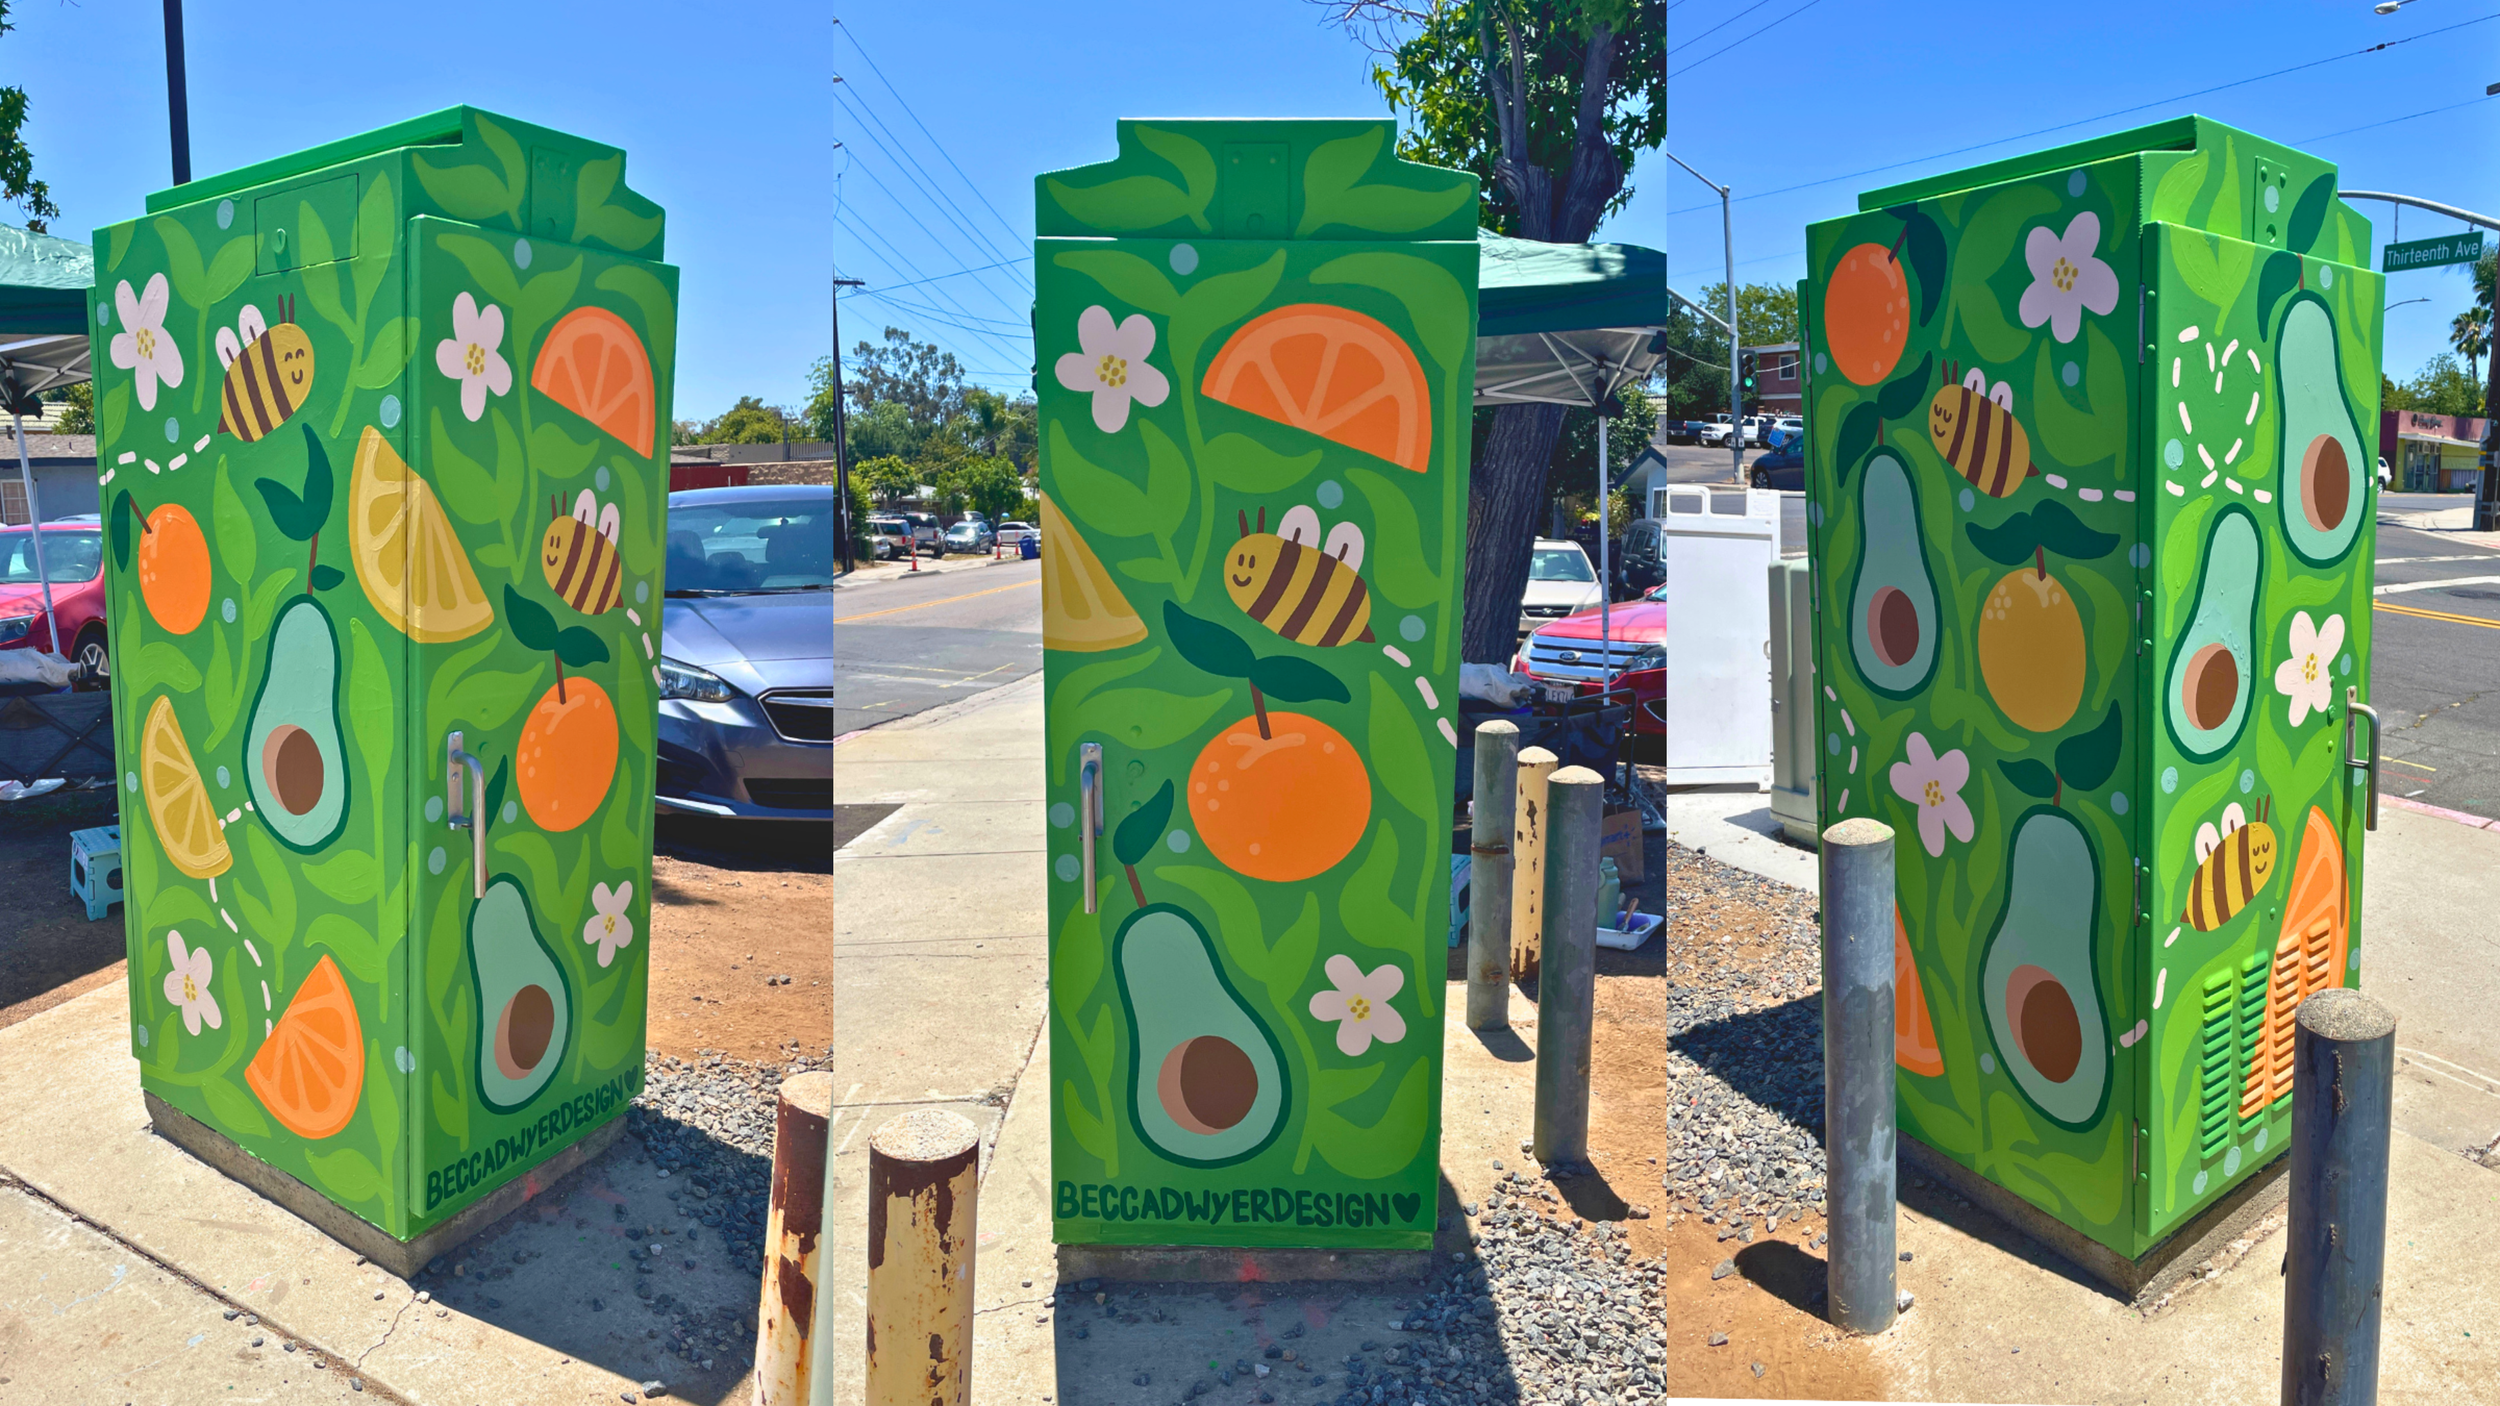
The weekend after I painted the ibis utility box, I went over to the second location to start on the fruit. Actually before I started anything, I first set up a shade to protect myself from the sun! Then I went in with a lighter paint color to plan out where each bee and piece of fruit would go, adjusting as I saw everything fitting together. Once I did that to all four sides, I used a small roller to apply the background green color. Three coats of that did the trick, and then I used a brush to get into the edges! After that, I took a short break to eat lunch and then blocked in the yellow, orange, and green colors of the other shapes. I did a couple coats of that for a couple more hours and then called it quits for the day.
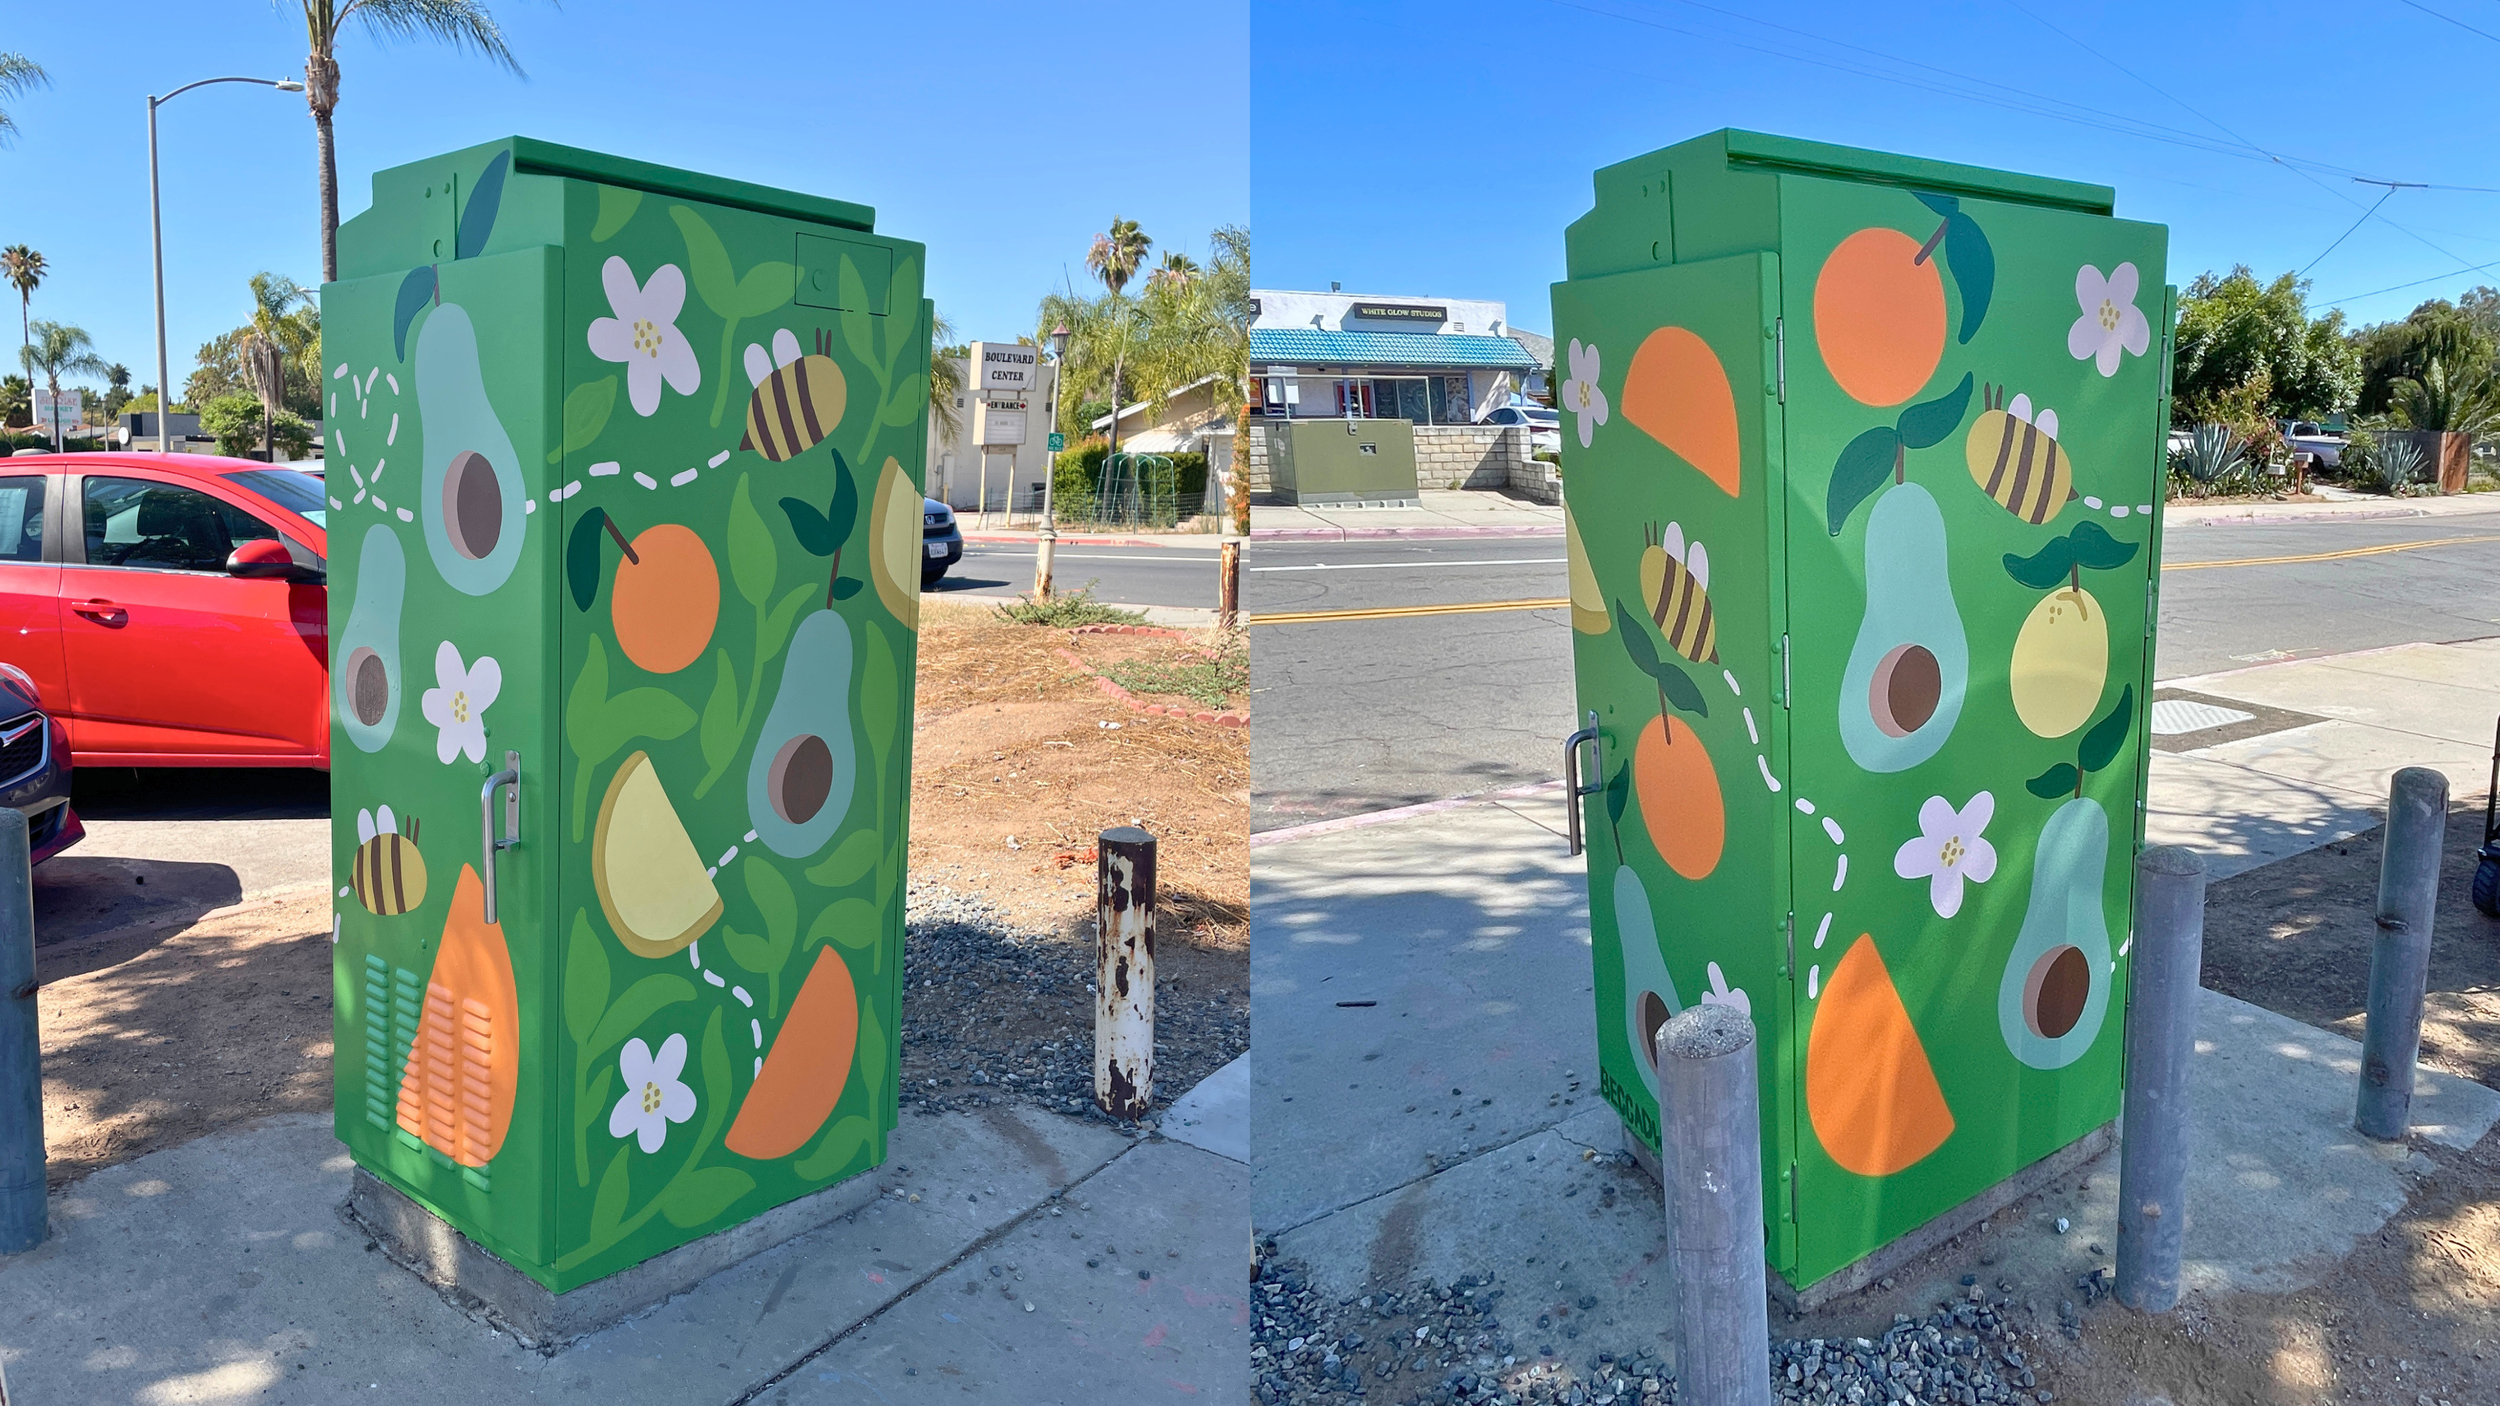
The next morning, I realized that I needed to change the color of the lemons to match the bees, so I did that first. The I added brown stripes to the bees, shadows to the avocado pits, and details onto the orange and lemon slices. Lastly I signed my name and fixed any other minor flurbs before taking a food and rehydration break. Then came time to paint all the light green leaves in the negative space! This took about three coats, but I was able to lock into my audiobook and sit in one place for each panel. I’m usually bouncing around a box, squatting to filling in color, so it was nice to sit down in one spot for awhile. Once all four sides were full, I added some polkadots and then my friend Angela came by (like an angel) to deliver me iced coffee and a lil treat while I waited for all the paint to dry.
Then it was time for varnish! I used my brush and a roller to apply 1-2 coats before cleaning up all my supplies, taking photos, and heading home. The next day, I sent photos to the city and they asked if they could turn this design into a coloring page! I of course said yes, so I’m looking forward to seeing that develop further.

Alright, now it’s time for you to tell me which one is your favorite and why! As a reminder, all the boxes in Escondido Expressions can be found in this online map.