
How to Paint an Electric Guitar in 10 Easy Steps
After managing my blog for many years, there’s one post that has completely outperformed all the rest. That is, “Painting an Electric Guitar” which details my first-ever experience painting on one. It seems many of you are interested in this process, either for yourselves or for a fun project, so I’d like to help by condensing the information from my original post. But by all means, please click here to read that.
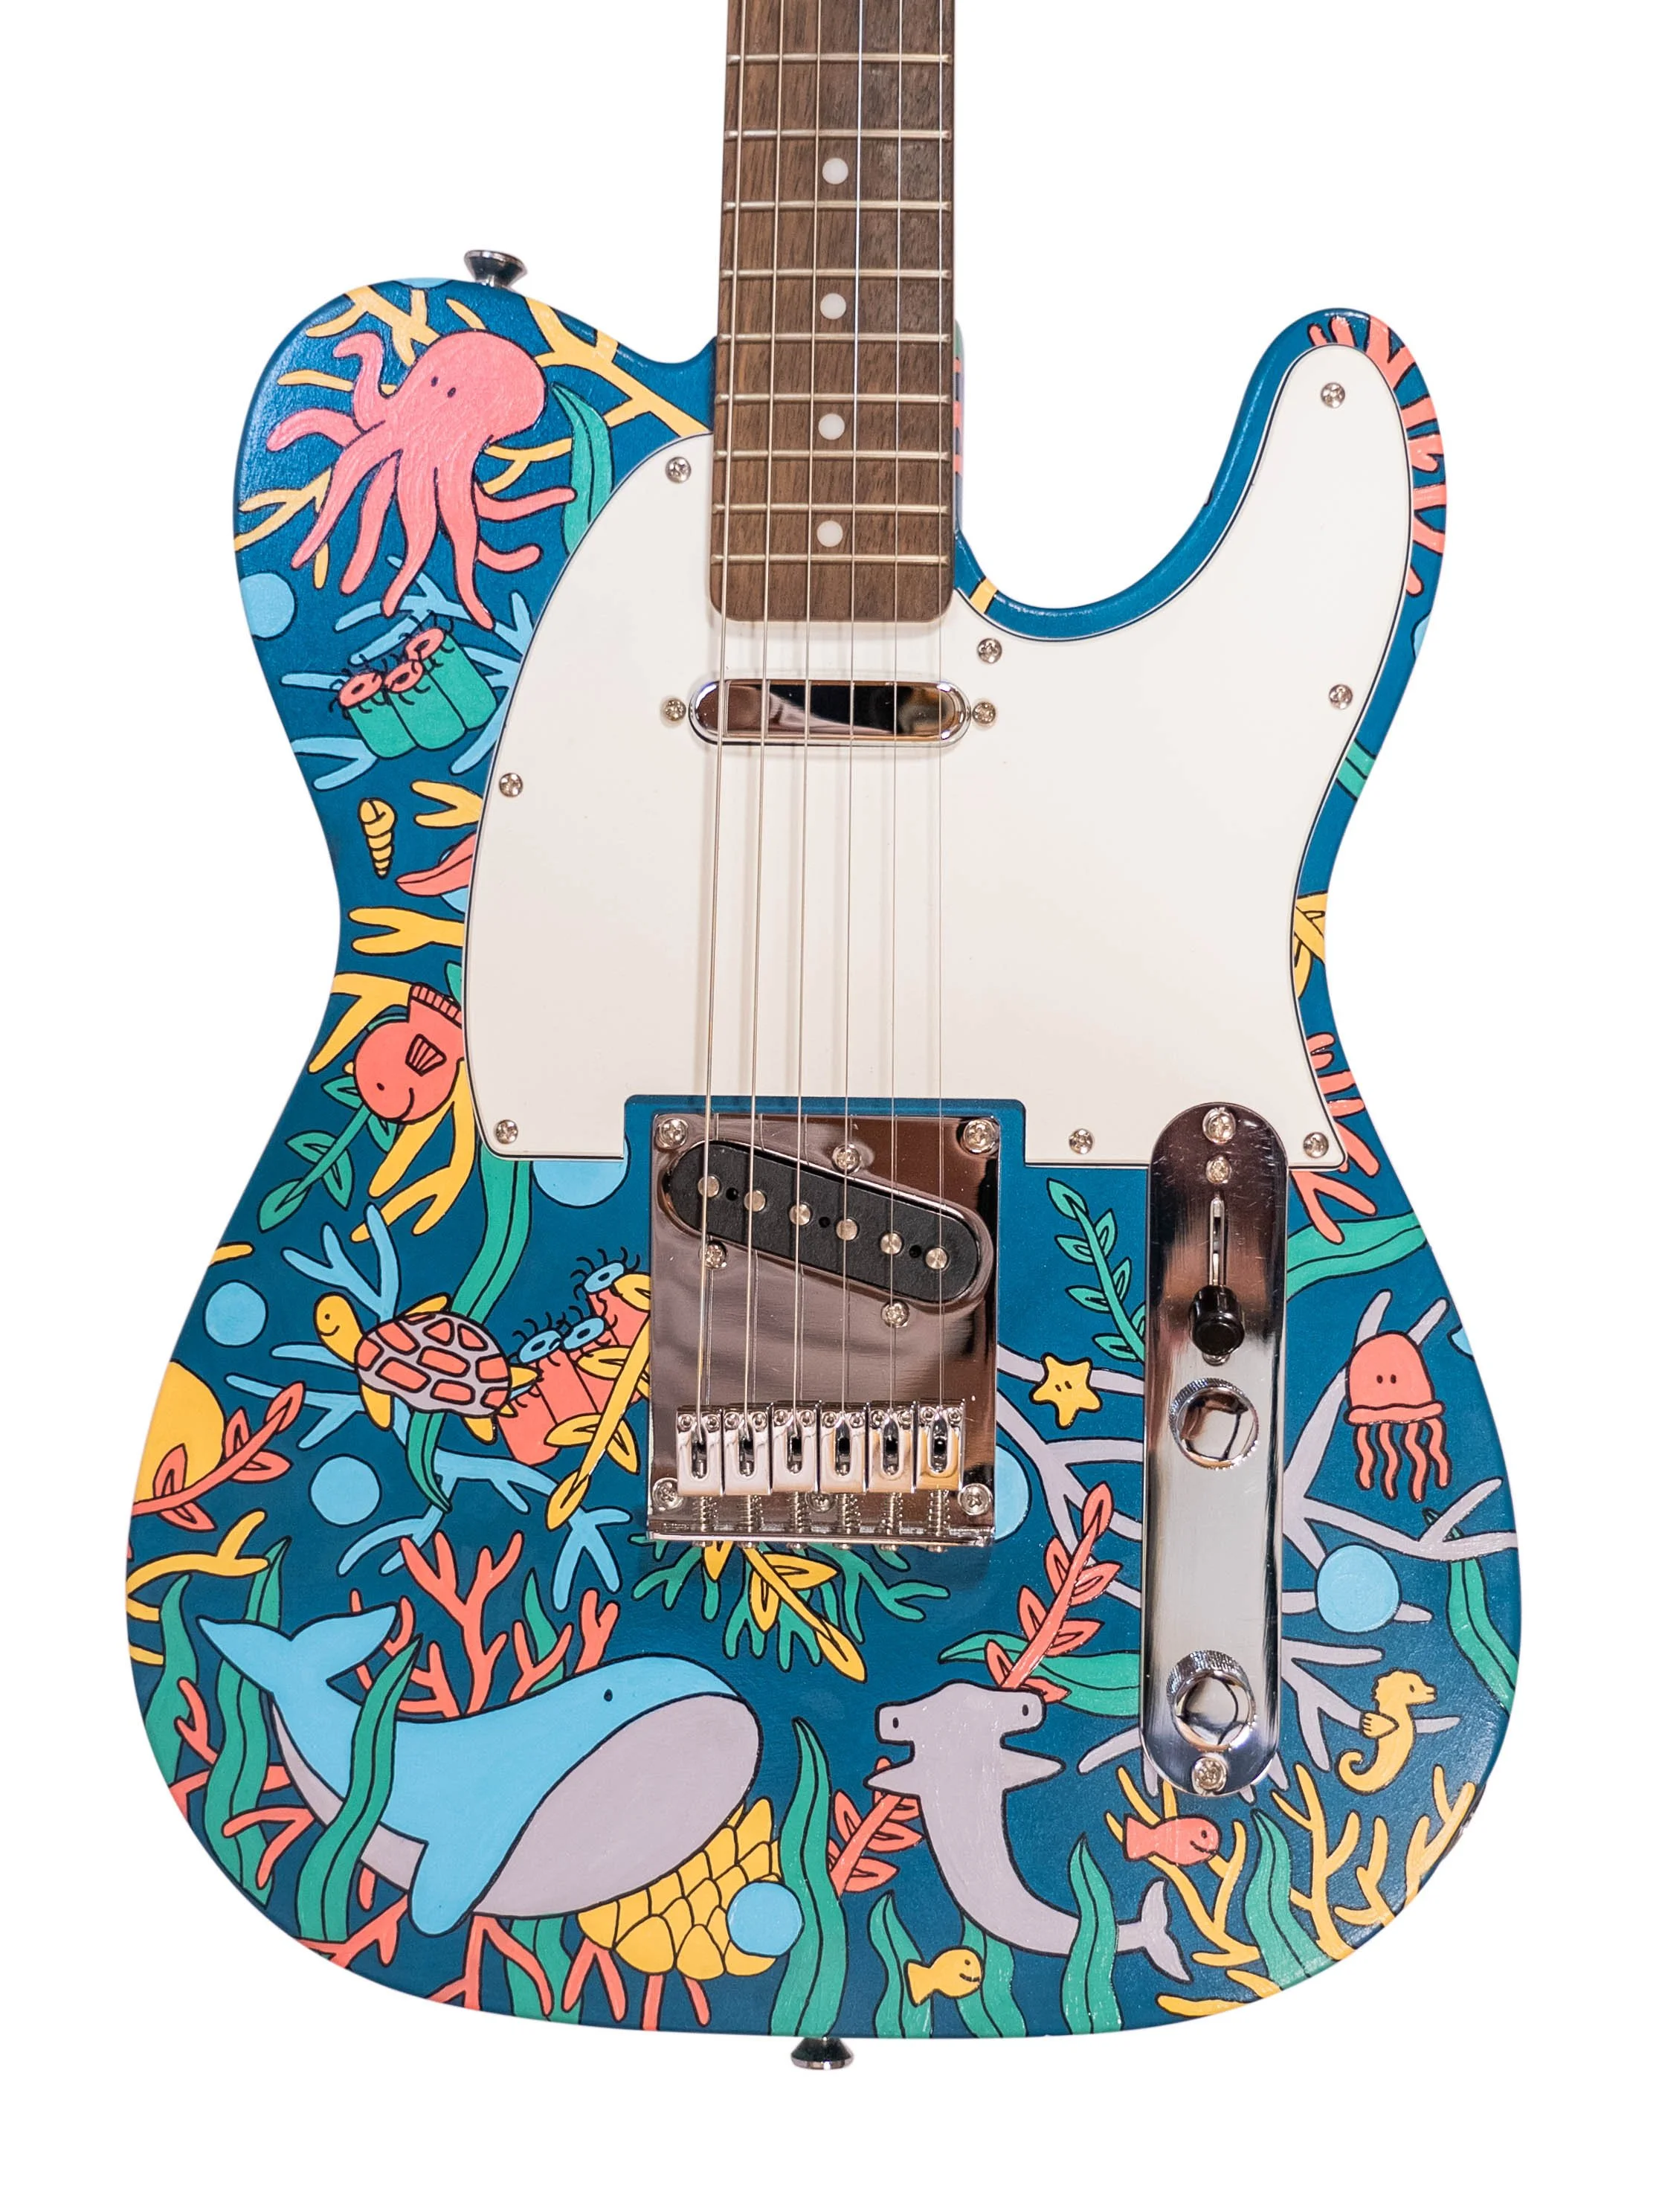
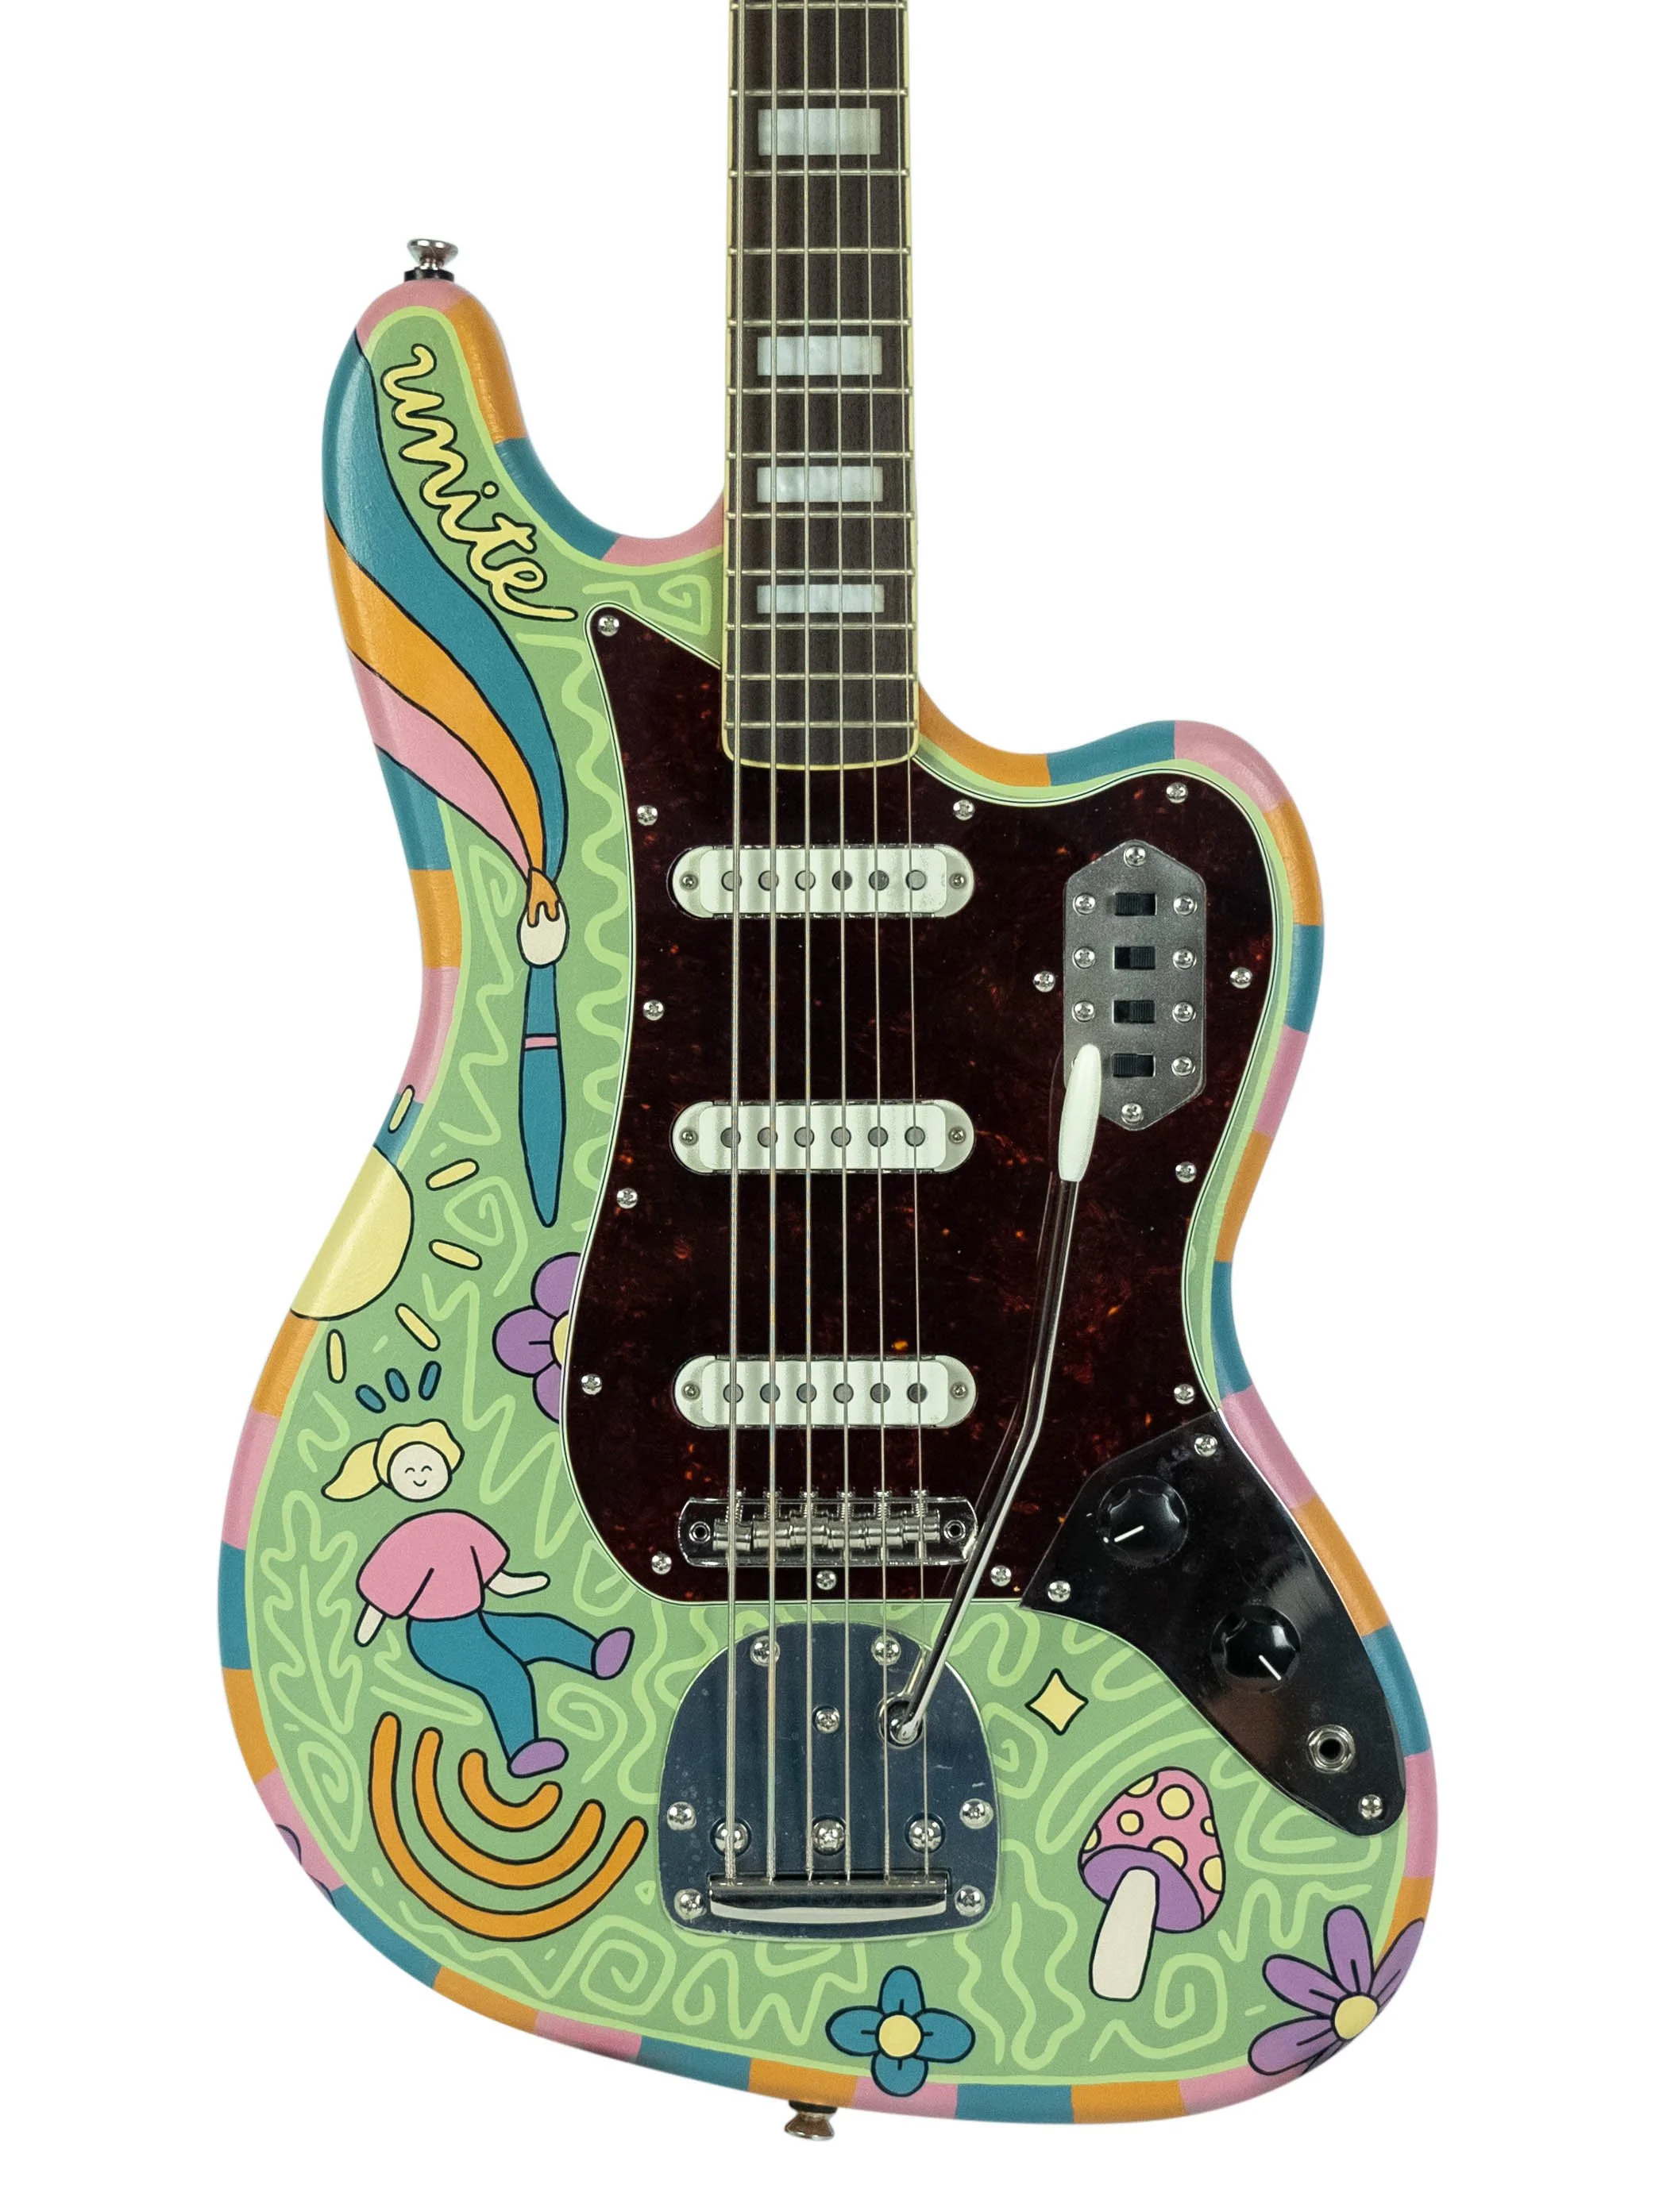
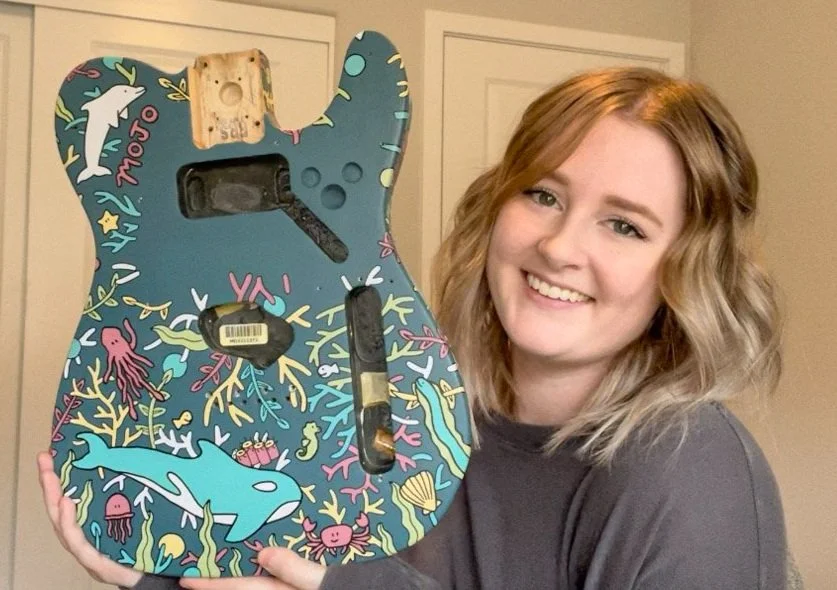
By following this step-by-step tutorial, you can transform an ordinary electric guitar into a unique art piece! I painted these two electric guitars using the process outlined below.
How to Paint an electric guitar in 10 Easy Steps
Gather Your Supplies
Electric Guitar - If you want this as solely an art piece, I recommend searching on Craigslist or Facebook Marketplace for an older, used guitar. Otherwise, I assume you’re here because you have an electric guitar ready to paint. Yay!
Sandpaper (various grits)
Circle Sander
Masking Tape
Primer
Microfiber Cloth
Acrylic Paint
Paint Pens
Paint Palette
Palette Knife
Montana Spray Varnish
Screwdriver (to remove hardware)
Click here for an Amazon list of some of these supplies.
2. Disassemble the Guitar
Before painting your guitar, you’ll need to disassemble it by using a screwdriver to remove any parts that you can such as the strings, pickguard, bridge, knobs, and electronics. This will make it easier to paint and prevent any damage to the components. Put these in a plastic bag to make sure no parts get lost while you’re painting.
3. Prepare the Body for Paint
Using a circle sander and fine-grit sandpaper, lightly remove the existing finish. If there are any bumps or holes, fill these in with wood filler and sand the body into a rough surface for the paint to adhere to. Be careful not to sand too aggressively as you don't want to damage the wood, and please wear a mask so you don’t breathe in any dust!!

(my painting assistant aka my dad offered to do this step for me)
4. Clean Your Guitar
Use a clean microfiber cloth to remove any dust or debris from the sanding process. This will ensure your paint goes on smoothly.
5. Tape Off Areas You Don’t Want Paint
Use masking tape to cover any parts of the guitar you want to keep unpainted, such as the neck, fretboard, and any other hardware you weren’t able to remove. Additionally, you can use tape throughout the design process to mask off certain areas as you go.
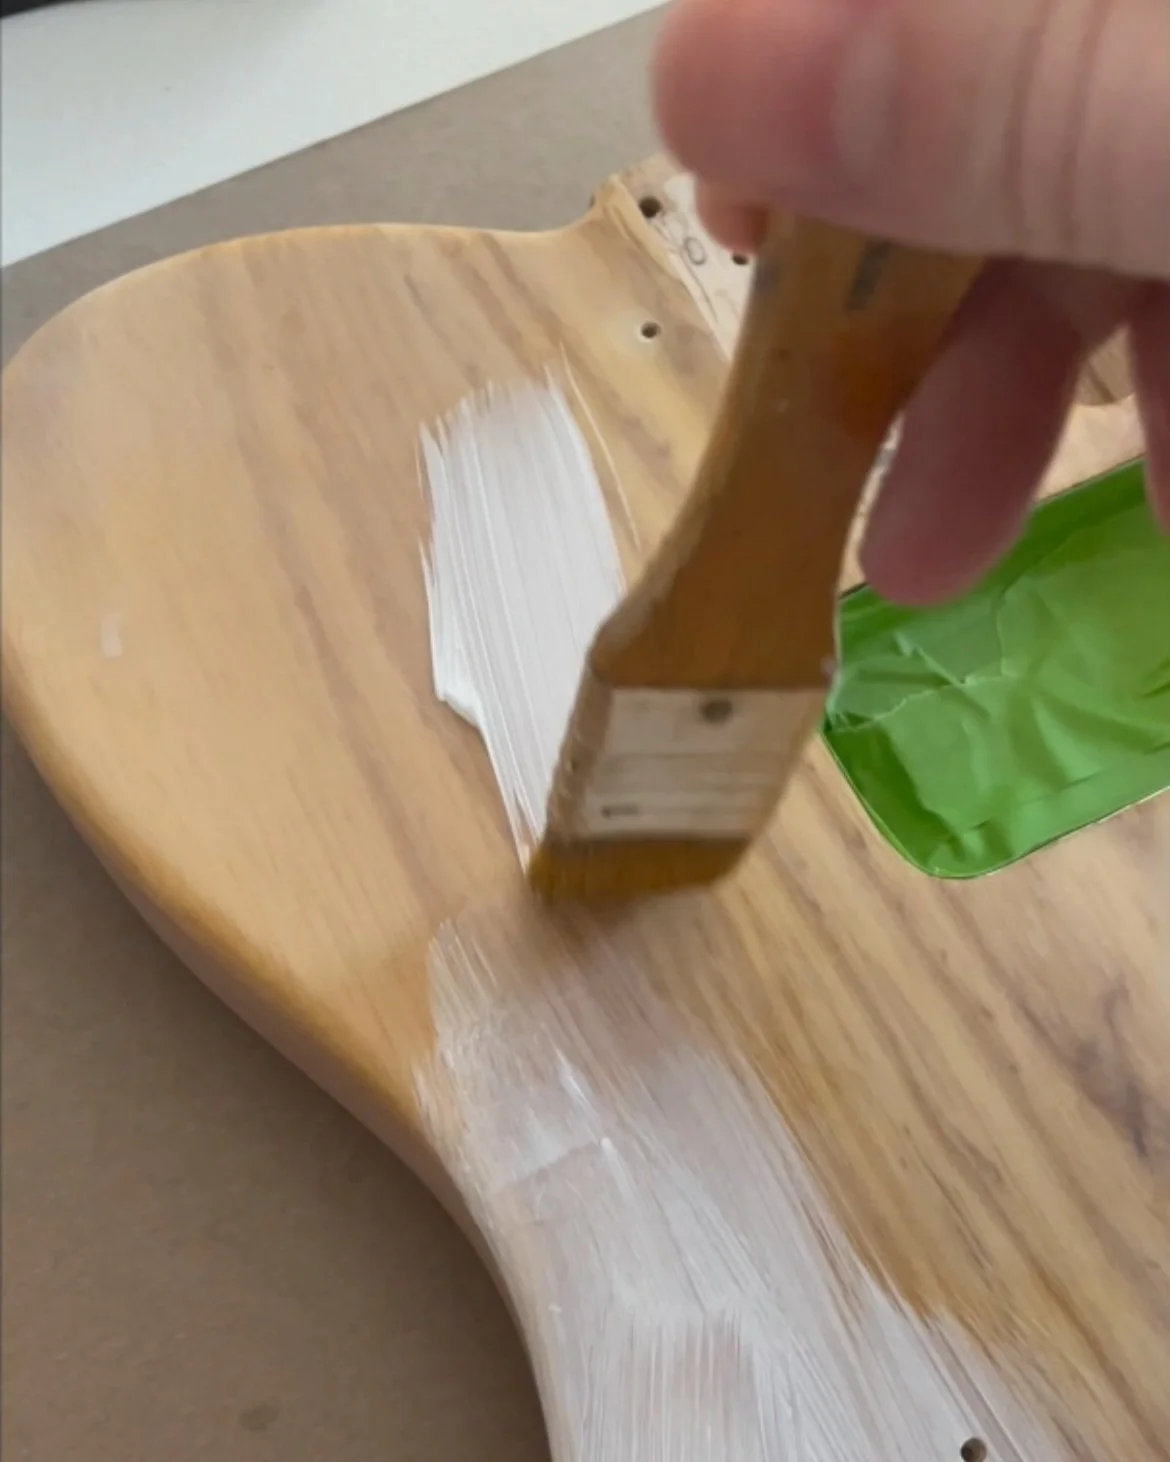
6. Apply Primer
Apply a thin, even coat of primer to the guitar body. In this step, you can prime with any color you like! White is common, although some artists use fun colors like orange or pink because it can have better coverage and help their final painting be more vibrant.
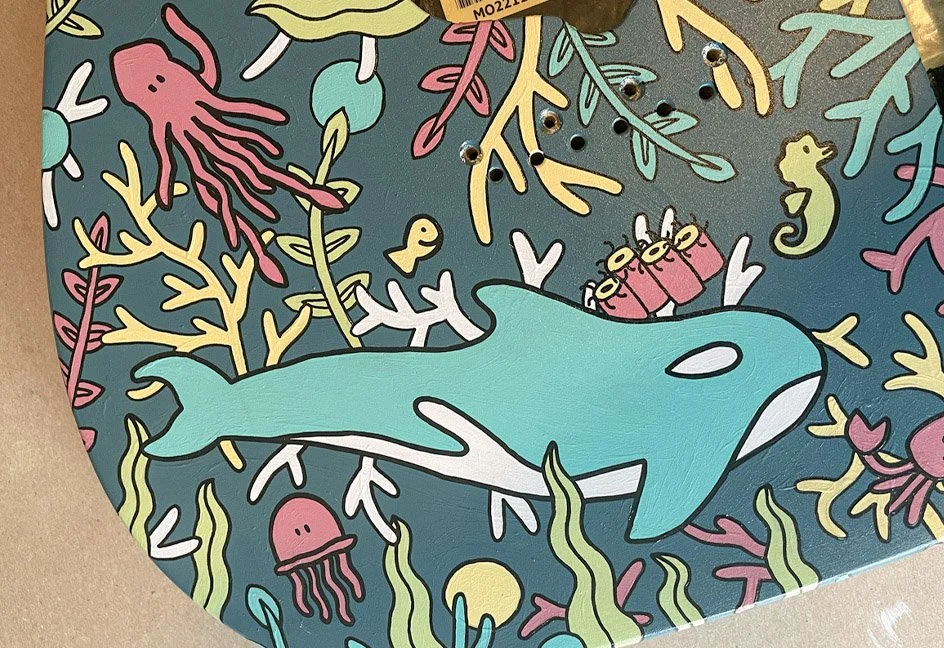
7. Transfer Your Design
For the electric guitars I painted, I used a doodle grid to transfer the major shapes of my design. Click here to read more about what a doodle grid is and that whole process.
If you have access to a tablet or digital software, I recommend taking a picture of your guitar and digitally mapping out what you want to do before you paint. I also recommend hopping on Pinterest and making an inspiration board for your guitar painting.
If you’re one of those people who don’t need to use a grid or reference, I commend you! Skip this step and move on to step 8.
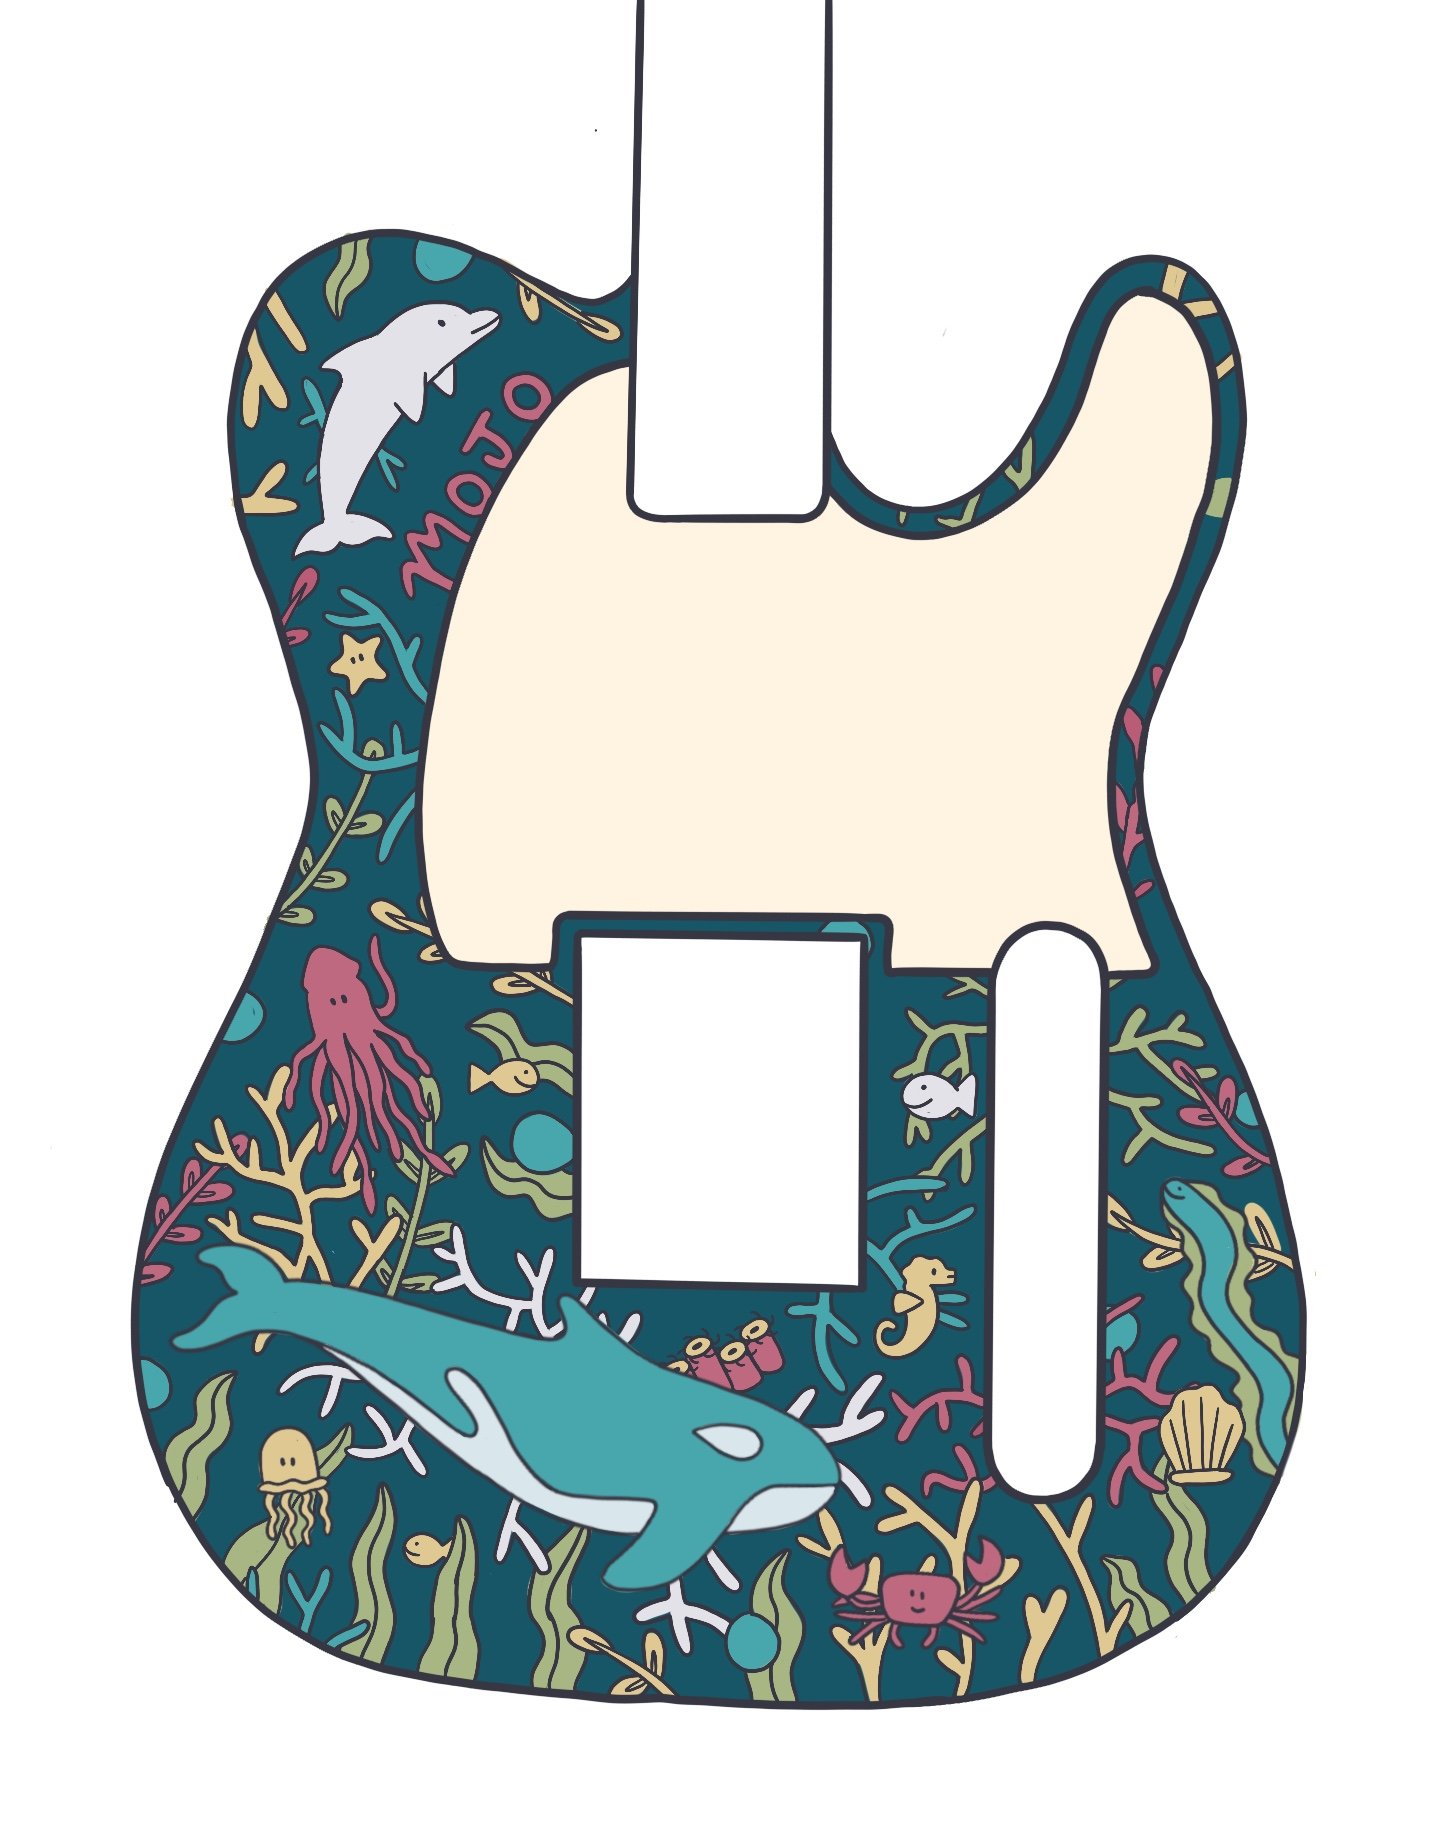
Example 1 of a digital mockup.

Doodle Grid Example
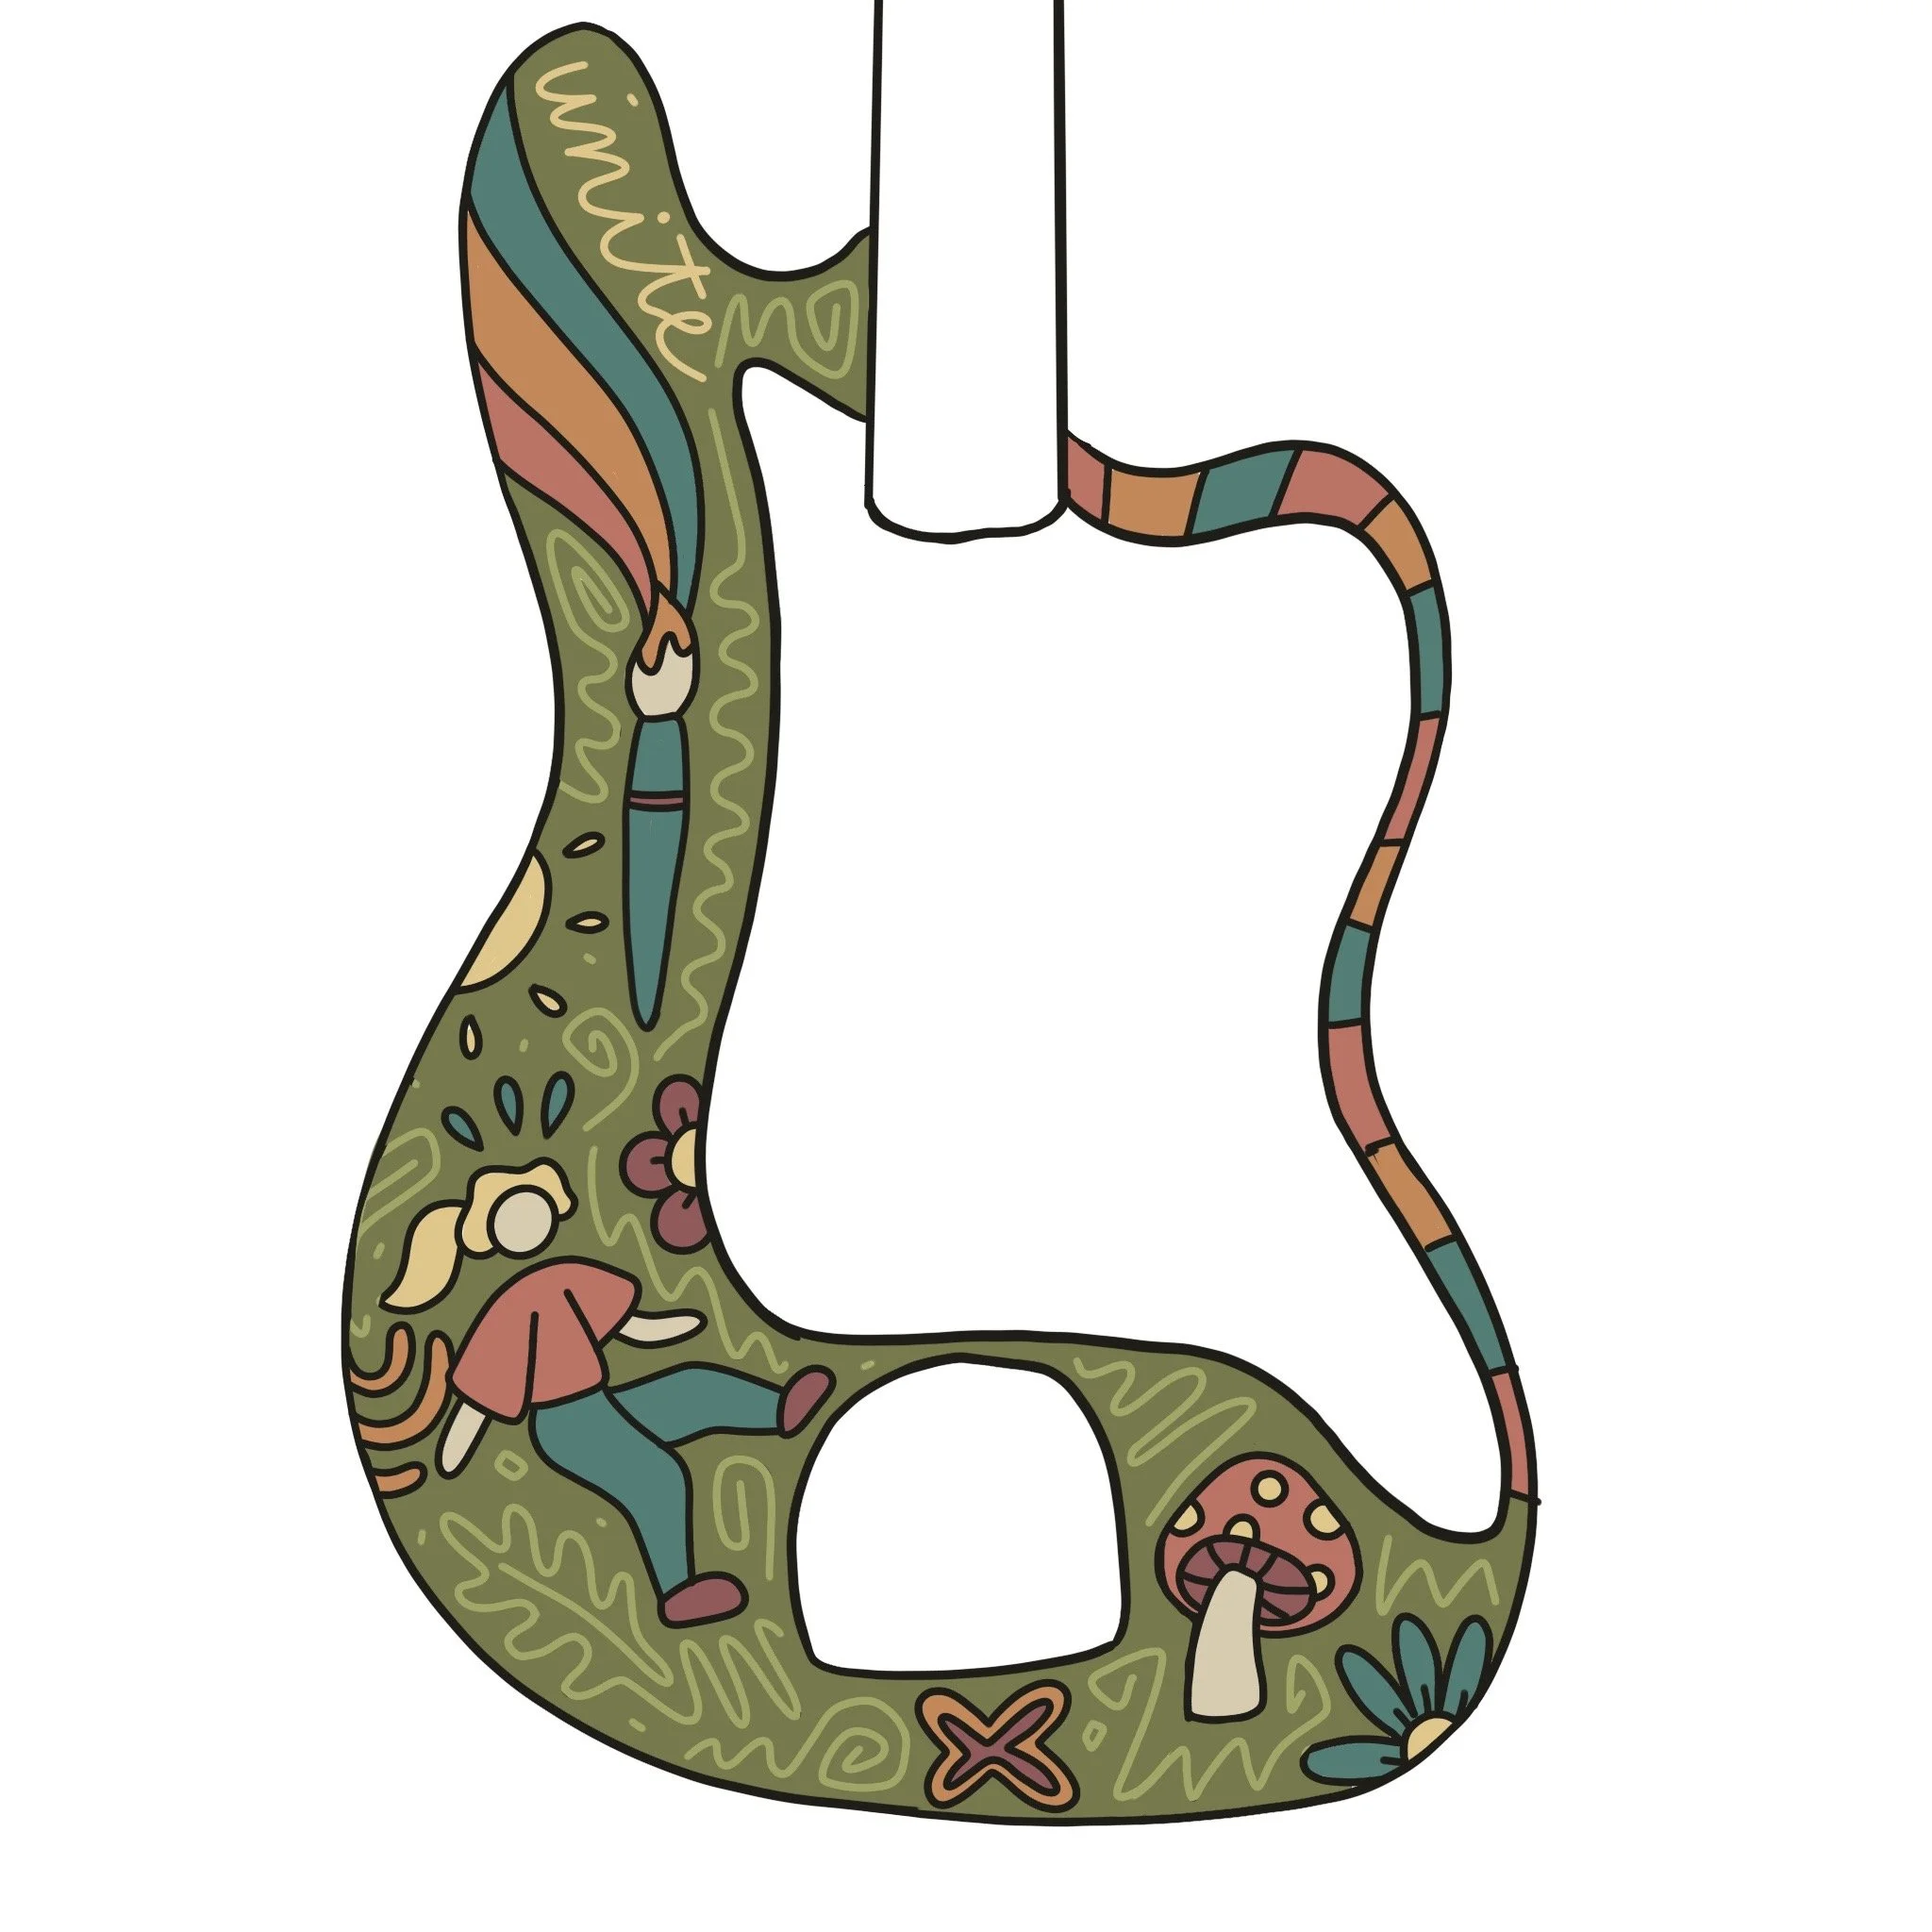
Example 2 of a digital mockup.

Doodle Grid with a Digital Drawing on Top
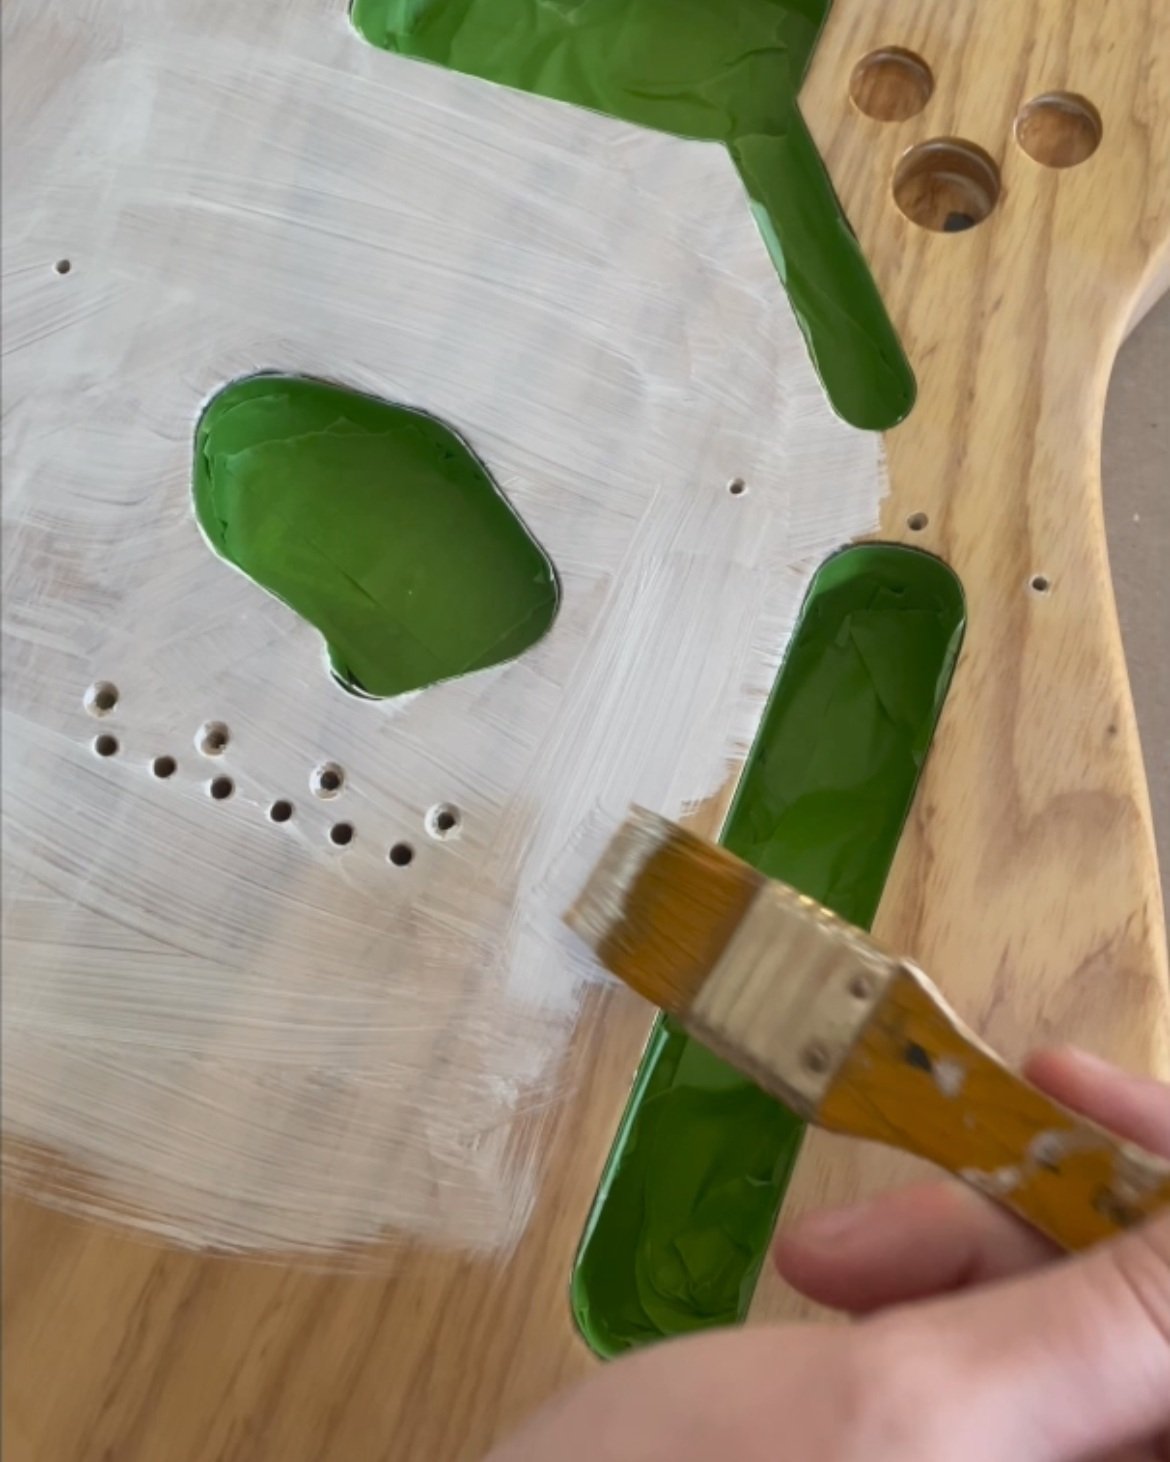
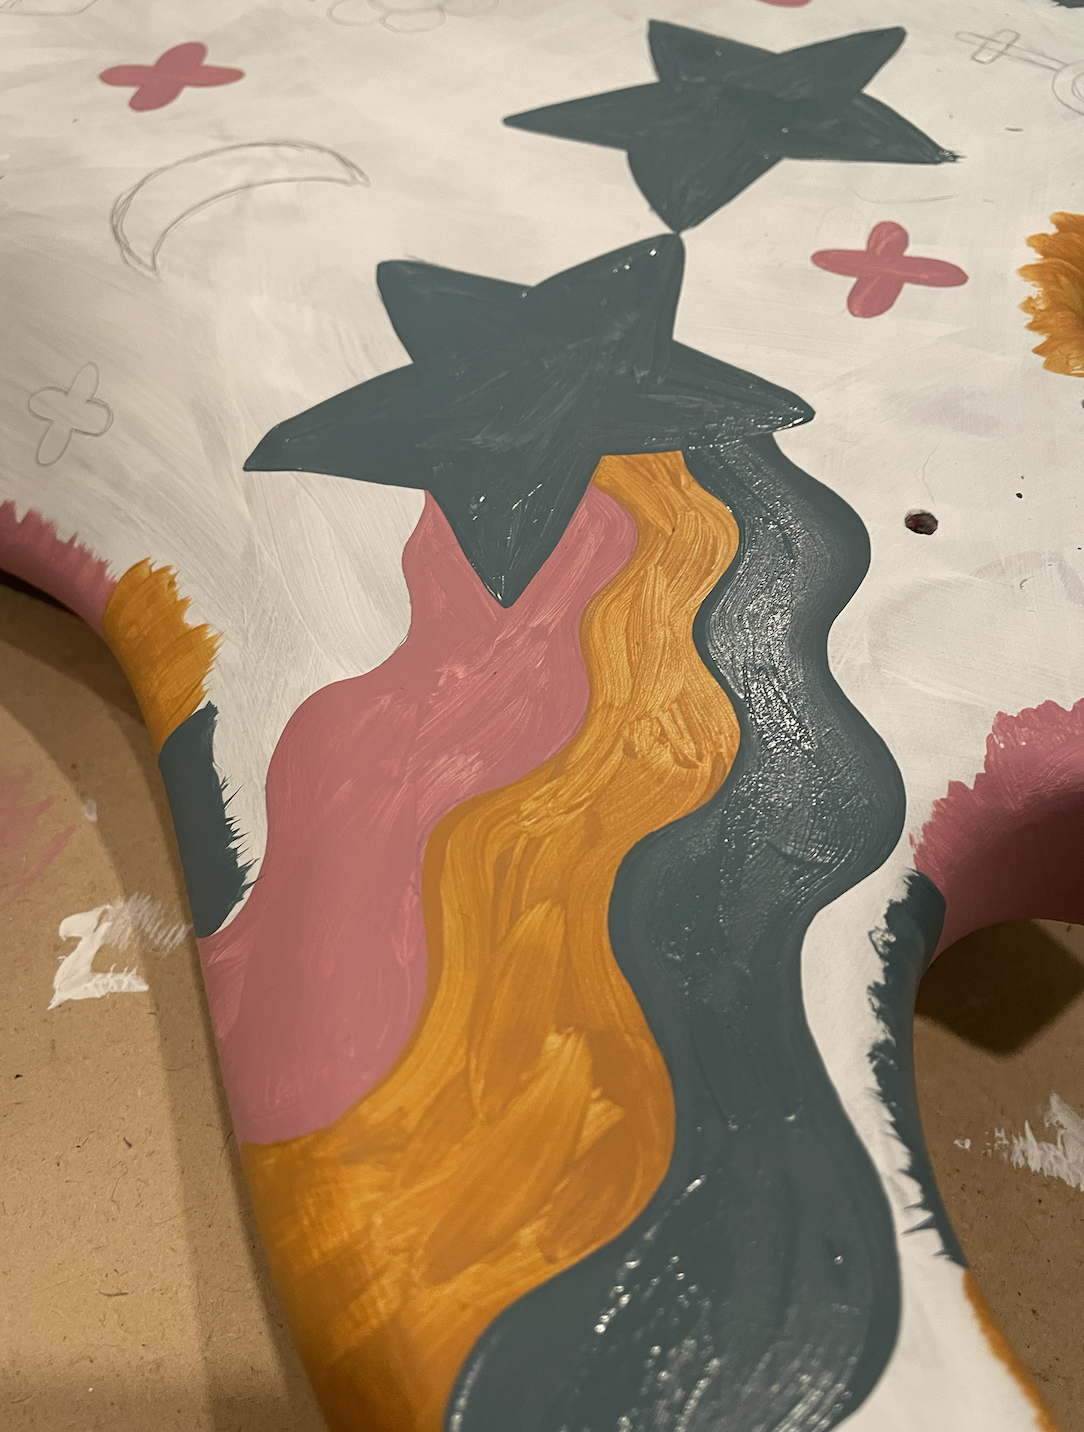
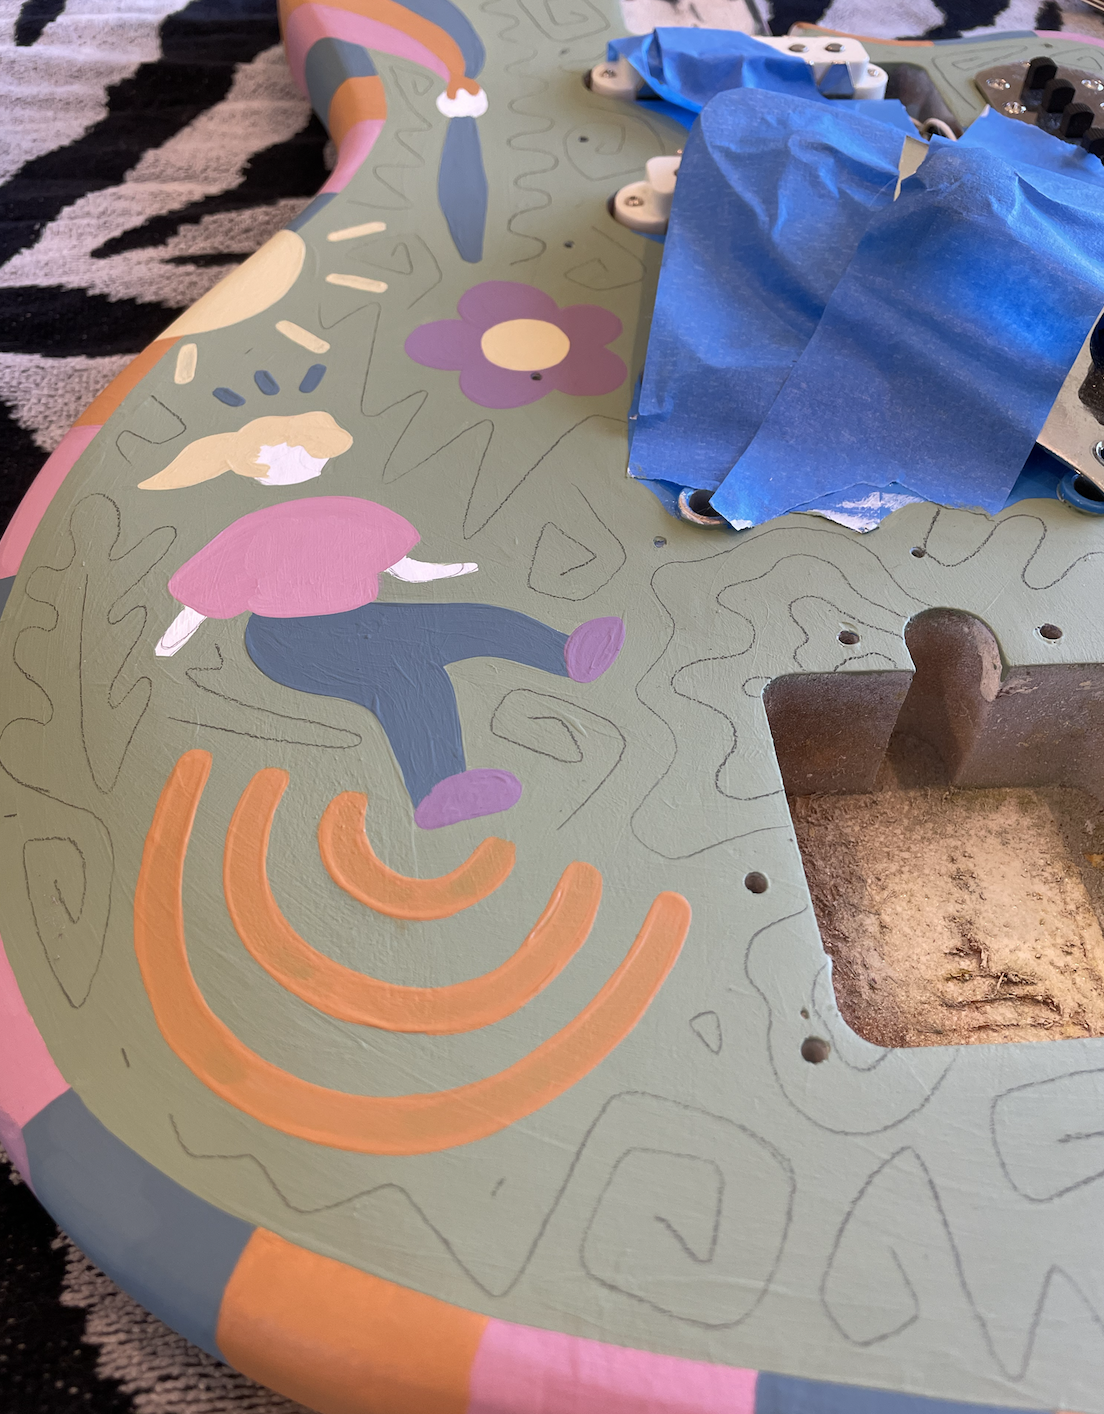
8. Paint!
If you’ve digitally sketched your design, you can use this software to help decide on a color palette. If you’re doing this the old-fashioned way, I recommend gathering your paint and mixing the colors that you want to use before you start. You can utilize this website to find good color palettes (non-spon).
Once your primer is dry and your design is sketched on the guitar, begin painting your design in layers. Most times, I like to paint my background color first, the colors of my main shapes, and then the details. Once this is complete I’ll go back in with more paint and add more layers to my main objects. Allow each coat to dry completely before applying the next one.
If you want to outline your designs, I recommend using Posca pens. The black pen in PC-3M has worked well for me and creates clean lines consistently. If you’re using paint pens, please note that they can smear if you use a varnish that requires a brush application so please, please use a spray varnish!


9. Apply Varnish
If you want to protect your paint from UV rays, and scratches, and give it a glossy finish, you should apply a clear coat of varnish. I recommend using Montana Spray varnish and applying it in several, thin coats leaving many hours to dry between each layer. If you can, find a way to hang your guitar so that it’s fully suspended in the air and your spray varnish can reach all the angles. Leave it to cure for at least 24 hours.
10. Reassemble Your Guitar
Once the paint is completely dry, reassemble all the hardware and components back onto your guitar. If you’ve forgotten where everything goes, this video can help you with the process. Make sure everything is securely attached and functioning properly!
If you know how to tune your guitar, do that now. If not, I bet a local guitar shop would be happy to do that for you.
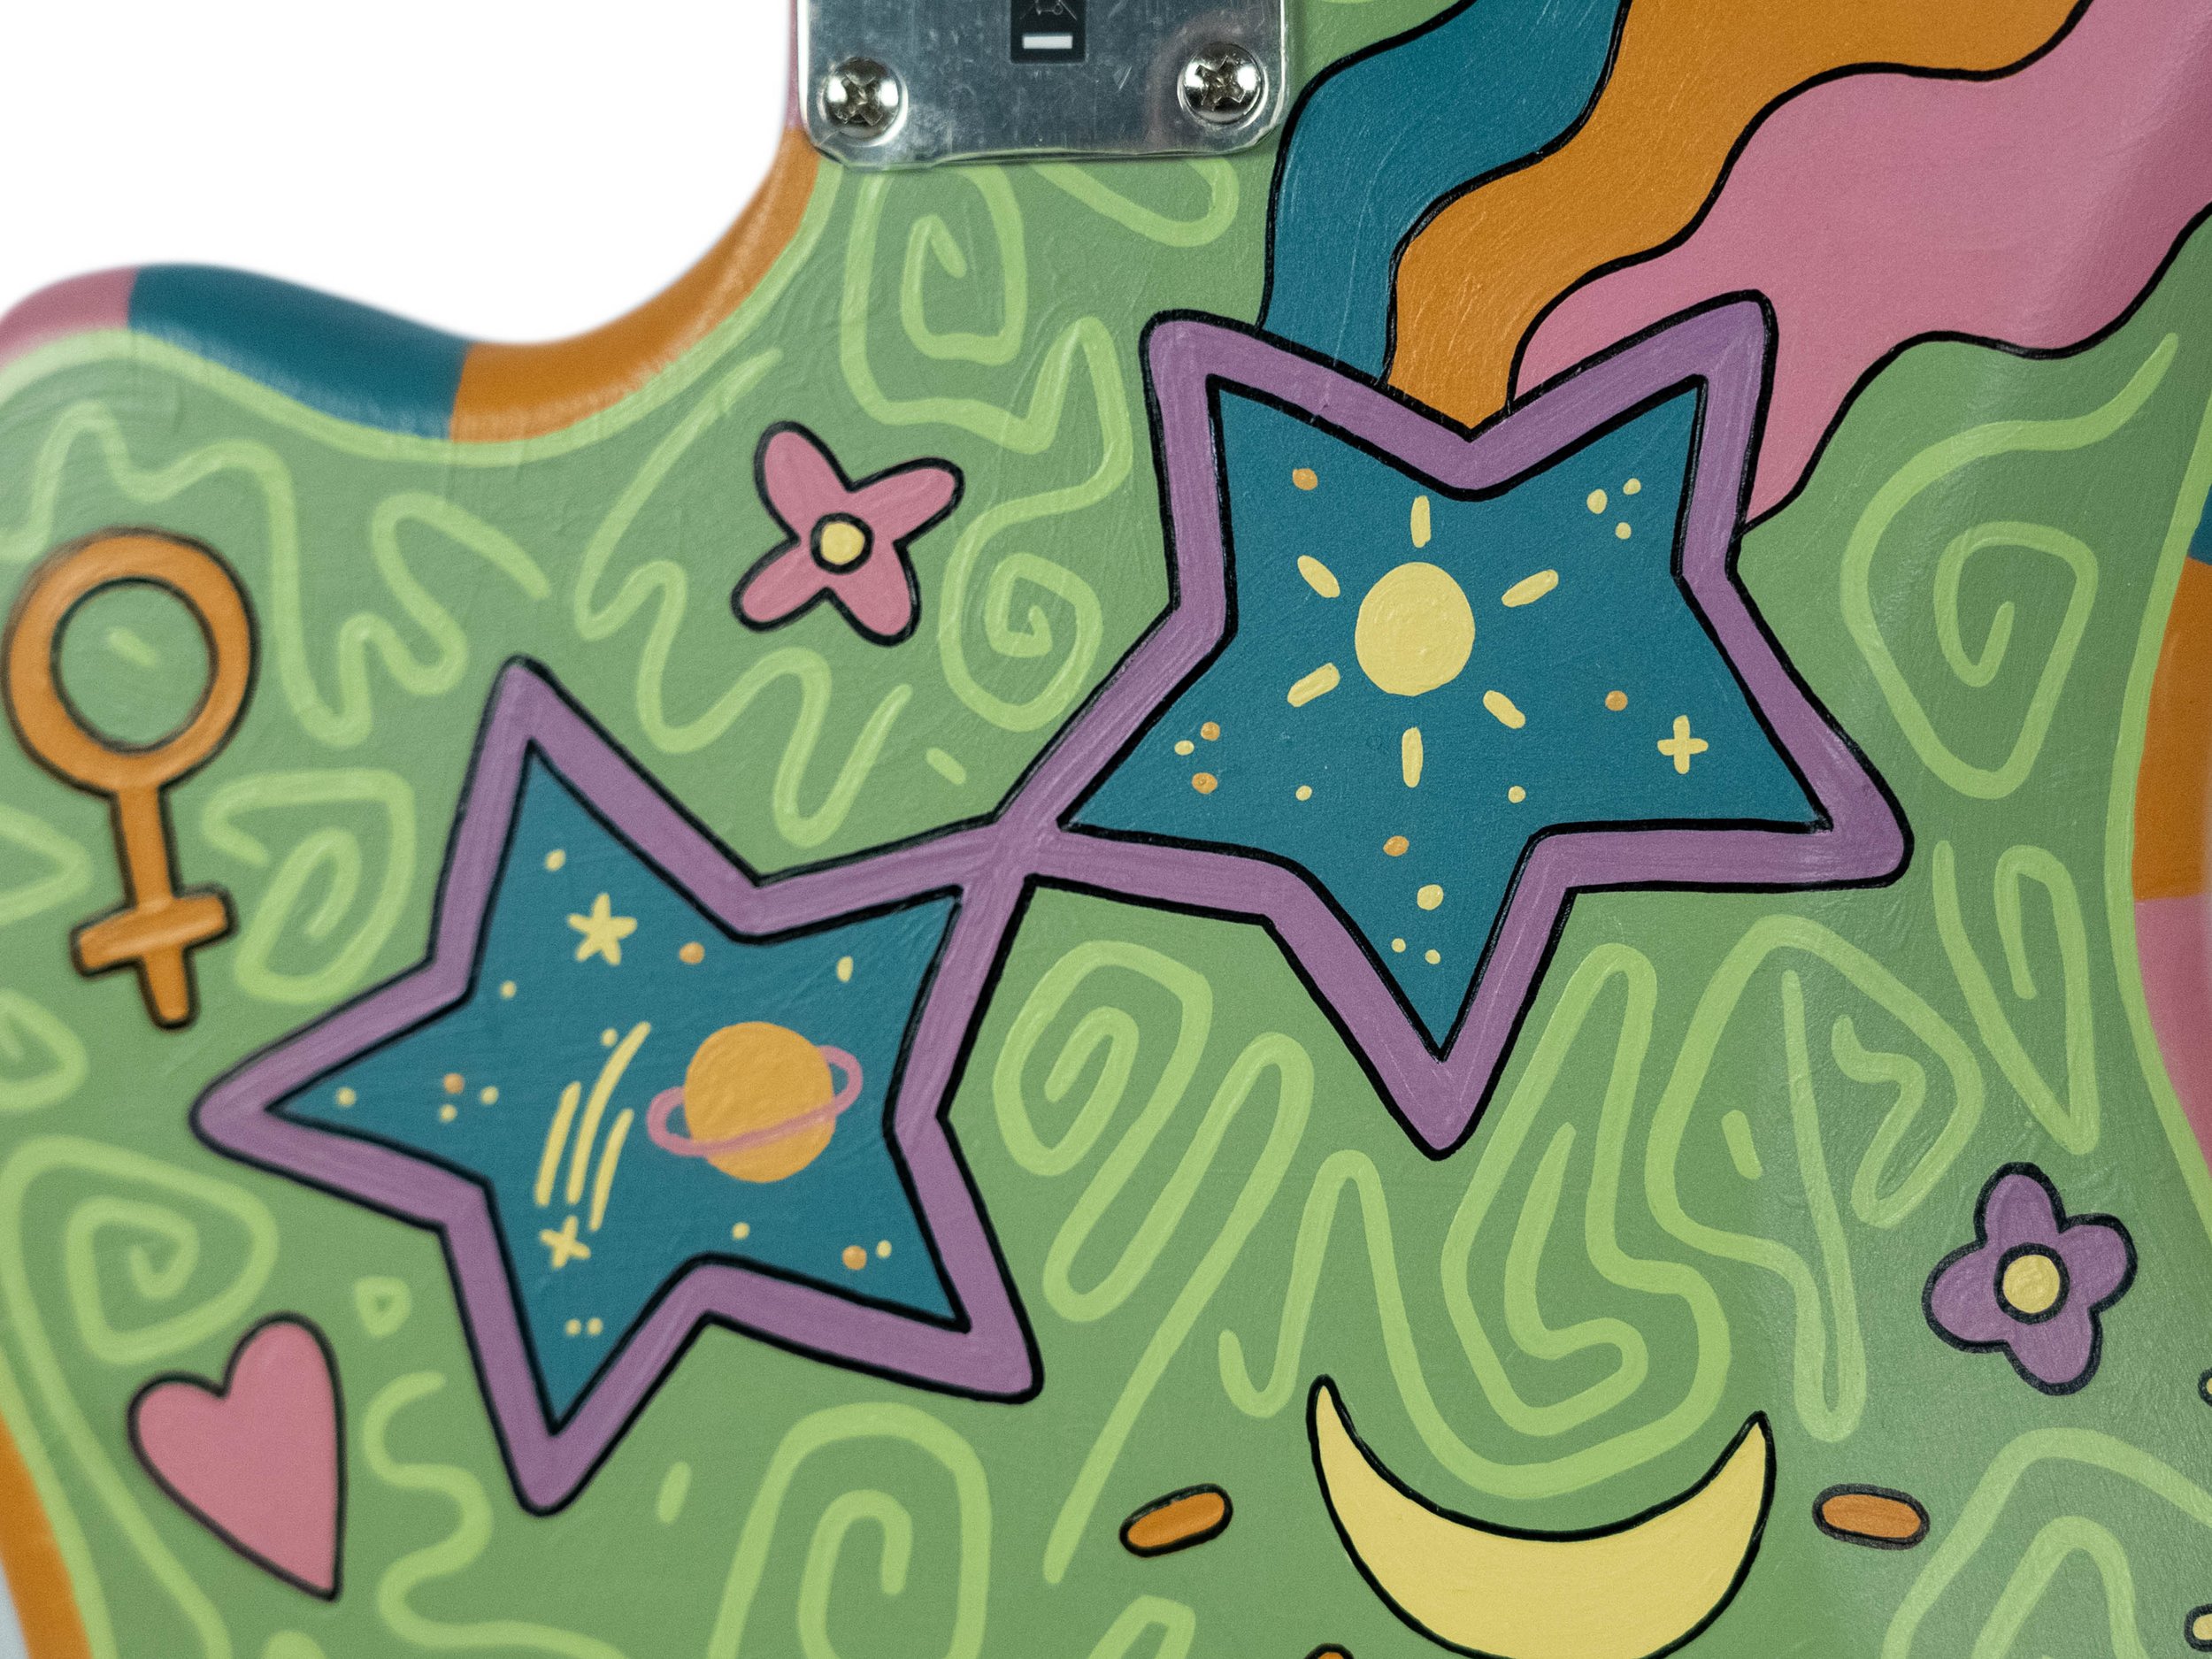
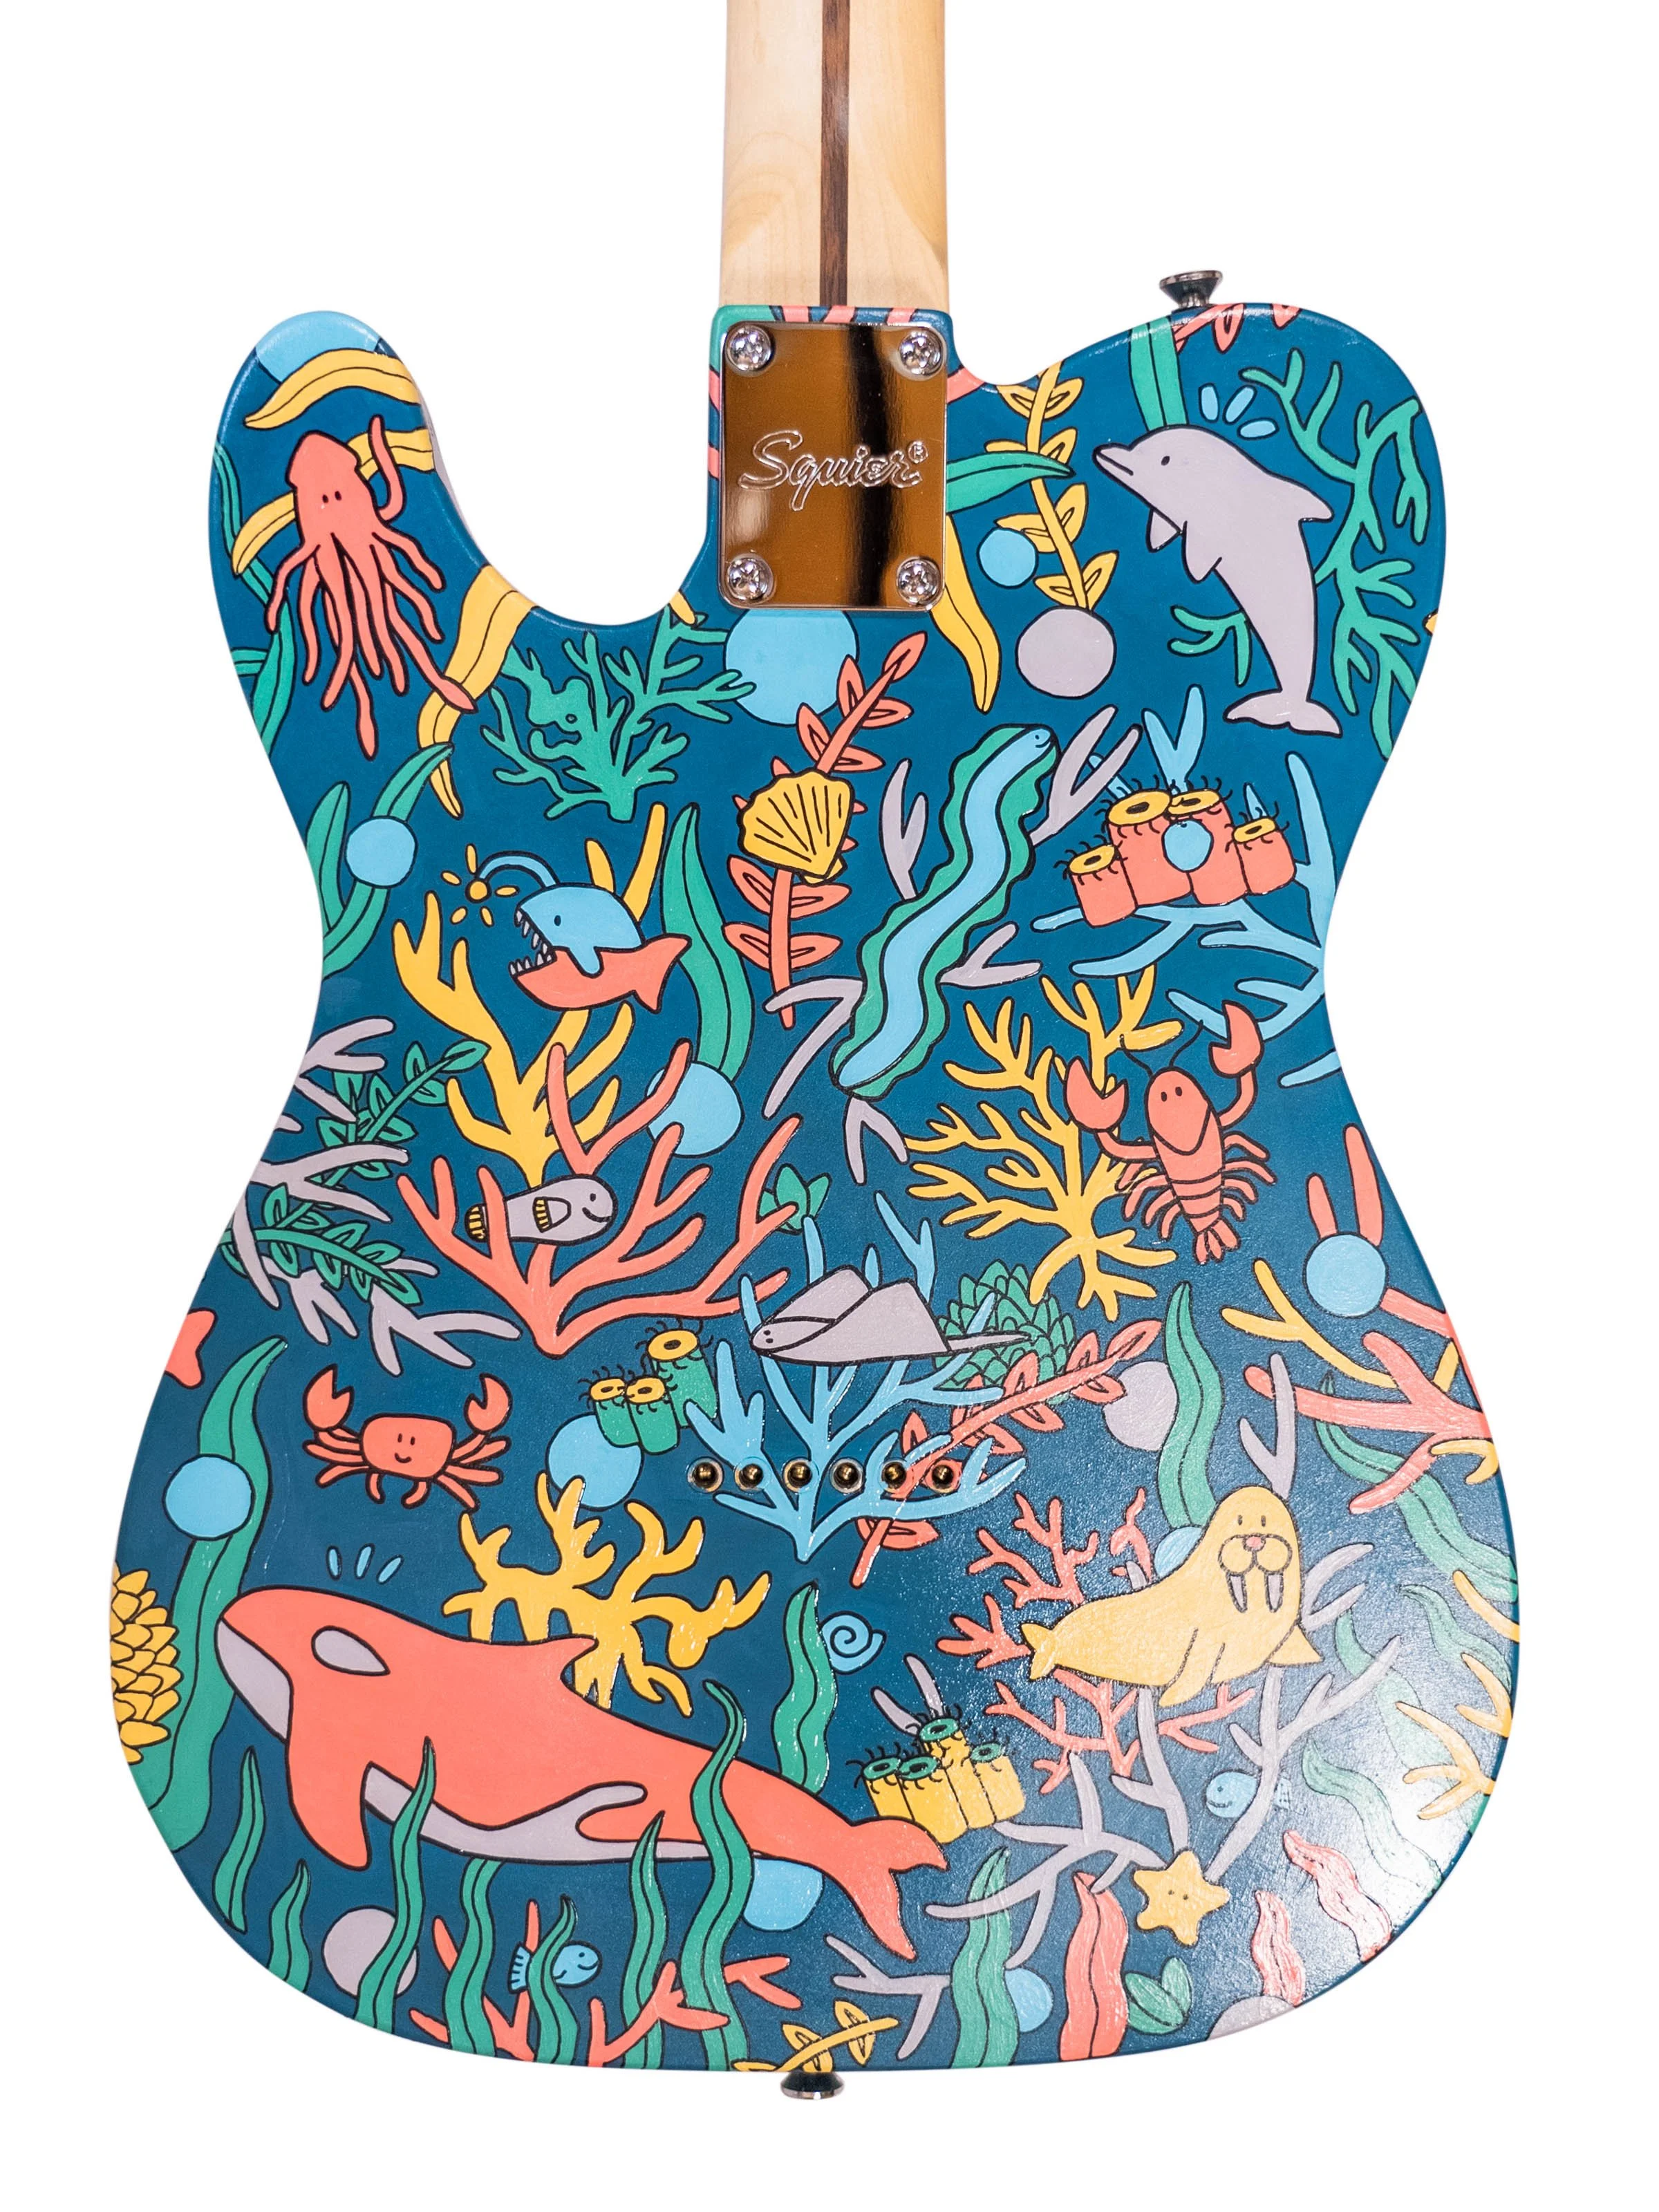
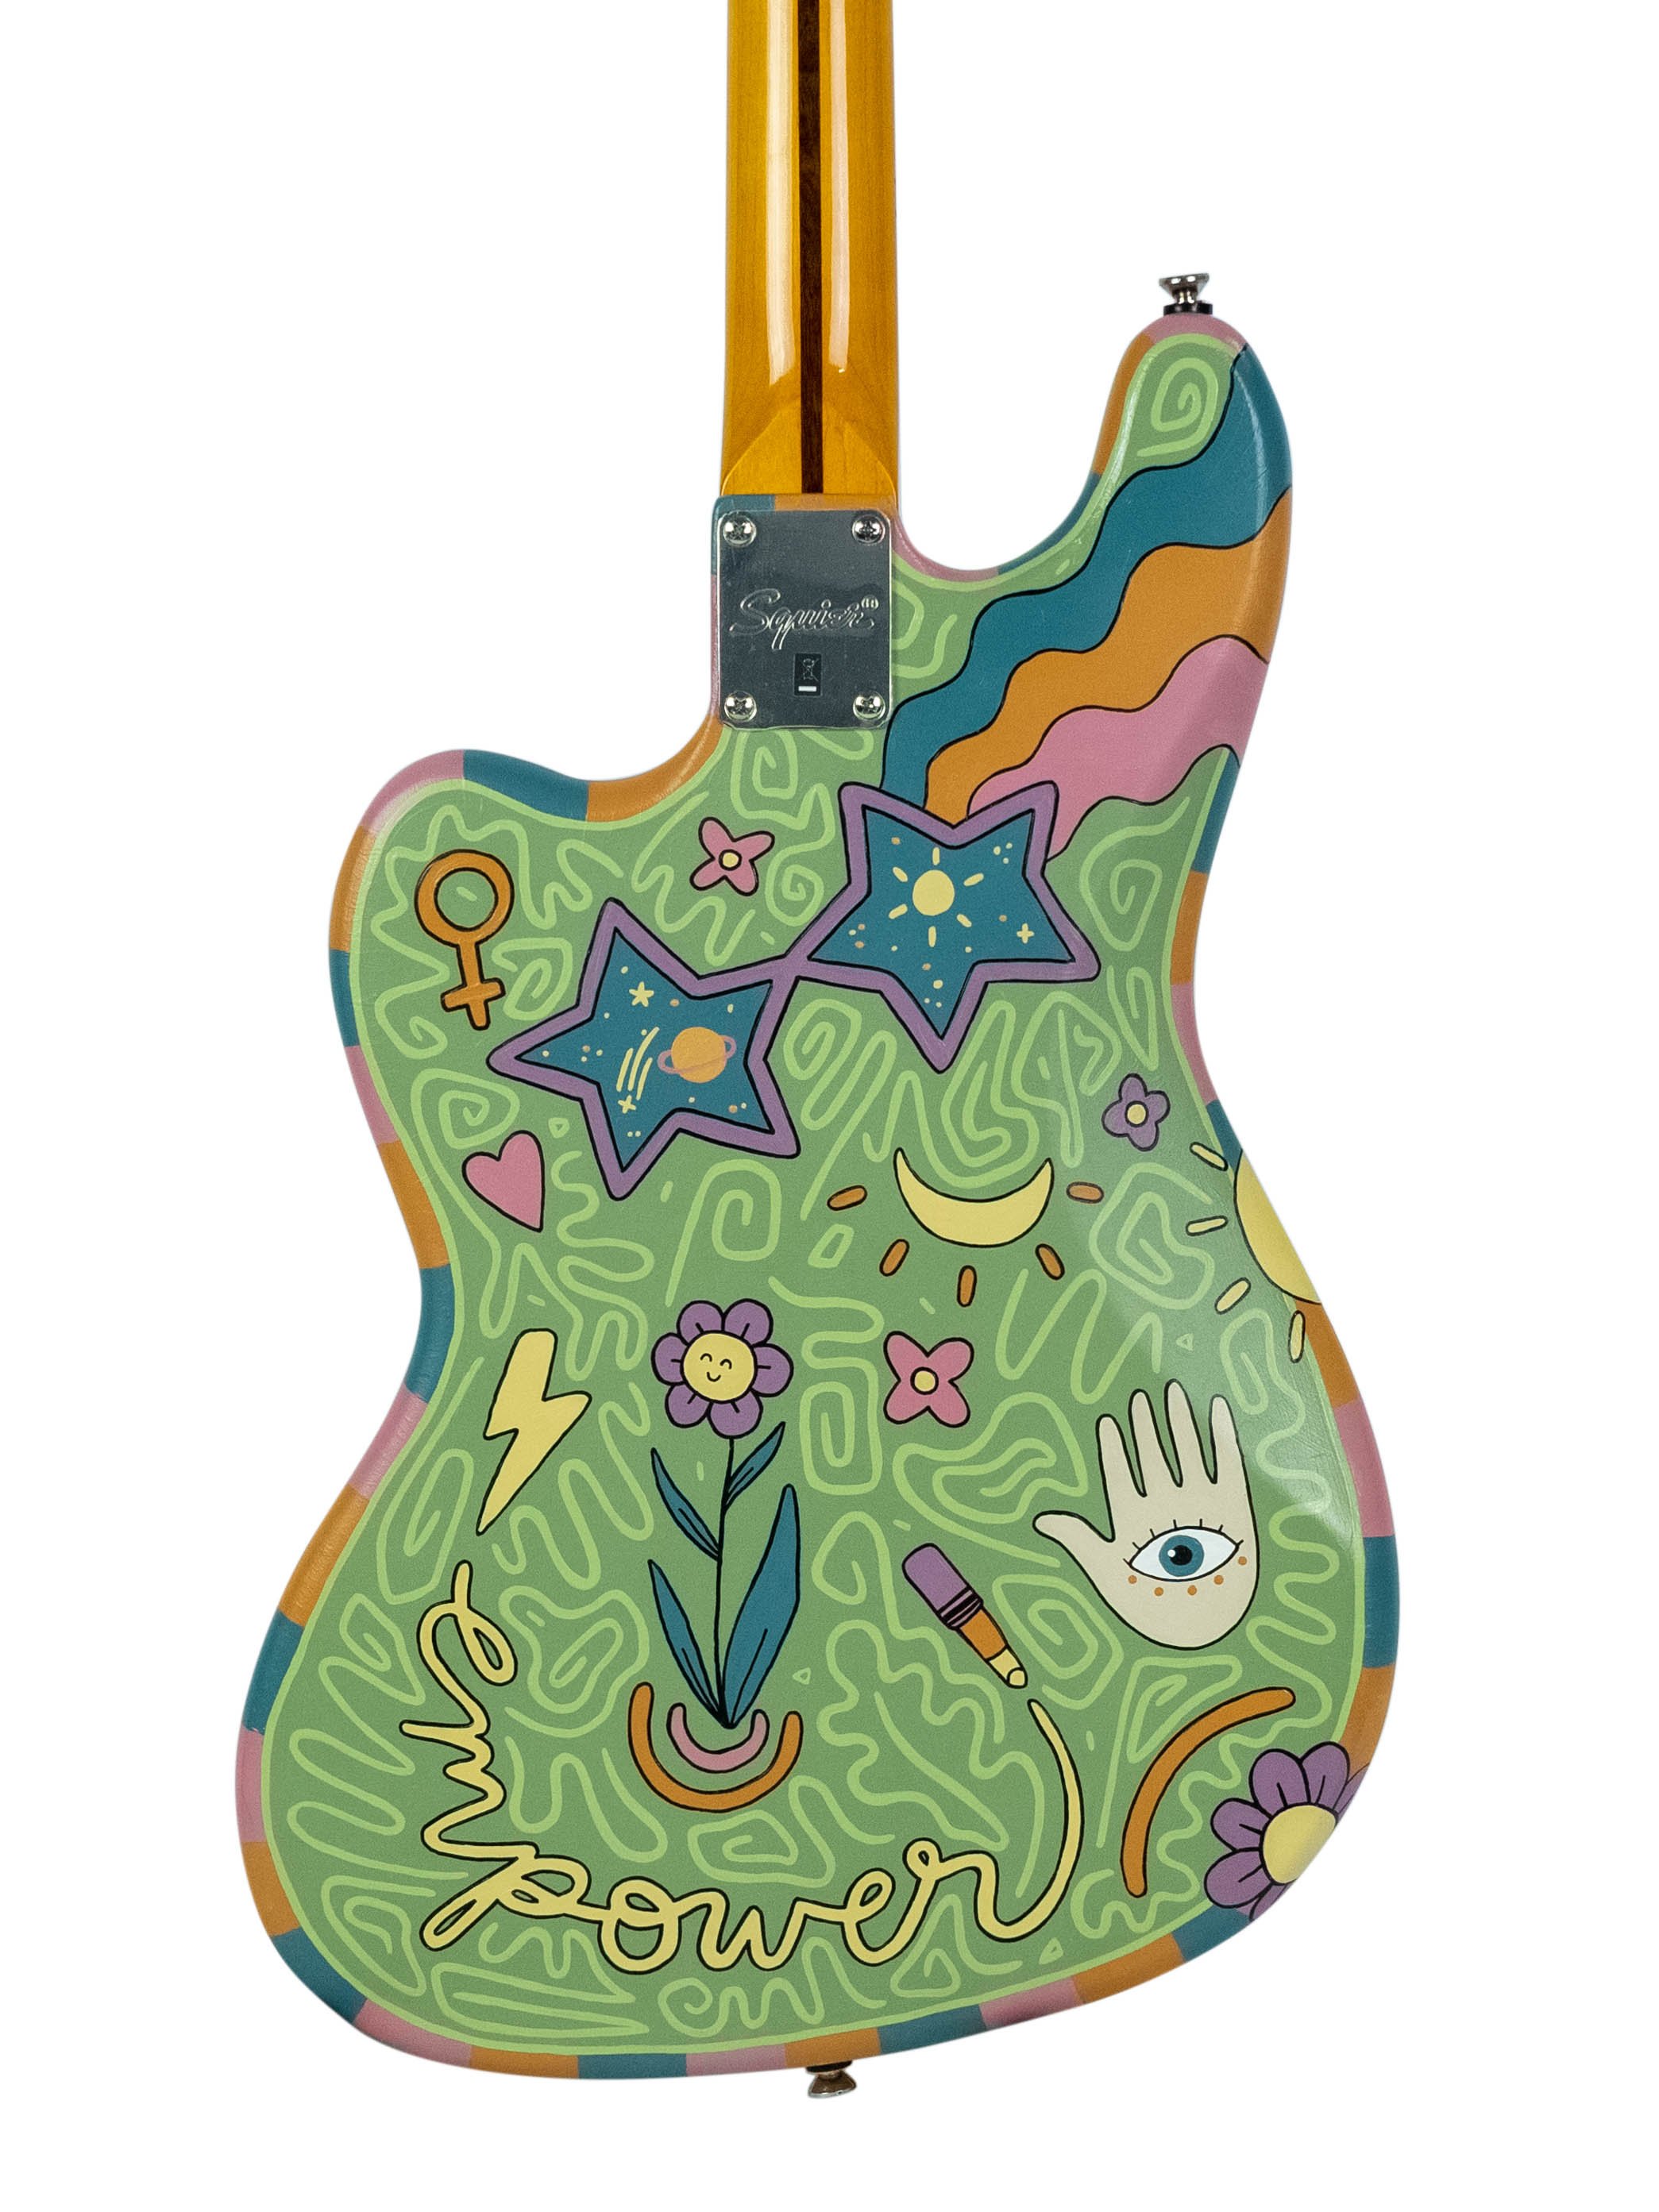
And just like that, you’ve got your own custom-painted guitar! Except it’s not “just like that” because it does take a lot of work, time, creativity, and patience. Before you display your guitar or give it to someone really lucky, make sure to take some good pics and admire what you’ve accomplished!!
Additional Notes
Remember to take your time, be patient, and follow safety precautions while painting. It's always a good idea to practice on a test surface or an old guitar first before attempting to paint your primary instrument.
I have not yet used spray paint on an electric guitar, but know many people who do. This video may help you get started with that process.
Does painting an electric guitar affect the sound? Here’s what someone on the internet has to say >>
If you want to display your painted guitar, there are many ways to do it. Here’s a basic stand and then a wall mount example.


Resources
Click here if you’d like to read the full process of how I painted my first electric guitar ever for a charity art auction.